If your Keurig coffee maker flashes a “Descale” light, it’s not just a suggestion—it’s a warning. Limescale and mineral buildup can quietly ruin your machine, making your morning cup taste bitter and slowing down brewing. Many owners try to descale, but the reset process often causes confusion.
If you’re unsure how to properly descale and reset your Keurig, or you’ve done it but the light stays on, you’re not alone. This guide will show you exactly what “Keurig Descale Reset” means, why it matters, and how to fix it step by step—so you can get back to perfect coffee, every time.
Why Descaling Is Crucial For Your Keurig
Keurig machines run hot water through metal tubes and parts. Over time, minerals from tap water—like calcium and magnesium stick to these parts. This buildup is called limescale. Even if you use filtered water, it’s nearly impossible to avoid.
Limescale can cause several problems:
- Slower brewing times
- Incomplete cups or drips
- Bad taste or weak coffee
- Unusual machine noises
- Complete machine failure if ignored
Descaling dissolves these minerals, letting your Keurig run smoothly. Keurig recommends descaling every 3 to 6 months. Ignoring it can void your warranty. Many users don’t realize that failing to descale can shorten the machine’s life by years, not months.
How The Keurig Descale Light Works
Most modern Keurigs, including K-Slim, K-Supreme, K-Express, and K-Elite, have a descale indicator light. This light turns on after a certain number of brews or when sensors detect flow issues.
But the light doesn’t always mean your Keurig is broken. It’s a reminder to clean, not a sign of damage. However, if you descale and the light stays on, your machine may not have registered the process. That’s where the “reset” comes in.
What Triggers The “descale” Light?
The descale alert is usually triggered by:
- Number of brews: Typically after 250 cycles
- Flow sensors: Noticing reduced water flow
- Time: Some models use a timer
Some models have more sensitive sensors. For example, the Keurig K-Slim can alert you after just 200 cups, while older models might wait longer.
How To Descale Your Keurig (step-by-step)
Resetting the light only works if you descale correctly. Here’s how to do it for most Keurig machines.
What You Need
- Descaling solution (Keurig-branded or third-party)
- Or use white vinegar (never apple cider or balsamic)
- Clean water
- A large mug (at least 10 oz)
- Access to a sink
Descaling Instructions
- Power Off and Empty: Turn off your Keurig. Empty the water reservoir and remove any used pods.
- Pour in Descaler: Add the descaling solution to the reservoir. If using vinegar, fill halfway with vinegar and halfway with water.
- Start Descale Mode:
- For most models, hold down the 8oz and 12oz buttons at the same time, then power on.
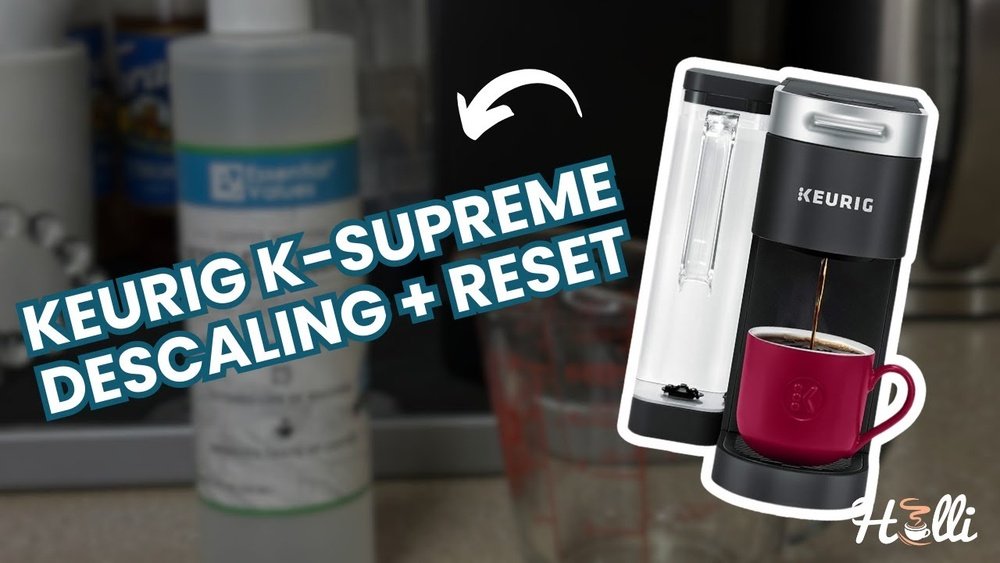
- For K-Supreme: Hold the 8oz and 12oz buttons for 3 seconds.
- For K-Express: Hold the 6oz and 10oz buttons.
- Run Brew Cycles: Place the mug under the spout. Press the brew button to run the solution through. Discard after each cycle.
- Repeat: Continue until the reservoir is empty.
- Rinse: Fill the reservoir with fresh water. Run at least 2–3 cycles with just water to remove all descaler or vinegar.
- Power Off and On: Turn off your machine for 5 seconds, then on again.
If you follow these steps, most Keurigs will automatically reset the descale light. If not, you’ll need to do a manual reset.
How To Reset The Keurig Descale Light
Sometimes, after descaling, the light stays on. This is a common frustration, but it’s usually fixable.
Manual Reset Methods
Depending on your model, try these:
- K-Slim/K-Express: Hold the 8oz and 12oz (or 6oz and 10oz) buttons together for 3 seconds, then release.
- K-Supreme Plus: After descaling, unplug the machine for 15 minutes, then plug it back in.
- K-Select/K-Elite: Hold down the “Strong” and 10oz buttons together for 3 seconds.
- Older Models: Open and close the brew head, then run a water-only cycle.
Some machines need to run a full descale cycle, including all rinse steps, before the light will reset. Skipping steps or not running enough rinse cycles is a common mistake.
What If The Light Still Won’t Turn Off?
- Check that you used enough rinse water—residue can keep the sensor active.
- Unplug the Keurig for 30 minutes, then restart.
- If you used vinegar, run a few extra cycles with clean water.
- Make sure the water reservoir is seated properly.
- Try the button sequence again, holding for a full 3–5 seconds.
If none of these work, the sensor may be faulty. This is rare but possible, especially in older machines.
Comparing Descaling Solutions: Vinegar Vs. Keurig Brand
Many people ask if they can use vinegar instead of commercial descalers. Here’s a quick comparison.
| Feature | Keurig Descaling Solution | White Vinegar |
|---|---|---|
| Effectiveness | Removes limescale, gentle on parts | Removes limescale, may leave odor |
| Odor | None after rinse | Can linger for 1–2 brews |
| Cost | Higher ($7–$12 per bottle) | Very cheap ($1–$2 per bottle) |
| Warranty Safe? | Yes | No (may void warranty) |
Tip: If you use vinegar, rinse extra cycles to remove the smell. For new machines under warranty, stick with the Keurig solution.
Common Mistakes During Descale & Reset
Many users trip up on small details. Here are errors to avoid:
- Not using enough solution: Diluting too much can reduce effectiveness.
- Skipping rinse cycles: Residual descaler or vinegar can trigger the light.
- Rushing button presses: Some models need you to hold buttons for a full 3–5 seconds.
- Using flavored vinegar: Only white vinegar is safe.
- Not emptying old water: Mixing old water with descaler weakens the process.
- Stopping mid-cycle: Interrupting descale mode can confuse the machine.
An often-missed point: If you live in a hard water area, descale more often—every 2 months instead of 3–6.
How Keurig Models Differ In Descale Reset
Not all Keurigs work the same way. Here’s a side-by-side look at popular models.
| Model | Descale Alert | Reset Method | Notes |
|---|---|---|---|
| K-Slim | After 250 brews | 8oz + 12oz buttons | Must finish all rinse steps |
| K-Supreme | Sensor-based | Unplug 15 min | Extra rinse helps |
| K-Elite | Brew count | Strong + 10oz buttons | Button hold is crucial |
| K-Mini | No light | N/A | Manual descale only |
Don’t guess your model—check the label on the bottom or back of your machine.

Signs Your Keurig Needs Descaling (even Without A Light)
Some older or basic Keurigs don’t have a descale light. Look for these clues:
- Coffee tastes bitter or weak
- Machine makes loud noises
- Water drips slowly
- “Add Water” light comes on when reservoir is full
- Machine shuts off mid-brew
If you see these, descale even if no light appears. Waiting can lead to permanent damage.
How Often Should You Descale?
The right schedule depends on your water and usage.
- Soft water, light use: Every 6 months
- Hard water, heavy use: Every 2 months
- Average home: Every 3 months
A good rule: If you brew daily, descale every 3 months. If you use well water, consider a water filter for your reservoir.

What To Do If Your Keurig Still Won’t Brew
Sometimes, even after a descale and reset, your Keurig won’t work. Try these steps:
- Check for clogs: Use a paperclip to clear the needle.
- Reseat the reservoir: Take it out and put it back firmly.
- Check the plug: Make sure it’s fully inserted.
- Run a water-only cycle: No pod, just water.
- Contact support: If under warranty, call Keurig.
Machines under 1 year old are usually covered for malfunctions.
How Descale Reset Affects Warranty
Using the wrong descaler or skipping descale cycles can void your Keurig warranty. Always use approved products during the first year. If you call support, they may ask for your descale history. Keep receipts or photos as proof. For more on Keurig’s official stance, see their support page.
When To Replace Instead Of Reset
If your Keurig is more than 5 years old and the descale/reset process doesn’t work, it may be time to replace. Signs include:
- Repeated descale alerts that won’t reset
- Leaking water
- Power issues
- Brewing less than half a cup consistently
Newer models are more energy efficient and have better sensors.
Environmental Impact: Proper Descaling
Descaling not only helps your coffee and machine it also lowers energy use. A clean machine uses up to 20% less electricity because it heats water faster. If you descale regularly, you can extend your Keurig’s life by 2–3 years. This reduces waste and saves money over time.

Frequently Asked Questions
Why Does My Keurig Descale Light Stay On After Descaling?
The descale light can stay on if you didn’t finish all rinse cycles, used the wrong solution, or didn’t follow the reset steps for your model. Double-check the reset sequence and run more water-only cycles if needed.
Can I Use Lemon Juice Instead Of Vinegar To Descale My Keurig?
No. Lemon juice is acidic but can damage Keurig parts and void your warranty. Stick to white vinegar or Keurig’s official descaling solution.
Is Descaling The Same As Cleaning My Keurig?
Not exactly. Cleaning removes coffee grounds and oils; descaling removes mineral buildup inside the machine. Both are important for good coffee and machine health.
How Do I Know If I Have Hard Water?
If you see white spots on dishes, faucets, or notice soap doesn’t lather well, your water is likely hard. Most US tap water is moderately hard. Descale more often if this is true for your area.
What’s The Best Way To Prevent Limescale In My Keurig?
Use filtered water, descale on schedule, and empty the reservoir if you won’t use the machine for a week or more. These habits slow down mineral buildup and keep your Keurig running strong.
Getting the descale reset right can save you money, time, and a lot of frustration. By understanding your machine and following the right steps, you’ll enjoy better coffee and a longer-lasting Keurig every morning.