When your Whirlpool stove suddenly flashes the F2 error code, it can turn dinner plans upside down. This error isn’t just a random glitch—it’s a warning that something inside your stove needs attention. For many homeowners, seeing an error code feels overwhelming, but you don’t always need a professional right away. With the right steps and some basic tools, you can often fix the F2 error yourself and get back to cooking safely. In this article, you’ll learn what the F2 error means, why it happens, how to fix it step-by-step, and how to prevent it in the future.
What Does The Whirlpool Stove F2 Error Mean?
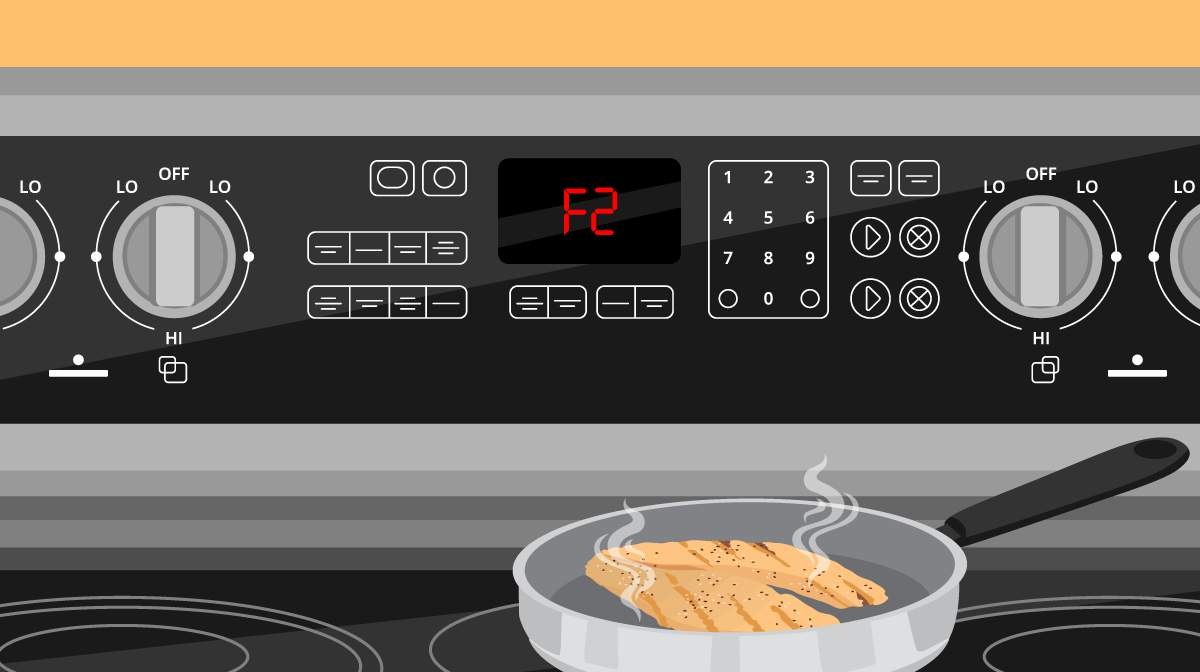
The F2 error code on a Whirlpool stove usually points to a problem with the oven temperature. Most commonly, it means the oven is getting too hot, above the set temperature, or the electronic oven control senses a fault. Sometimes, it can also signal a stuck key on the control panel or a problem with the oven sensor.
Stoves use built-in safety features to prevent overheating, which can damage internal parts or become a fire hazard. The F2 code is one of those alerts. While the code can be worrying, it’s designed to protect you and your appliance.
Main Causes Of The F2 Error Code
Understanding why the F2 error appears is key to solving it quickly. These are the most common reasons:
- Faulty oven temperature sensor (RTD sensor)
- Stuck or faulty control panel/keypad
- Defective oven control board
- Wiring problems (loose or damaged wires)
- Oven overheating due to a failed relay or element
Let’s look at these in more detail:
1. Faulty Oven Temperature Sensor
The temperature sensor measures heat inside the oven and sends data to the control board. If it reads wrong values, the board may think the oven is overheating.
2. Stuck Or Faulty Keypad
A stuck key on the touchpad or control panel can make the board misinterpret signals, triggering the F2 error.
3. Defective Control Board
The electronic oven control (EOC) board acts as the stove’s brain. If it fails, it can’t process signals from the sensor or the keypad, causing errors.
4. Wiring Problems
Loose, corroded, or damaged wires can interrupt signals between the sensor, keypad, and control board.
5. Overheating
A stuck relay on the control board or a shorted oven element can cause continuous heating, pushing the oven above safe temperatures.

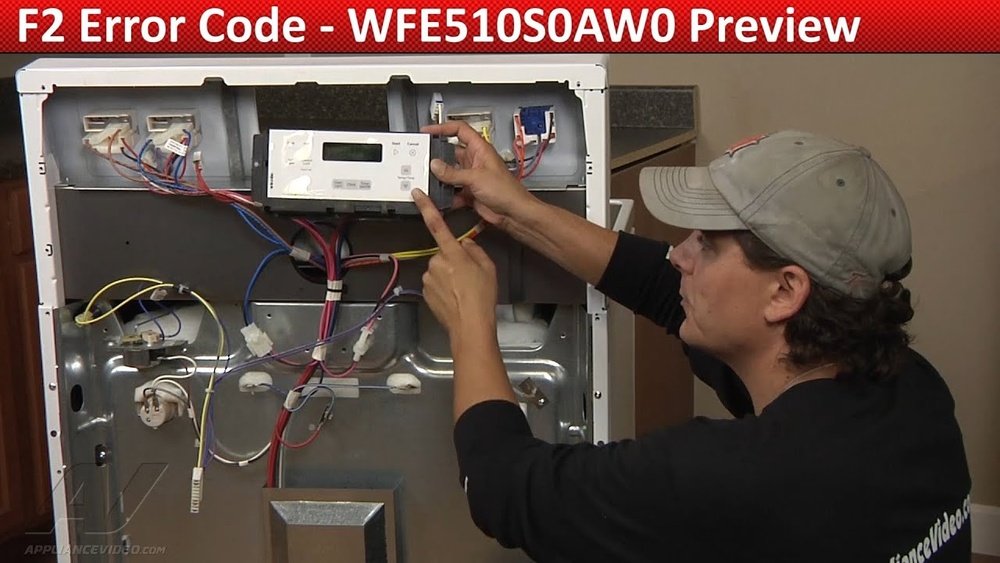
Credit: www.youtube.com
Safety First: Before You Start
Always put safety first. Before touching any internal parts:
- Unplug the stove or switch off the circuit breaker.
- Wait for the oven to cool down.
- Wear gloves to avoid burns or cuts.
- Keep children and pets away from your workspace.
Skipping these steps can lead to electric shock or injury.
Step-by-step: How To Fix The Whirlpool Stove F2 Error
Follow these practical steps to troubleshoot and fix the F2 error. You don’t need advanced skills, just patience and basic tools.
Step 1: Reset The Stove
Start simple. Sometimes the F2 error is a temporary glitch.
- Turn off the stove by unplugging it or switching off the circuit breaker.
- Wait at least 5 minutes.
- Plug the stove back in or turn on the breaker.
- Try using the oven.
If the error clears, it was a minor issue. If not, move to the next step.
Step 2: Check For A Stuck Key
A stuck or faulty key is a common cause.
- Press each button on the control panel firmly and release.
- Look for any buttons that feel stuck or do not click back up.
- Clean the keypad gently with a dry cloth.
If a button is stuck, gently work it loose. If the error stays, continue troubleshooting.
Step 3: Inspect The Oven Temperature Sensor
The sensor is a thin metal rod inside the oven, usually at the back.
- Remove the oven racks.
- Locate the sensor (often held by two screws).
- Unscrew and gently pull out the sensor, leaving the wires connected.
Now, test the sensor with a multimeter:
- Set the multimeter to ohms (Ω).
- At room temperature (~70°F or 21°C), a working sensor should read about 1080 ohms.
- If the reading is far outside 1000–1200 ohms, the sensor is faulty.
If you don’t have a multimeter, you can visually inspect the sensor for damage (burn marks, broken wires).
Common Beginner Mistake
Many people only check the sensor visually, but it can look fine and still be defective. Use a multimeter for a reliable test.
Step 4: Inspect Wiring Connections
Loose or burnt wires can interrupt signals.
- With the stove unplugged, check the wires connecting the sensor to the control board.
- Look for loose, burnt, or corroded connectors.
- Reconnect or replace any damaged wires.
Step 5: Test The Oven Control Board
If the sensor and wiring are fine, the control board may be at fault.
- Look for burnt spots, damaged traces, or a burnt smell on the board.
- Replacing the control board can be costly. Check warranty status before buying a new one.
Pro Tip
Sometimes, relays on the board get stuck. Tapping gently on the relay (with the power off) can free it, but this is a temporary fix. If the relay sticks again, the board needs replacement.
Step 6: Replace The Faulty Part
If you find a faulty sensor, control board, or keypad, replace it with a Whirlpool-approved part. Using generic or non-matching parts can cause further errors.
- Always match the part number to your model.
- Reconnect wires carefully and secure all screws.
Step 7: Re-test The Stove
After repairs:
- Restore power to the stove.
- Set the oven to a low temperature (e.g., 200°F).
- Let it run for 10–15 minutes.
- If the error does not return, you have fixed the problem.
If the F2 code returns, repeat the steps or consider professional help.
When To Call A Professional
Some F2 errors need expert tools or knowledge, especially if:
- The control board shows no visible damage but still malfunctions.
- Wiring is deeply hidden or hard to access.
- The error returns after several repair attempts.
A certified Whirlpool technician can diagnose complex issues and ensure safety. If your stove is under warranty, repairs may be free or discounted.
Key Parts: What They Do And How To Compare
Understanding the main parts helps you troubleshoot smarter. Here’s a quick comparison:
| Part | Main Function | Common Failure Symptom | Typical Cost (USD) |
|---|---|---|---|
| Oven Sensor | Measures oven temperature | Wrong temperature, F2 error | $25–$50 |
| Control Board | Processes signals, controls heating | Random errors, oven won’t heat or overheats | $100–$350 |
| Keypad/Touchpad | User input for settings | Unresponsive/stuck buttons, F2 or other errors | $40–$120 |
How To Prevent The F2 Error In The Future
Prevention saves time, money, and stress. Here’s what you can do:
- Clean the control panel regularly to prevent stuck keys.
- Check the oven sensor every 6–12 months, especially if you bake often.
- Avoid slamming oven doors—shocks can damage internal wiring.
- Use a surge protector for your stove, especially in areas with unstable electricity.
- Schedule regular maintenance for older units.
Real-world Example
A family in Texas faced repeated F2 errors after power surges. Installing a surge protector stopped the problem, saving them from replacing the control board twice.
Common Mistakes To Avoid
- Only resetting the stove without checking parts.
- Replacing parts without proper diagnosis—this wastes money.
- Ignoring the error and continuing to use the oven, risking more damage.
- Using non-original replacement parts, which may not fit or function correctly.
Credit: www.partselect.com
How The F2 Error Differs From Other Whirlpool Error Codes
Not all error codes mean the same thing. Here’s a brief comparison:
| Error Code | Main Issue | DIY Fix? |
|---|---|---|
| F2 | Oven overheating or sensor fault | Yes, often |
| F3 | Oven temperature sensor open | Yes, replace sensor |
| F1 | Control board failure | Sometimes, usually needs new board |
| F9 | Oven not heating | Check wiring, call for help |
Knowing the code helps you act faster and avoid unnecessary repairs.
How To Find The Right Replacement Parts
Always use the model number of your Whirlpool stove, found on a sticker around the oven frame or inside the door. Enter this number on the Whirlpool site or a trusted parts retailer to find exact matches. Avoid “one-size-fits-all” parts, as even small differences can cause errors or safety issues.
If in doubt, contact Whirlpool support or check the parts diagram for your model.

Credit: blog.fixyourboard.com
Useful Resources
For more technical details, the official Whirlpool support website offers diagrams and guides. For deeper understanding, see the oven temperature sensor explanation on Wikipedia.
Frequently Asked Questions
What Tools Do I Need To Fix The F2 Error?
You’ll need a Phillips screwdriver, a multimeter (for testing sensors), and gloves. Most repairs need only basic tools.
Can I Use My Oven If The F2 Error Appears?
No. The F2 error means a possible overheating risk. Using the oven before fixing the issue can damage the appliance or cause fire hazards.
How Do I Know If The Control Board Is Faulty?
If the sensor and keypad test fine, and wires are secure, but errors continue, the control board is likely at fault. Visible burns or a burnt smell are clear signs.
Are Replacement Parts Expensive?
Costs vary:
- Sensors: $25–$50
- Keypads: $40–$120
- Control boards: $100–$350
Original parts last longer and fit better than cheap alternatives.
Is The F2 Error Common On All Whirlpool Stoves?
It’s common, especially on older models and those with electronic controls. Newer models may display more detailed errors, but F2 still means a temperature-related problem.
When you see an F2 error, don’t panic. With the steps above, you can often solve the problem in less than an hour. Take your time, check each part, and your Whirlpool stove will be ready for your next meal.
If you get stuck, don’t hesitate to call a professional for help.