
Replacing a refrigerator compressor is a big job, but it’s possible for skilled DIYers or professionals. The compressor is the heart of your fridge—it keeps your food cold by circulating refrigerant. When it fails, your refrigerator stops cooling, and food can spoil fast.
If you want to save money and learn how this repair works, this detailed guide will walk you through every step. You’ll find practical tips, safety warnings, and real-world examples to help you decide if you should tackle the job or call a pro.
How A Refrigerator Compressor Works
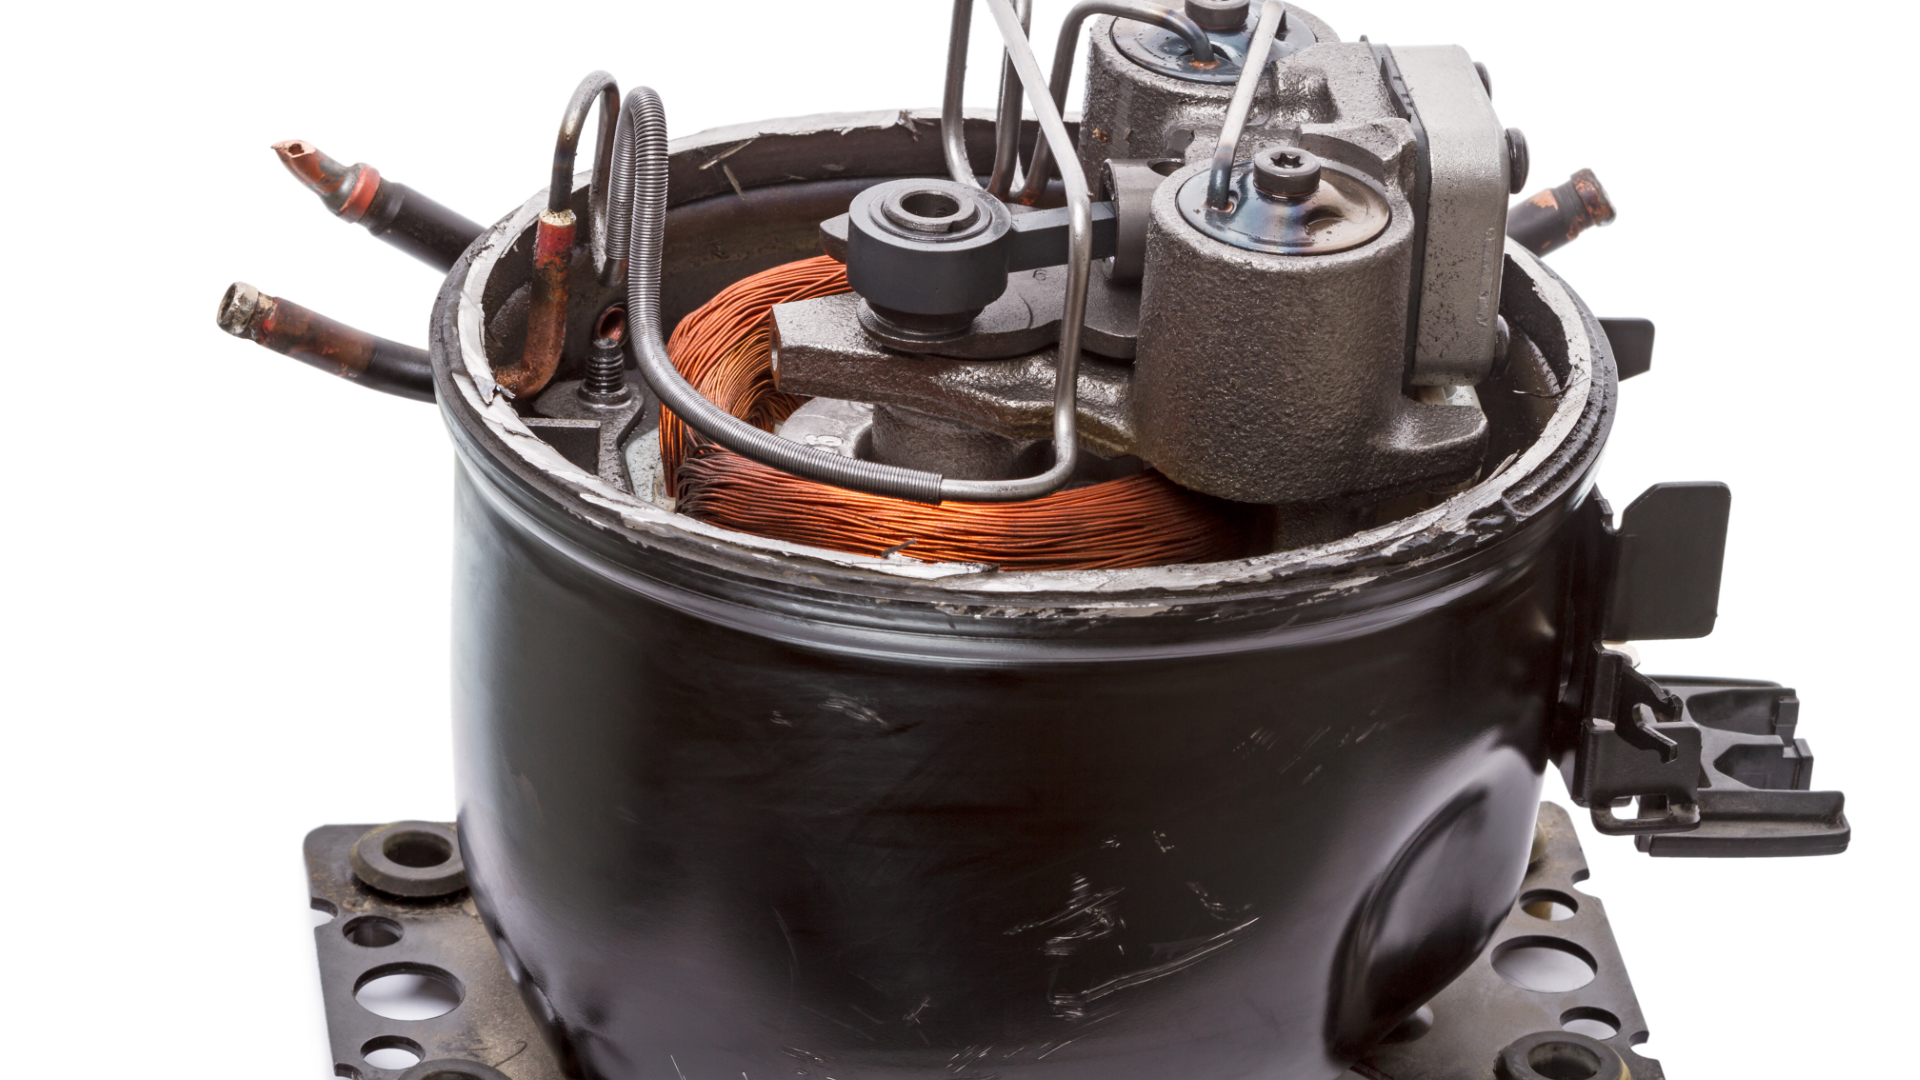
To understand the replacement process, you first need to know what a compressor does. The compressor pumps refrigerant through the coils. It draws in low-pressure gas, compresses it, and pushes it through the system. This process removes heat from inside the fridge, keeping everything cool.
A typical home refrigerator compressor lasts about 10 to 20 years. However, if you hear loud noises, notice warm temperatures, or see frequent cycling, the compressor could be failing. Ignoring these warning signs can lead to higher energy bills and food waste.
Signs Your Compressor Needs Replacement
It’s easy to mistake other problems for a bad compressor, so check these key signs:
- Fridge isn’t cooling: Even after adjusting the thermostat, the temperature stays warm.
- Loud or clicking noises: Repeated clicking or buzzing from the back of the fridge.
- Compressor won’t start: The fan runs, but the compressor does not.
- Overheating: The back of the fridge is hot to the touch.
- High energy use: Electricity bills are higher than normal for no clear reason.
Before assuming the compressor is bad, test the start relay and capacitor. These parts are cheaper and easier to replace. If they work, but the problem remains, the compressor is likely the issue.
Tools And Materials You’ll Need
Replacing a compressor requires some specialized tools. Here’s what you’ll need:
- Replacement compressor (specific for your fridge model)
- Refrigerant (usually R134a, but check your model)
- Refrigerant recovery machine
- Vacuum pump
- Manifold gauge set
- Brazing torch and rods
- Pipe cutter
- Tube bender
- Protective gloves and goggles
- Multimeter
- Wrenches and screwdrivers
- O-ring and tubing seals
If you don’t own a recovery machine or vacuum pump, consider renting them from a tool shop. Never skip safety gear—refrigerant can burn skin and eyes.
Safety Precautions
Working with refrigerant and electricity is risky. Follow these steps to stay safe:
- Unplug the fridge before starting any work.
- Work in a well-ventilated area to avoid inhaling refrigerant.
- Wear protective gloves and goggles at all times.
- Do not vent refrigerant into the atmosphere—it’s illegal and harmful.
- If unsure, call a certified technician for help.
Many states require a license to handle refrigerant. If you don’t have one, you must hire a pro for parts of this job.
Step-by-step Guide To Replacing A Refrigerator Compressor
Prepare The Workspace
Move the refrigerator away from the wall. Lay down cardboard or a drop cloth to catch drips and debris. Gather all tools nearby. Make sure there is enough light and space to work comfortably.
Remove The Old Compressor
- Unplug the fridge.
- Take off the rear panel using a screwdriver.
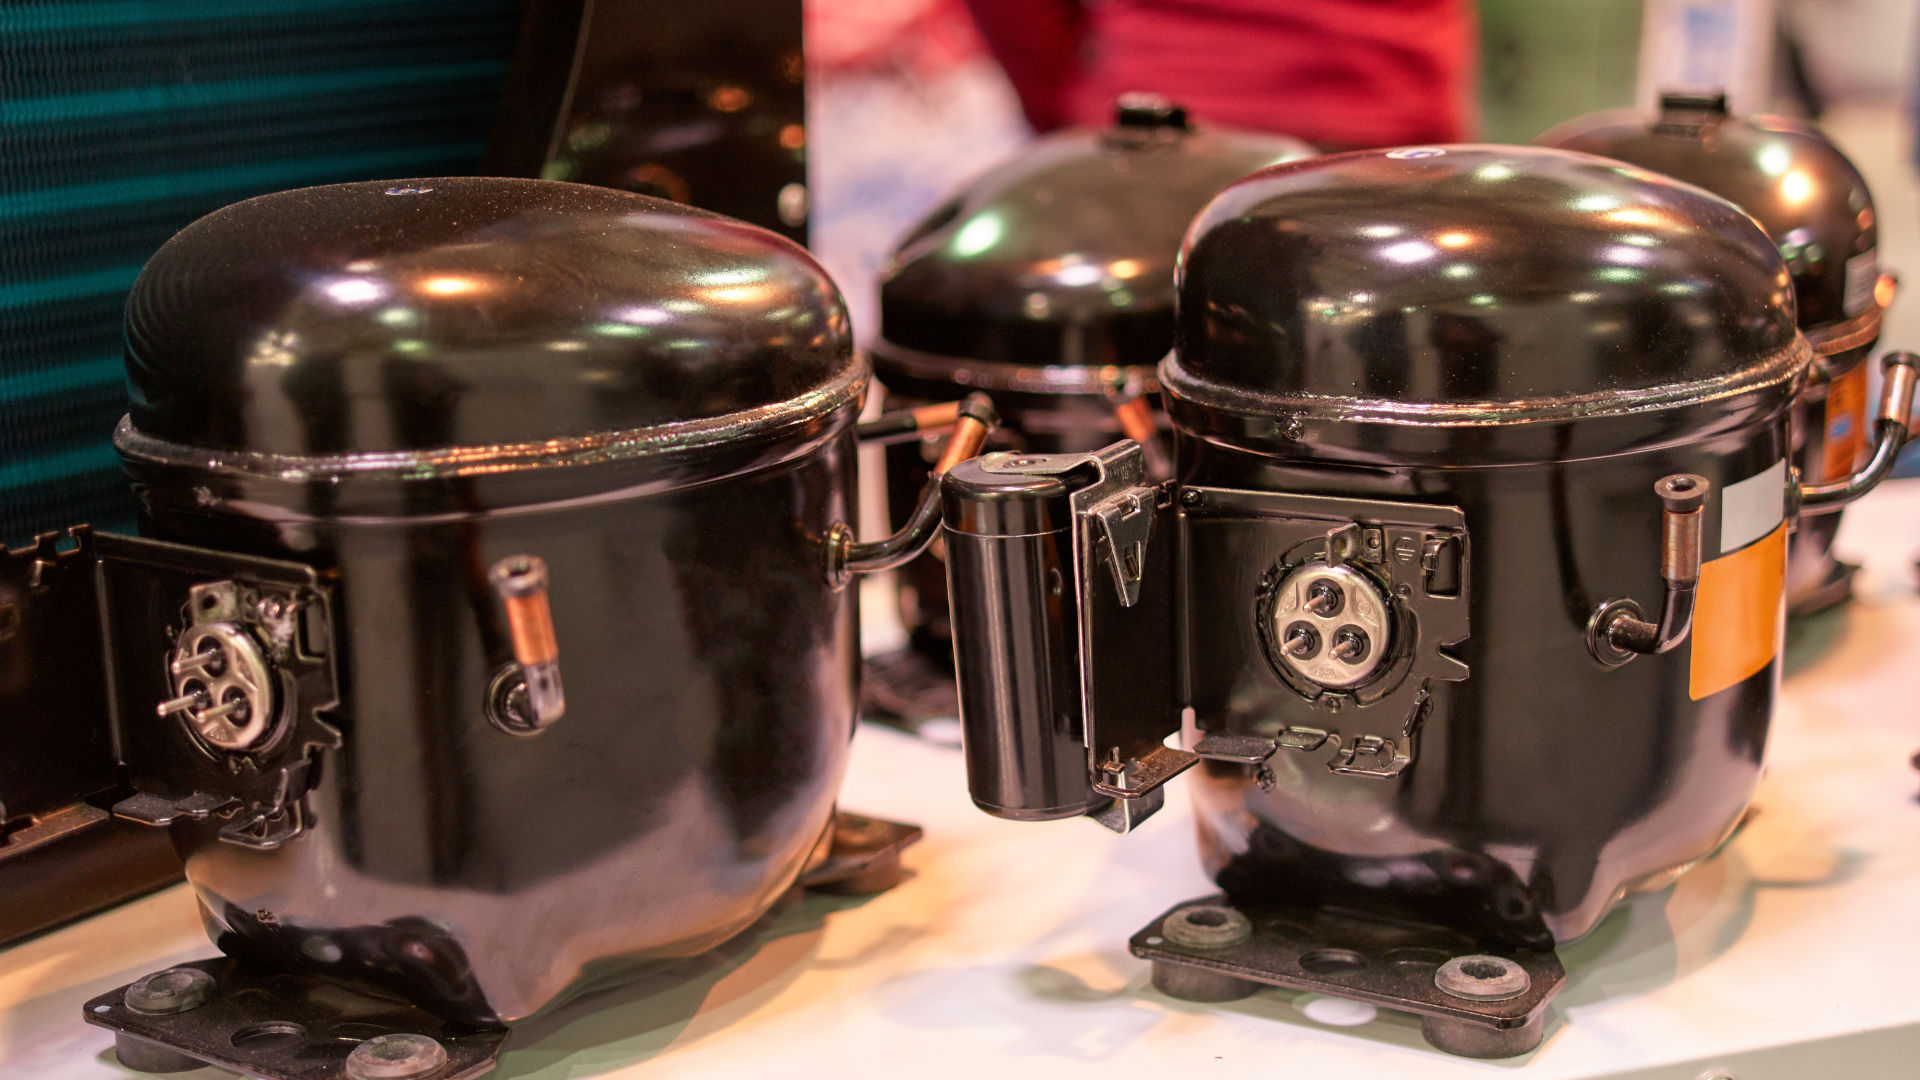
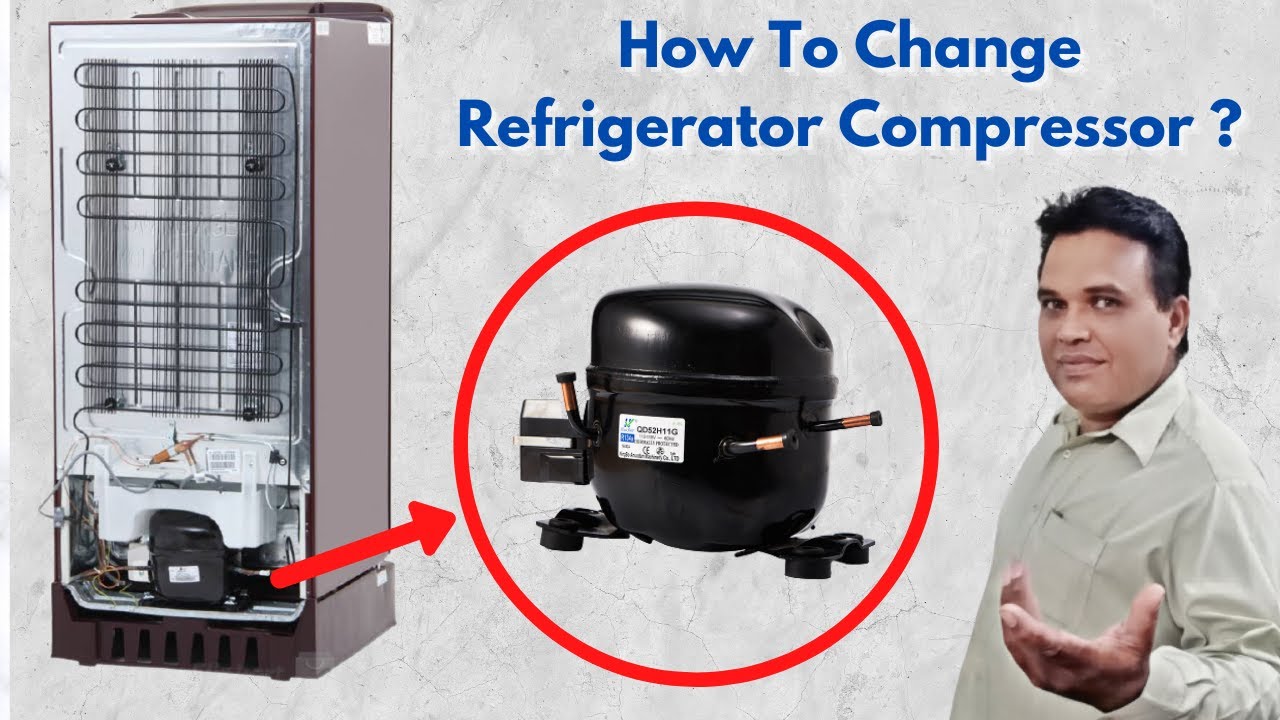
- Locate the compressor (a black cylinder, usually at the bottom rear).
- Disconnect electrical wires from the compressor terminals (take a photo for reference).
- Remove the start relay and overload protector.
- Use a manifold gauge set and recovery machine to carefully remove all refrigerant from the system.
- Cut the suction and discharge lines with a pipe cutter.
- Loosen the compressor mounting bolts and lift out the old compressor.
Install The New Compressor
- Set the new compressor in place and secure it with mounting bolts.
- Connect the suction and discharge lines. Use a tube bender for a snug fit.
- Braze the lines to seal them. This step requires a steady hand and safety gear.
- Let the joints cool before moving on.
Reconnect Electrical Components
- Attach the start relay and overload protector to the new compressor.
- Reconnect the wires as they were (refer to your photo).
- Double-check connections to avoid mistakes.
Vacuum And Recharge The System
- Attach the manifold gauge set.
- Use a vacuum pump to remove air and moisture from the system (about 20–30 minutes).
- Check for leaks using soapy water on the joints.
- Recharge with the right amount of refrigerant (see the label inside your fridge or the user manual).
- Monitor the pressure readings to ensure correct levels.
Test The Refrigerator
- Plug the fridge back in.
- Listen for the compressor to start and check the temperature after a few hours.
- Watch for unusual noises or leaks.
Most jobs take 2–4 hours if you have the right tools and experience. For beginners, allow extra time for each step.
Compressor Replacement Cost Breakdown
Replacing a compressor can be costly. Here’s a quick comparison of doing it yourself versus hiring a pro.
| Expense | DIY Cost (USD) | Professional Cost (USD) |
|---|---|---|
| Compressor | $100–$400 | Included |
| Refrigerant | $20–$50 | Included |
| Special Tools (rental) | $50–$100 | Included |
| Labor | Free (your time) | $200–$500 |
| Total | $170–$550 | $300–$950 |
Extra tip: Some manufacturers offer a 5–10 year warranty on compressors. Check your warranty status before buying parts.
Comparing Compressor Types
Not all compressors are the same. If you need to buy a new one, check the type your refrigerator uses:
| Compressor Type | Common Use | Efficiency | Noise Level |
|---|---|---|---|
| Reciprocating | Most home fridges | Moderate | Moderate |
| Rotary | Commercial | High | Low |
| Inverter | Modern energy-efficient | Very High | Very Low |
Always match the size (BTU or horsepower), voltage, and refrigerant type to your old compressor to avoid damage.
Common Mistakes To Avoid
Many DIYers run into trouble by skipping steps or ignoring safety. Here are mistakes to watch out for:
- Not recovering refrigerant: Venting is illegal and harms the environment.
- Wrong compressor type: Using the wrong model can damage your fridge.
- Poor brazing: Weak joints lead to leaks.
- Skipping vacuum step: Moisture in lines causes poor cooling and early failure.
- Overcharging/undercharging refrigerant: Too much or too little refrigerant leads to inefficiency or damage.
- Ignoring electrical safety: Always unplug before touching wires.
Beginner insight: Some people forget to check the condenser coils for dirt. Dirty coils can mimic compressor problems, so clean them first.
Another mistake is replacing the compressor when a simple relay or capacitor swap could fix the issue. Always test these cheap parts before starting a full replacement.
Is It Worth Replacing The Compressor?
Sometimes, it’s smarter to buy a new refrigerator. If your fridge is over 10 years old or has multiple problems, replacing the compressor may not be worth the money or effort. Here’s a quick decision guide:
| Fridge Age | Condition | Recommended Action |
|---|---|---|
| Less than 5 years | Good | Replace compressor if under warranty |
| 5–10 years | Minor issues | Consider replacement if cost is low |
| Over 10 years | Multiple issues | Buy new fridge |
The energy savings from a new, efficient refrigerator can offset the purchase cost over a few years.
Practical Tips For A Smooth Compressor Replacement
- Label wires before disconnecting. Use tape or a marker to avoid confusion.
- Take photos of each step. They’ll help with reassembly.
- Work slowly—rushing leads to mistakes.
- Have a helper for lifting and moving the fridge.
- Check local regulations for refrigerant handling.
If you’re not confident using a torch or handling refrigerant, hire a licensed technician for those steps. You can save money by doing the prep work yourself.
Where To Buy Compressor Parts
Order compressors from appliance parts stores or online retailers. Use your fridge’s model number to find the right part. Some trusted sites include RepairClinic, AppliancePartsPros, and the manufacturer’s official website.
For more on safe refrigerant handling and EPA guidelines, visit the EPA’s refrigerant information page.
Frequently Asked Questions
How Long Does It Take To Replace A Refrigerator Compressor?
Most jobs take 2–4 hours if you have all the tools and parts ready. If you’re new to appliance repair, allow extra time for each step.
Do I Need A License To Replace A Compressor?
In most places, you need a license to handle refrigerant. You can do the mechanical work yourself, but must hire a pro for refrigerant recovery and charging unless certified.
Can I Use A Different Compressor Model?
No. You must use a compatible compressor that matches your refrigerator’s specifications for size, voltage, and refrigerant type.
What Happens If I Skip The Vacuum Step?
Skipping the vacuum step leaves air and moisture in the system. This leads to poor cooling, rust, and early compressor failure.
Is It Cheaper To Repair Or Replace The Refrigerator?
If your fridge is less than 10 years old and in good shape, replacing the compressor is often cheaper. For older units with several issues, buying a new fridge makes more sense.
Replacing a refrigerator compressor is a complex but doable task for those with patience and the right tools. By following each step carefully and respecting safety, you can save money and extend the life of your appliance. For most people, though, calling a professional is the safest route—especially for the refrigerant handling.
Whatever path you choose, understanding the process will help you make smart decisions about your refrigerator repair.