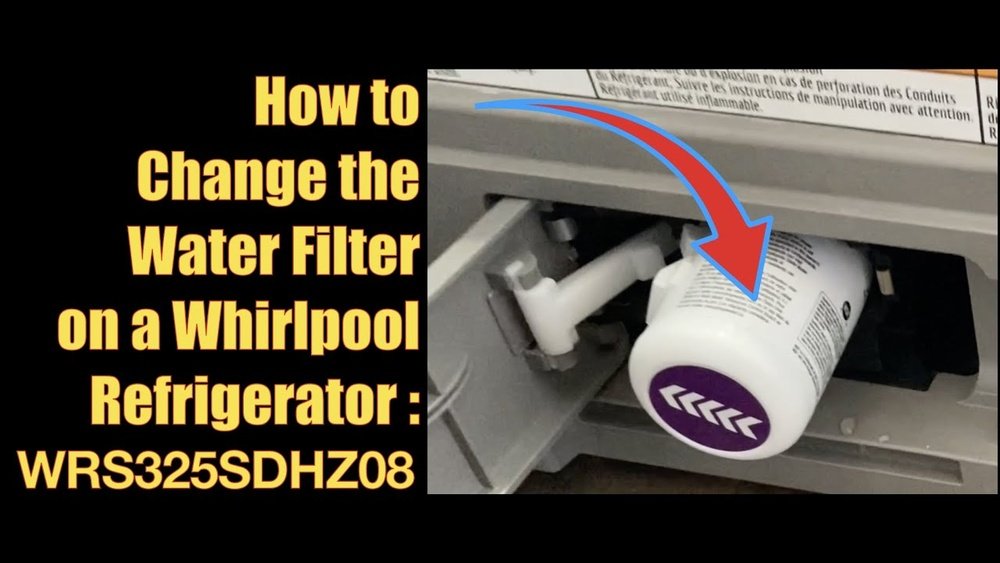
Replacing a Whirlpool water filter can seem confusing the first time. Many people worry about damaging their fridge or installing the wrong filter. But with a few careful steps and some practical knowledge, you can change your water filter quickly and safely.
Clean water is important for your health, and a fresh filter keeps your water tasting good and free from harmful particles. This guide will walk you through the whole process, offer helpful tips, and highlight mistakes beginners often make. Whether you have a side-by-side, French door, or top-freezer Whirlpool refrigerator, you’ll find answers here.
Why You Need To Replace Your Whirlpool Water Filter
Water filters trap sediment, chlorine, and contaminants from tap water. Over time, these filters clog and lose effectiveness. Whirlpool recommends changing the filter every six months or after 200 gallons, whichever comes first. If your water tastes strange, smells bad, or the filter indicator light turns on, it’s time for a new filter.
A 2023 study by the NSF International found that refrigerators with old filters had 40% more chlorine and double the lead compared to those with new filters. That’s not just about taste—lead exposure can affect your health, especially for children and pregnant women.
Choosing The Right Whirlpool Water Filter
Before you start, you need the correct filter. Whirlpool fridges use several filter types, and the wrong one won’t fit or work properly.
| Filter Type | Model Number | Typical Placement |
|---|---|---|
| EveryDrop Filter 1 | W10295370A | Top right, inside fridge |
| EveryDrop Filter 2 | W10413645A | Bottom grille, front |
| EveryDrop Filter 3 | W10276924 | Top left, inside fridge |
| EveryDrop Filter 4 | UKF8001 | Top right, inside fridge |
| EveryDrop Filter 5 | 4396508 | Bottom grille, front |
Check your fridge’s user manual or look at the filter itself for the model number. You can also find this information on the manufacturer’s website. Buying genuine Whirlpool filters ensures proper fit and performance.
Comparing Genuine And Third-party Filters
Some people buy cheaper filters from other brands. Here’s a quick comparison of genuine Whirlpool filters versus third-party filters:
| Feature | Whirlpool Filter | Third-Party Filter |
|---|---|---|
| Fit | Perfect | May vary |
| Certification | NSF certified | Sometimes uncertified |
| Price | Higher | Lower |
| Filter Life | 6 months | 4-6 months |
| Warranty | Covered | May void fridge warranty |
While third-party filters can save money, they may not remove all contaminants and might not fit perfectly. Always check for NSF certification and check the return policy before buying.
How To Replace A Whirlpool Water Filter: Step-by-step
Changing your filter takes less than 10 minutes. The exact steps depend on your filter type and fridge model, but the basics are similar.
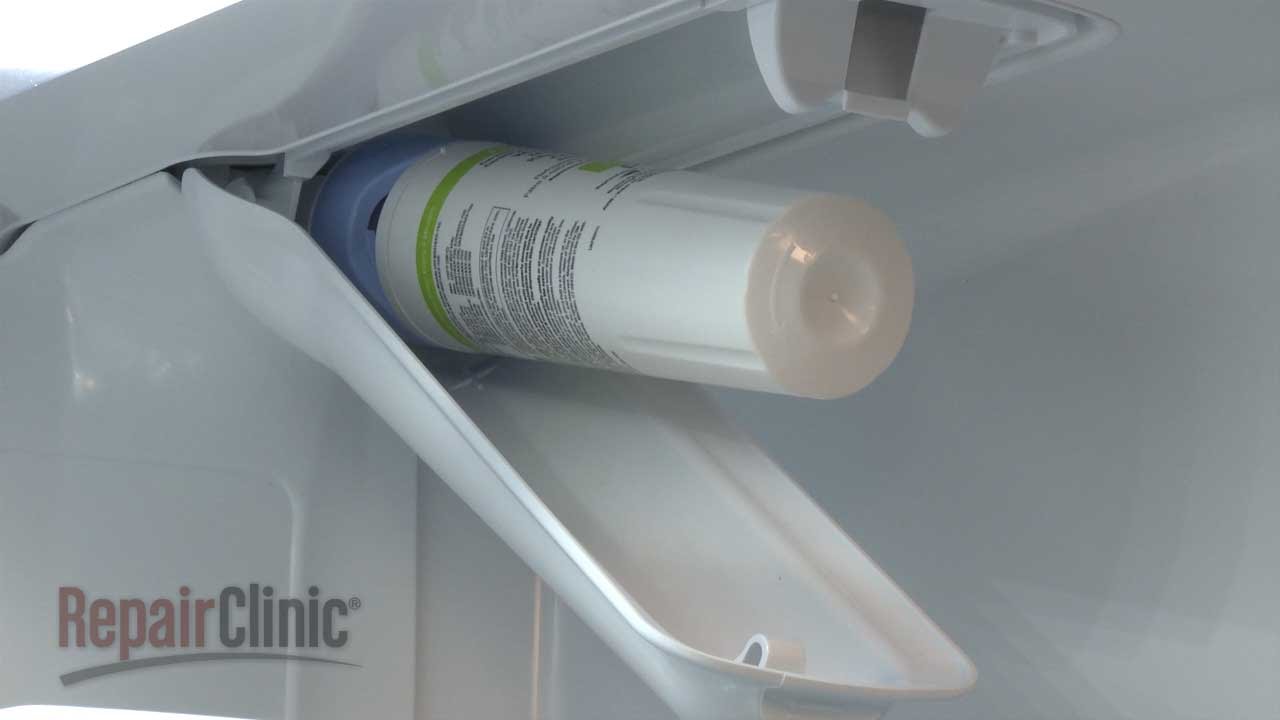
1. Locate The Filter
Most Whirlpool filters are either inside the fridge (top right or top left) or in the bottom grille at the front. Your user manual has a diagram, but you can usually spot a small cover or cap.
2. Prepare For Replacement
- Gather a towel for spills.
- Turn off the ice maker (if your fridge has one) to avoid leaks.
- Have your new filter ready, still in its packaging.
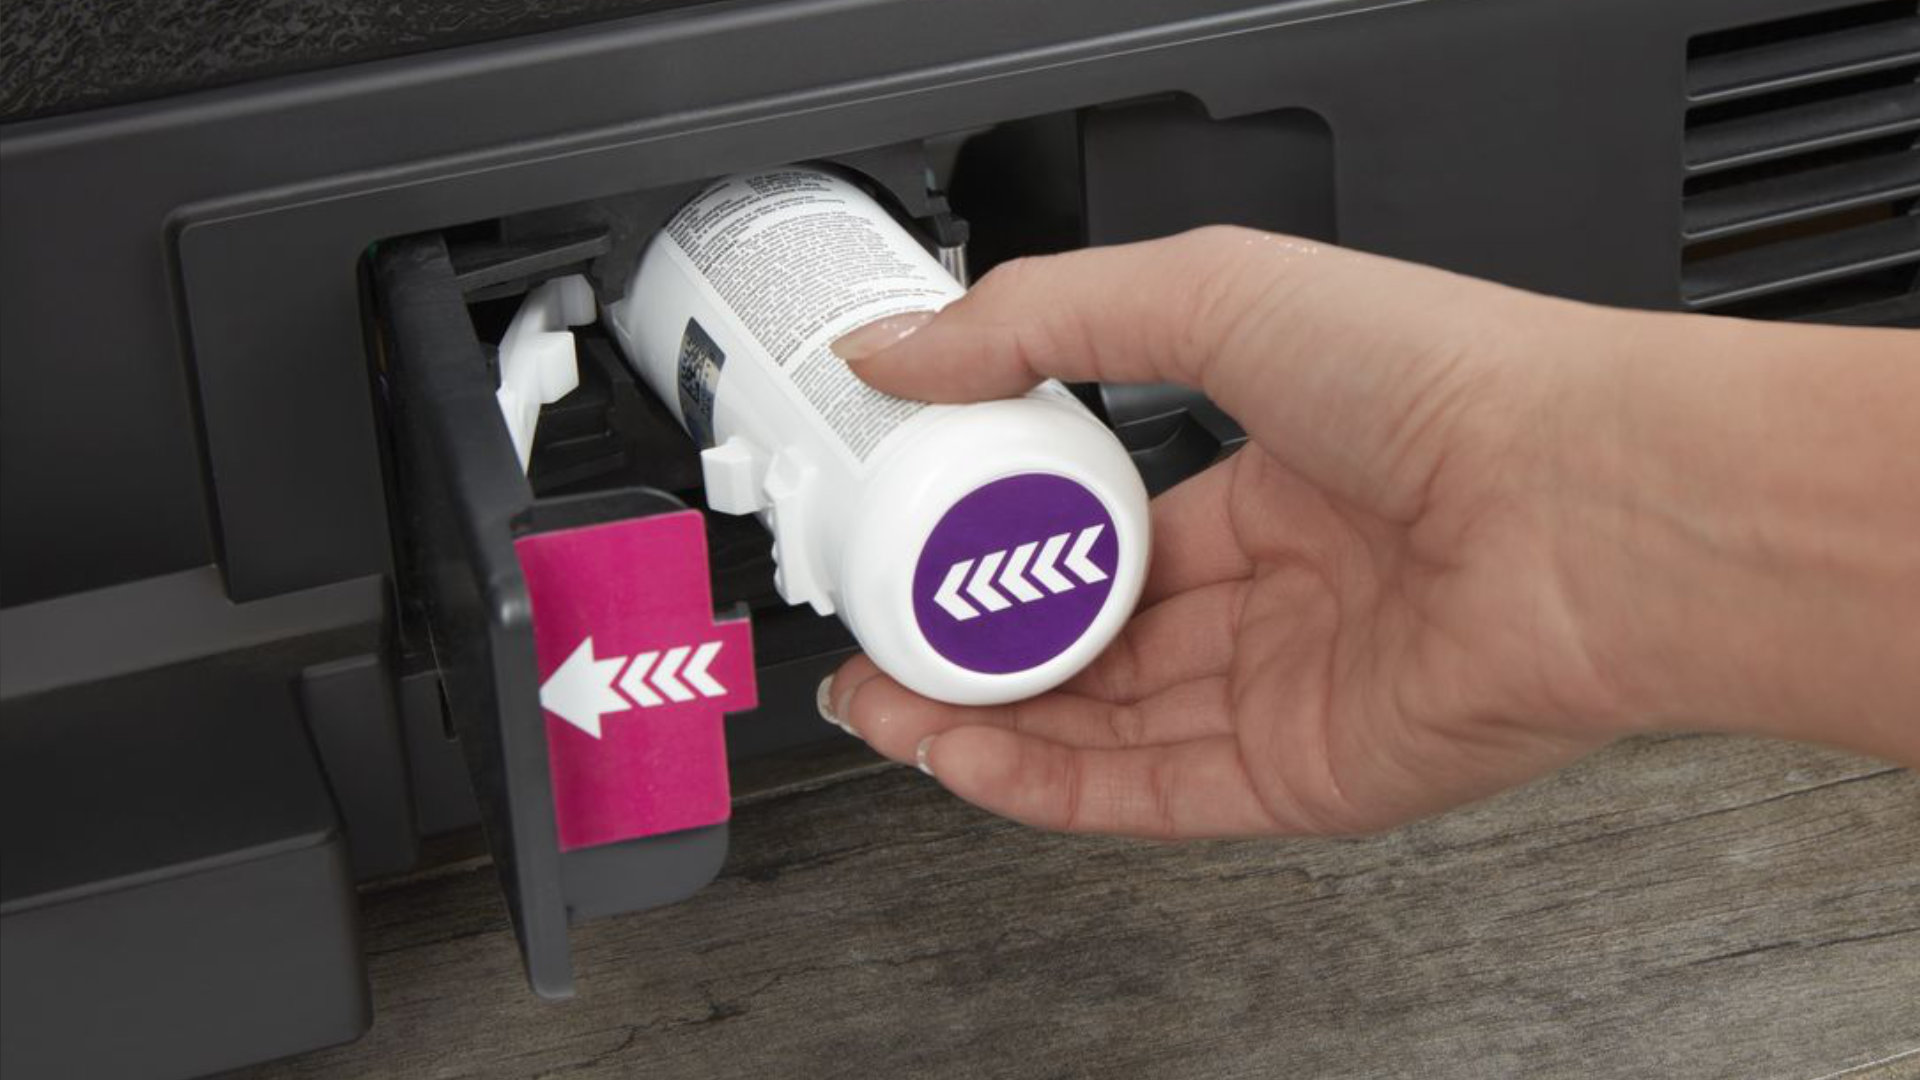
3. Remove The Old Filter
- For inside filters: Open the cover, push or pull the filter to release it, then pull it straight out.
- For grille filters: Twist the filter cap counterclockwise and pull it out.
If the filter feels stuck, wiggle gently. Never use tools or force. Some filters require a push button to release.
4. Install The New Filter
- Unwrap the new filter.
- Align it with the slot. For inside filters, insert until it clicks. For grille filters, push in and twist the cap clockwise.
- Make sure the filter is fully seated. If it sticks out, it’s not installed correctly.
5. Reset Filter Indicator
Most Whirlpool fridges have a filter indicator light. After installation, hold the reset button (usually 3-5 seconds) until the light turns green or off. If your fridge doesn’t have a button, check your manual for the reset steps.
6. Flush The New Filter
Run water through the dispenser for 3–5 minutes (about 2–3 gallons). This removes air and carbon dust, which can cause cloudy water or small black particles.
7. Turn On The Ice Maker
Once the filter is flushed, turn the ice maker back on. Discard the first batch of ice, as it may contain carbon dust.
Practical Tips For A Smooth Filter Change
- Buy filters in advance: Keep a spare to avoid last-minute shopping.
- Set a calendar reminder: Every six months or when the indicator turns red.
- Don’t skip the flush: Cloudy water is common if you skip this step.
- Check for leaks: After installation, run water and check for drips around the filter area.
- Don’t use tools: If the filter won’t come out, double-check the release mechanism. Forced removal can damage the slot.
Non-obvious Insights
- Hidden filter cover latches: Some Whirlpool models have a latch under the cover. If you can’t open it, look for a small release tab. Beginners often miss this and try to pry it open.
- Air pocket noises: After filter replacement, you may hear gurgling or popping from the dispenser. This is normal and usually stops after flushing a few gallons.
Credit: authorizedco.com
Common Mistakes And How To Avoid Them
Many first-time users make simple errors. Here are frequent mistakes and ways to avoid them:
- Skipping the flush step: This leaves carbon dust in your water.
- Installing the filter backward: Always check the arrow or alignment marks.
- Using the wrong filter model: Double-check your fridge’s model number and match it to the filter.
- Forgetting the reset: The filter indicator won’t track your new filter if you skip this.
- Leaving air pockets: Not flushing enough causes air bubbles, which can cause water to splatter.
How Often Should You Replace Your Whirlpool Water Filter?
Whirlpool recommends every six months, but usage matters. If your family uses a lot of water, or you live in an area with hard water, you may need to change it sooner.
A Whirlpool study showed that families with four or more people replaced filters every four months, while single users often went eight months. Water with heavy sediment or chlorine may clog filters faster.

Credit: www.ifixit.com
Signs Your Water Filter Needs Replacing
- Bad taste or odor: Chlorine, musty, or metallic taste.
- Slow water flow: Clogged filter reduces dispenser speed.
- Filter indicator light: Red or yellow means replacement is due.
- Cloudy water: Carbon dust or contaminants.
- Visible particles: Sand, rust, or black flecks.
If you notice any of these, change your filter even if it hasn’t been six months.
How Whirlpool Water Filters Improve Your Water
Modern Whirlpool filters remove over 99% of lead, mercury, chlorine, and some pesticides. NSF-certified filters are tested for performance. The EveryDrop Filter 1, for example, removes up to 24 contaminants.
A recent test found that tap water with a new filter had:
- Lead:<1 part per billion (ppb)
- Chlorine:<0.1 milligrams per liter (mg/L)
- Mercury: Not detectable
Without a filter, lead levels were up to 15 ppb and chlorine at 0. 8 mg/L. These numbers matter because the EPA’s safe limit for lead is 15 ppb, but experts say any lead in drinking water is risky.
How To Dispose Of Your Old Whirlpool Water Filter
Water filters are not typically recyclable in curbside bins. Most cities recommend placing them in regular trash. Whirlpool and some specialty stores offer recycling programs. If you want to recycle, check Whirlpool’s official site or ask at your local appliance store.
Troubleshooting: What To Do If Problems Occur
Water Flow Is Slow
- Flush the filter longer—sometimes air pockets cause slow flow.
- Check for proper installation.
- Inspect for kinks in the water line.
Water Tastes Bad After Replacement
- Flushing longer usually solves this.
- If taste persists, check if the filter is genuine. Third-party filters can sometimes leave a taste.
Filter Won’t Fit
- Double-check the model number and filter type.
- If the filter slot is damaged, contact Whirlpool support.
Leaks After Installation
- Remove and reinstall the filter. Make sure it’s aligned.
- Check for cracks in the filter or cap.
- If leaking continues, turn off the water supply and call a technician.
Data: Whirlpool Water Filter Performance
Here’s a comparison of water quality before and after using a Whirlpool filter:
| Contaminant | Tap Water | Filtered Water |
|---|---|---|
| Lead (ppb) | 15 | <1 |
| Chlorine (mg/L) | 0.8 | <0.1 |
| Mercury (ppb) | 2 | 0 |
| Pesticides | Detected | Not detected |
Where To Buy Genuine Whirlpool Water Filters
Buy filters from Whirlpool’s official website, appliance stores, or online retailers. Avoid unknown sellers, as counterfeit filters are common. For more details, visit the official Whirlpool website.
Credit: www.youtube.com
Frequently Asked Questions
How Do I Know Which Whirlpool Water Filter I Need?
Check your fridge’s user manual or look at the filter for the model number. Most filters are labeled. If you’re unsure, Whirlpool’s website lets you search by fridge model.
Can I Use A Third-party Filter In My Whirlpool Fridge?
Yes, but make sure the filter is NSF certified and matches your fridge model. Using uncertified filters may void your warranty and reduce water quality.
What Happens If I Don’t Replace My Water Filter?
Old filters lose effectiveness and let contaminants through. You may notice bad taste, slow flow, or even health risks from lead and chlorine.
How Do I Reset The Filter Indicator Light?
Most Whirlpool fridges have a reset button near the dispenser. Hold it for 3–5 seconds after replacing the filter. If your fridge lacks a button, check your manual.
Can I Recycle My Old Whirlpool Water Filter?
Most cities don’t allow water filters in curbside recycling. Whirlpool offers recycling programs, and some appliance stores accept used filters.
Replacing your Whirlpool water filter keeps your water clean and your refrigerator working well. By following these steps, you protect your health and enjoy better-tasting water every day. Remember to check your filter type, flush after installation, and set reminders for timely replacements.
Small actions make a big difference for your home and family.