When you want to install a microwave in your kitchen but don’t have an exterior wall nearby, the challenge is real. Many modern kitchens have interior walls where people want to mount their microwaves. Proper venting is important for safety, removing smoke, steam, and smells. If you’re unsure how to vent a microwave on an interior wall, you’re not alone. The process is more complex than venting on an outside wall, but with the right plan and tools, it’s very possible to do a safe and effective installation.
This guide takes you step by step through the most important points. You’ll learn about the different venting options, what to consider before starting, and how to avoid common mistakes. You’ll also find practical tips based on real-world experience. Let’s make your kitchen both safe and comfortable, even if your microwave sits on an interior wall.
Understanding Microwave Venting
Not all microwaves are vented the same way. It’s important to know the difference before starting your project.
Some microwaves come with recirculating vents. These use a filter to clean air and send it back to your kitchen. Others use external venting, which pushes air outside your house through ducts. If you want to get rid of smoke and moisture, external venting is more effective, especially for serious home cooks.
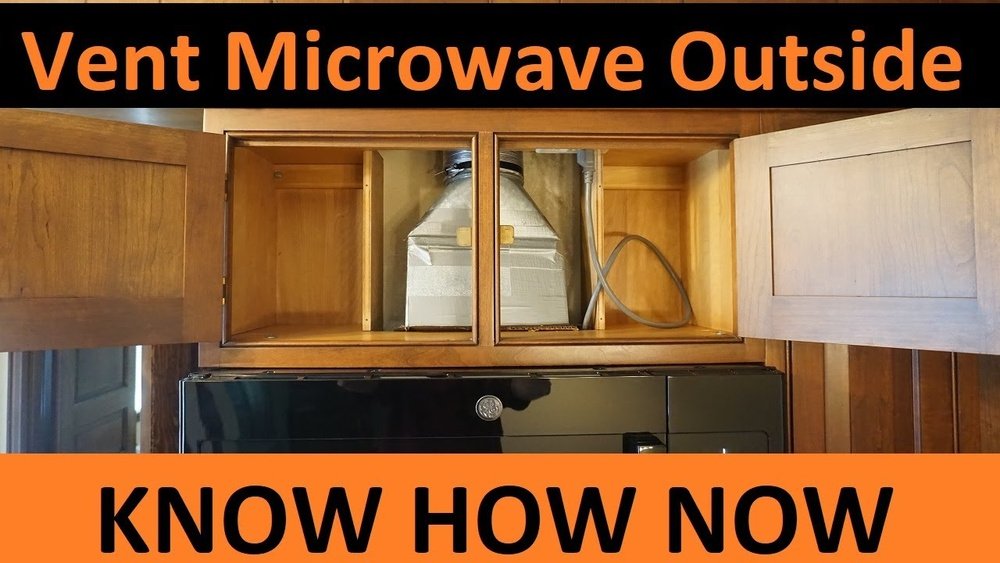
When your microwave is on an interior wall, you can’t vent directly outside. Instead, you’ll need to run ductwork through ceilings, soffits, or other walls to reach the outdoors. This adds some complexity, but the improved air quality is usually worth it.
Recirculating Vs. External Venting
| Feature | Recirculating Vent | External Vent |
|---|---|---|
| Air Direction | Back into kitchen | Outside home |
| Odor Removal | Moderate | Excellent |
| Moisture Control | Poor | Excellent |
| Installation Difficulty | Easy | Medium–Hard |
| Best For | Low-use kitchens | Frequent cooking |
What To Consider Before Venting
Before picking up your tools, take time to plan. A rushed installation can lead to poor venting or damage to your kitchen.
- Microwave Model: Check if your microwave supports external venting. Some only work with recirculating filters.
- Building Codes: Your city may have rules for venting appliances. Always check local codes before starting.
- Duct Run Length: The longer the duct, the harder your fan must work. Try to keep the duct as short and straight as possible.
- Type of Duct: Use rigid metal ductwork for best airflow. Avoid plastic or flexible ducts if possible.
- Wall and Ceiling Structure: Know what’s inside your walls and ceilings. Watch out for wires, pipes, and studs.
- Exit Point: Decide where your duct will exit—through the roof, soffit, or another wall.
Example: Duct Run Length Vs. Airflow
| Duct Length (feet) | Airflow Loss (%) |
|---|---|
| 5 | ~10% |
| 10 | ~20% |
| 20 | ~35% |
| 30 | ~50% |
Shorter, straighter ducts mean better performance and less wear on your microwave fan.

Credit: www.youtube.com
Tools And Materials You’ll Need
Having the right tools makes the job safer and easier. Here’s a basic list for a typical installation:
- Drill with different bits
- Stud finder
- Level
- Jigsaw or reciprocating saw
- Screwdrivers
- Tape measure
- Pencil for marking
- Metal snips (for cutting ductwork)
- Duct tape (for sealing joints, not regular tape)
- Rigid metal duct (size depends on microwave, often 3-6 inches)
- Wall or roof vent cap with backdraft damper
- Mounting hardware (usually included with microwave)
- Safety gear: Goggles, gloves, dust mask
Pro Tip: Gather all materials before you start. Stopping mid-project to find a missing part can lead to mistakes or a half-finished job.
Step-by-step Guide To Venting A Microwave On An Interior Wall
Each kitchen is unique, but the general process is similar. Here’s a step-by-step walkthrough for most interior wall installations.
1. Plan Your Duct Route
Start by mapping the shortest path from your microwave to the outside. Most often, this means:
- Up through the cabinet above the microwave
- Across the ceiling (between joists)
- Out through a roof or side wall
Check for any obstacles in your planned path. Use a stud finder to locate framing, and look for plumbing or wiring.
Non-Obvious Insight: If your duct path needs more than two 90-degree turns, performance will suffer. Try to limit turns—every bend reduces airflow.
2. Prepare The Microwave And Cabinet
Remove the cabinet above where the microwave will go, if possible. This makes it easier to work and avoids damaging the cabinet.
- Mark the centerline where the vent will go.
- Use the template (often included with the microwave) to mark vent hole locations.
- Drill a small pilot hole first to check what’s inside the wall or ceiling before making a large cut.
3. Cut Duct Openings
With your locations marked, carefully cut holes for the duct:
- In the cabinet base (for the vent to pass through)
- In the ceiling (if going up)
- In the roof or exterior wall at the exit point
Make sure the hole size matches your duct. Use a jigsaw or reciprocating saw for clean cuts.
Beginner Mistake: Cutting before you check for hidden wires or pipes. Always drill a small test hole first!
4. Install The Ductwork
Fit the rigid metal duct sections together, starting at the microwave and working outwards. Seal each joint with aluminum duct tape (not regular tape).
- Use as few joints as possible
- Keep the duct straight and supported
- Secure with metal straps if the duct is long or heavy
Pro Tip: Slope horizontal runs slightly (about 1/4 inch per foot) toward the exit. This helps moisture drain out, not back into your kitchen.
5. Mount The Microwave
With the duct in place, install the mounting bracket (usually included with the microwave). Lift the microwave into place, guiding the vent collar into the duct opening.
- Secure the microwave according to the manufacturer’s instructions
- Double-check that the vent lines up and there are no air gaps
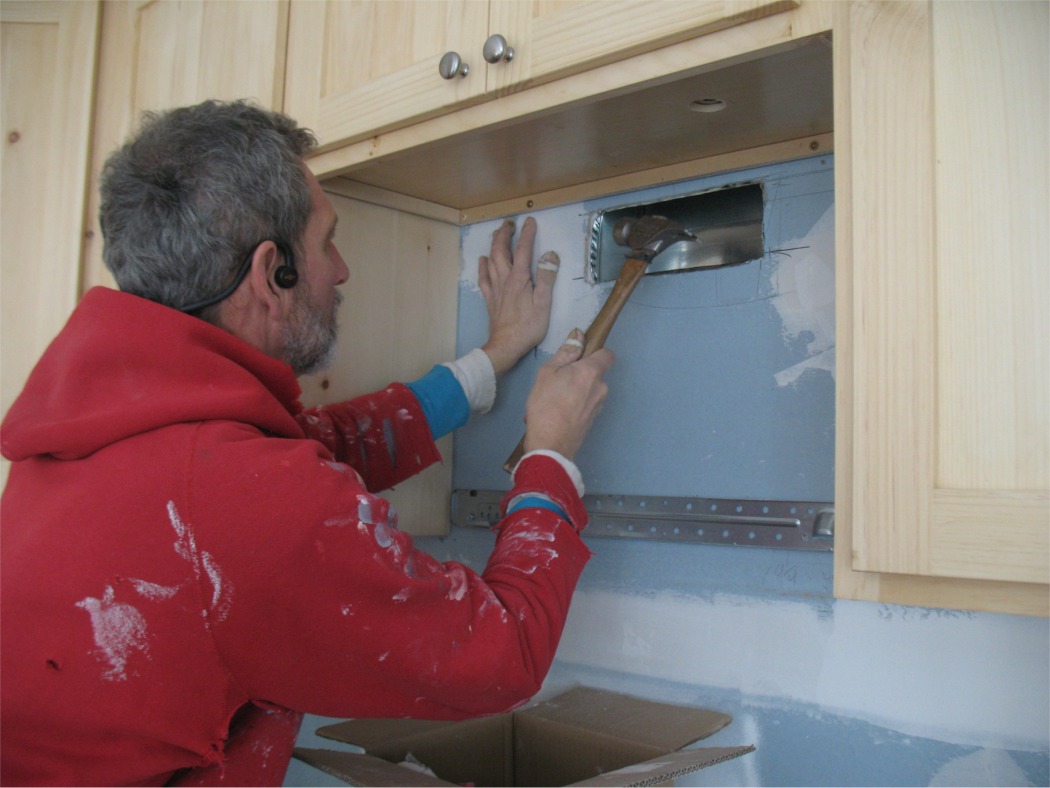
6. Install The Exterior Vent Cap
At the duct’s exit point, install an exterior vent cap with a backdraft damper. This keeps out rain, animals, and cold air.
- Cut the exterior hole to fit the vent cap
- Attach the vent cap securely
- Seal all edges with exterior-grade caulk
Non-Obvious Insight: Choose a vent cap with a bird screen. Small animals often nest in warm vent openings, causing blockages.
7. Test And Seal
Turn on the microwave’s vent fan. Check for strong airflow at the exit point. Listen for rattling or leaks.
- Seal any air leaks with duct tape
- Check all connections for tightness
- Replace the cabinet if removed
If airflow is weak, check for crushed duct sections or too many bends.
Credit: www.finehomebuilding.com
Common Problems And How To Avoid Them
Venting a microwave on an interior wall can go wrong if you skip planning. Here are some frequent issues and solutions:
- Poor Airflow: Caused by long or bent ducts. Keep the run short and straight.
- Backdrafts: Cold air coming in from outside. Use a good damper on your vent cap.
- Leaks and Odors: Duct joints not sealed well. Always use metal tape, not cloth or plastic.
- Noise: Loose ducts or poorly mounted microwaves can vibrate. Add extra support if needed.
- Code Violations: Ignoring local building codes can create safety risks and legal problems.
Duct Material Comparison
| Duct Type | Pros | Cons |
|---|---|---|
| Rigid Metal | Best airflow, durable, code approved | Harder to install, more expensive |
| Flexible Metal | Easier to fit around obstacles | Reduces airflow, harder to clean |
| Plastic | Cheap, light | Can melt, not code approved for most installations |
Safety And Code Compliance
Safety is more than just turning off the power. Some key points:
- Always turn off power before working near wiring.
- Use only UL-listed ducting materials.
- Local codes may require a permit or inspection.
- Do not vent into attics or crawlspaces—always take air outside.
- If you’re unsure, talk to a licensed contractor or building inspector.
Non-Obvious Insight: Some insurance policies require proof of code-compliant venting for kitchen appliances. Save your receipts and take photos as you work.
When To Hire A Professional
If you’re comfortable with tools, many homeowners can do this project. But hire a pro if:
- Your duct run is longer than 10 feet or has many bends
- You find unexpected wiring or plumbing
- You’re not confident cutting through ceilings or roofs
- Local codes require licensed installation
Professional installation costs between $350 and $700 depending on complexity, but it guarantees code compliance and safety.
Maintenance Tips For Long-term Performance
Once your microwave is vented, keep it working well with regular checks:
- Clean the grease filter every 3–6 months
- Check outside vent cap for blockages twice a year
- Inspect duct joints for leaks once a year
- Replace any damaged or crushed duct sections
Most people forget about vent maintenance, but it’s key for fire safety and good kitchen air quality.

Credit: diy.stackexchange.com
Frequently Asked Questions
What Is The Best Duct Size For Venting A Microwave?
Most over-the-range microwaves use a 3- or 4-inch duct. Check your owner’s manual for the exact size. Bigger ducts give better airflow and less noise.
Can I Use Flexible Duct For My Microwave Vent?
Flexible metal duct is allowed in some areas, but rigid metal duct is better. It’s easier to clean and doesn’t reduce airflow as much. Plastic duct is not recommended or allowed by code in most places.
Do I Need A Permit To Vent A Microwave On An Interior Wall?
In many cities, yes—a permit is required for ducting work. Check with your local building department before starting. Permits ensure the work meets safety standards.
How Do I Know If My Vent Is Working Properly?
Put a tissue at the vent cap outside. If the tissue is pulled flat against the vent when the fan is running, you have good airflow. Also, watch for steam and odors—if they linger, your vent may have a problem.
Can I Vent My Microwave Into The Attic?
No, you should never vent into attics, crawlspaces, or other rooms. All vented air must go outside. Otherwise, you risk mold, smells, and code violations.
Venting a microwave on an interior wall takes planning, but the rewards are worth it. With better air quality, a safer kitchen, and a professional look, your home will be more comfortable for years to come. If you need more technical details or want to see code requirements, visit the National Fire Protection Association website for guidance. Take your time, measure twice, and enjoy your improved kitchen!