When your icemaker stops getting water, it can be both confusing and frustrating. You rely on your refrigerator to make ice for drinks, parties, and everyday life. Suddenly, you open the freezer and see no ice cubes—just an empty bin or half-frozen clumps.
This is a common issue in many homes, but the reasons behind it can range from very simple to more complex.
The good news is that most icemaker water supply problems are fixable. In many cases, you can solve the problem without calling a technician. By understanding how an icemaker works and knowing the most common causes, you can save time and money.
This guide will walk you through everything you need to know, from how icemakers get water to detailed steps for troubleshooting.
Let’s explore why an icemaker might not be getting water, how to diagnose the problem, and what you can do to fix it.
How Icemakers Get Water
Before fixing the problem, it helps to know how your icemaker works. Most refrigerator icemakers use a simple process:
- Water supply line: A small, flexible tube connects your fridge to the cold water supply in your home.
- Water inlet valve: An electric valve opens when the icemaker needs water, letting it flow into the ice tray.
- Icemaker control: The icemaker has a thermostat and timer. When the tray is empty or the ice is removed, it signals the valve to open.
- Ice mold (tray): Water fills the tray, freezes, and is then ejected into the ice bin.
If any step in this process fails, your icemaker might not get water.
The Most Common Reasons An Icemaker Stops Getting Water
Several issues can prevent water from reaching your icemaker. Here are the most common causes:
1. Water Supply Line Problems
The thin tube bringing water to your fridge can get kinked, frozen, or clogged. Sometimes, moving the fridge pinches the line. Minerals in water can also build up inside, blocking flow.
2. Faulty Water Inlet Valve
This valve controls water flow into your fridge and icemaker. If it fails electrically or gets clogged, water won’t reach the tray.
3. Low Water Pressure
Your home water pressure must be high enough for the valve to open. If pressure drops below about 20 psi (pounds per square inch), the valve may not work properly.
4. Clogged Or Frozen Fill Tube
The fill tube delivers water from the valve to the icemaker tray. Sometimes, water droplets freeze inside the tube, especially if the freezer is very cold or the tube isn’t insulated.
5. Icemaker Control Or Sensor Issues
A faulty thermostat or control board may not tell the valve to open, even if everything else is working.
6. Water Filter Problems
A clogged or old filter can block water flow. Some fridges even stop making ice if the filter isn’t changed regularly.
7. Installation Errors
If your fridge was recently installed or moved, the water line might not be fully connected or turned on.
8. Air In The Line
After a new installation or water filter change, air pockets can prevent water from reaching the icemaker.
These are the main reasons you might not be getting ice. Next, let’s look at how you can find the exact problem.
Diagnosing The Problem Step-by-step
Finding out why your icemaker isn’t getting water is about careful checking. Here’s a practical guide to diagnosing the issue.
Step 1: Check The Water Supply Line
- Look behind your fridge. Gently pull it away from the wall.
- Inspect the water line for kinks or bends. Even a small kink can stop water flow.
- Make sure the line is securely attached at both ends (the wall and the fridge).
- If your supply line is copper, look for dents; if it’s plastic, look for pinches.
Step 2: Make Sure The Water Valve Is On
- Look for a small shutoff valve (usually under the sink or behind the fridge).
- Turn it counterclockwise to open fully.
- If the valve is hard to turn or stuck, it may need replacing.
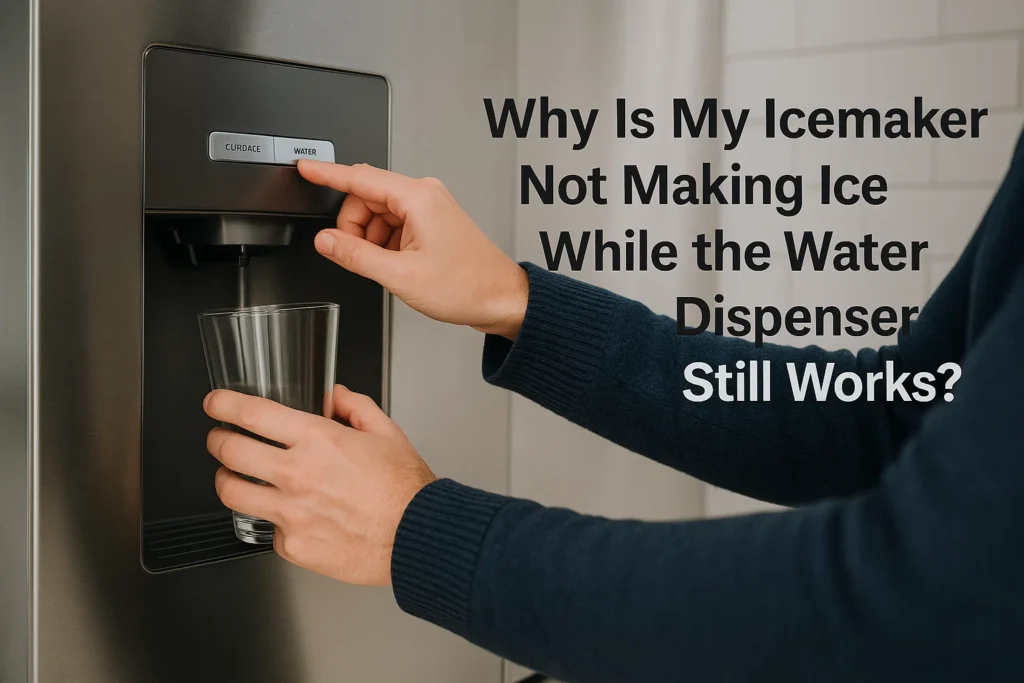
Step 3: Test The Water Dispenser
- If your fridge has a water dispenser, try using it.
- If the dispenser doesn’t work, the problem is likely with the water supply line, filter, or inlet valve.
- If the dispenser works, the issue is probably with the icemaker itself.
Step 4: Inspect The Water Inlet Valve
- Unplug the fridge.
- Locate the valve, usually at the back, near the bottom.
- Check for signs of leaks or corrosion.
- If you’re comfortable, use a multimeter to test for continuity (electrical flow). No continuity means the valve is faulty.
- A humming sound or clicking noise can also mean the valve is struggling.
Step 5: Check For A Frozen Fill Tube
- Open the freezer and locate the tube that fills the icemaker tray.
- Touch it gently—if it feels very hard or you see ice, it’s likely frozen.
- Use a hair dryer (on low) to thaw the tube, or let the freezer rest open until it melts.
Step 6: Replace Or Check The Water Filter
- Find the filter (usually inside the fridge compartment).
- Remove and inspect it for clogs or discoloration.
- Try running the fridge without the filter (if your model allows).
- Replace the filter if it’s older than six months.
Step 7: Test Water Pressure
- Turn off the water at the shutoff valve.
- Disconnect the supply line from the fridge.
- Hold the line over a bucket, then turn the water back on briefly.
- If water comes out in a slow trickle, your home water pressure may be too low.
Step 8: Check The Icemaker’s Controls
- Some models have a power switch or reset button. Make sure it’s turned on.
- Look for an arm or sensor that detects ice level—if stuck, it can stop new ice from forming.
- If the icemaker has a diagnostic mode, run it (see your user manual).
Following these steps should help you find the source of the problem. Next, let’s look at practical fixes for each issue.
Fixes For Each Icemaker Water Supply Problem
Once you’ve identified the cause, here’s how to fix it. Some solutions are quick and easy, while others may need a few tools or new parts.
Fixing A Kinked Or Blocked Water Line
- Gently straighten any kinks.
- If the line is damaged or leaking, replace it with a new one (plastic or copper).
- Flush out the line with clean water if you suspect a blockage.
- For mineral buildup, soak the line in vinegar, then rinse thoroughly.
Replacing Or Repairing The Water Inlet Valve
- Buy a replacement valve designed for your fridge model.
- Unplug the fridge and turn off the water.
- Remove the old valve by disconnecting the wires and water lines.
- Install the new valve, reconnect, and test for leaks.
Clearing A Frozen Fill Tube
- Use a hair dryer on low heat to melt ice inside the tube.
- Don’t use sharp tools to chip away ice—you could puncture the tube.
- Check your freezer temperature. If it’s below 0°F (-18°C), raise it to avoid future freezing.
Changing The Water Filter
- Buy a filter compatible with your refrigerator.
- Remove the old filter (twist or push-to-release).
- Insert the new filter, making sure it locks into place.
- Flush several gallons of water through to clear air and loose carbon.
Restoring Water Pressure
If your home water pressure is low:
- Check for leaks in your plumbing system.
- Make sure other faucets in your house have good flow.
- If you have a water softener or filter system, check for clogs.
- Consider installing a booster pump if needed.
Fixing Icemaker Controls Or Sensors
- Reset the icemaker using the power or reset button.
- If the sensor arm is stuck, gently move it back to its normal position.
- If controls or boards are faulty, you may need a replacement part. Consult your user manual or a technician.
Dealing With Air In The Line
- After filter changes or installation, run several gallons of water through the dispenser to clear air.
- Listen for sputtering or uneven flow—this usually clears after a few minutes.
How Long Should Repairs Take?
The time needed to fix an icemaker water problem depends on the cause. Here’s a rough guide:
| Problem | Estimated Repair Time | Requires Special Tools? |
|---|---|---|
| Kinked water line | 10–20 minutes | No |
| Frozen fill tube | 20–30 minutes | No |
| Replace inlet valve | 30–60 minutes | Wrench, screwdriver |
| Change water filter | 5–10 minutes | No |
| Check controls/sensors | 10–20 minutes | No |
Most fixes can be done in under an hour, and many require only basic tools.
When To Call A Professional
While many icemaker problems can be fixed at home, you might need a professional if:
- You suspect an electrical problem or don’t feel safe with wiring.
- The water line is leaking inside your walls or floor.
- The icemaker control board needs replacement.
- You’ve tried all the above and still have no ice.
Repair costs can range from $100–$350, depending on the part and labor needed. Always get an estimate before agreeing to repairs.
Credit: tigges-dco.de
Preventing Future Icemaker Water Problems
Prevention saves time and money. Here are practical ways to avoid icemaker water issues:
- Change water filters every 6 months (or as recommended).
- Keep the freezer temperature between 0°F and 5°F (–18°C to –15°C) to avoid frozen fill tubes.
- Check the water line for kinks or leaks every time you move the fridge.
- Run the ice maker regularly. If you’re away for weeks, empty and clean the bin before leaving.
- Flush the system after changing filters to remove air and loose particles.
- Clean the icemaker every few months to prevent scale and mold buildup.
These steps help keep your icemaker running smoothly.
Comparing Diy And Professional Repair
If you’re unsure whether to tackle the fix yourself or call for help, here’s a quick comparison:
| Factor | DIY Repair | Professional Repair |
|---|---|---|
| Cost | Low (parts only) | Higher (parts + labor) |
| Time | 1–2 hours | Usually faster |
| Skill required | Basic to intermediate | None for you |
| Warranty | May void if not careful | Often included |
| Risk | Possible mistakes | Low |
DIY is usually best for simple problems like a kinked line or frozen tube. For electrical or control issues, professional help is safer.
Real-world Examples
To make this more practical, here are a few examples of icemaker water problems and how they were solved:
- Case 1: A family noticed no ice after moving their fridge. They found the water line had gotten pinched behind the unit. Straightening the line fixed the problem in minutes.
- Case 2: A homeowner with hard water had slow ice production. The cause was mineral buildup inside the water line and valve. They cleaned the line with vinegar and replaced the filter, restoring normal flow.
- Case 3: A renter had no ice after changing the water filter. Air in the line was the culprit. Running the water dispenser for five minutes cleared the air, and ice returned within hours.
- Case 4: An older fridge stopped making ice after a power outage. The icemaker’s control board reset itself, so pressing the reset button restarted the cycle.
These stories show that even simple checks and fixes can solve most water supply problems.
Advanced Troubleshooting: What If Everything Seems Fine?
Sometimes, you’ll check every part and still have no water at the icemaker. Here are a few advanced checks:
Check The Saddle Valve
Many fridges use a saddle valve (a small clamp-on valve) to tap into your home’s water line. These can clog with mineral deposits, especially after years of use. If you suspect this, close and open the valve several times to clear buildup, or replace it with a standard valve.
Test The Inlet Valve With A Multimeter
If you’re comfortable with electronics, use a multimeter to check for continuity. If there’s no continuity, the valve is dead and must be replaced.
Inspect The Icemaker Module
Some models have a small motor and gear system that controls the ice cycle. If this part fails, water may never be called for. Replacing the module is advanced but possible for skilled DIYers.
Look For Error Codes
Modern fridges sometimes show error codes on their display. Check your user manual for what the codes mean—they can point you to a stuck sensor, frozen tray, or valve problem.

Credit: www.blind-guardian.com
Why Regular Maintenance Matters
You can avoid most icemaker problems by keeping up with regular maintenance. Not only does this keep your fridge running well, but it also helps prevent leaks, mold, and bad-tasting ice.
Some homeowners skip filter changes or ignore small leaks. Over time, this can lead to bigger issues—like water damage or expensive repairs. A little care goes a long way.
The Impact Of Water Quality On Icemakers
Your local water quality can affect your icemaker’s performance. Hard water (water with high mineral content) can cause scale buildup inside the lines and valves, leading to clogs. If you live in an area with hard water, consider:
- Installing a whole-house water softener.
- Changing your fridge’s water filter more often.
- Cleaning the water line with vinegar every few months.
According to the U. S. Geological Survey, about 85% of U. S. homes have hard water. This makes regular cleaning even more important.
For more on water quality and its effects on appliances, visit the U.S. Environmental Protection Agency.

Credit: www.youtube.com
Choosing Replacement Parts
When you need to replace a part (like a valve or filter), always use parts designed for your fridge model. Generic or off-brand parts may not fit well or could void your warranty.
Here’s a quick comparison of original vs. generic parts:
| Part Type | Pros | Cons |
|---|---|---|
| OEM (Original Equipment Manufacturer) | Perfect fit, warranty safe | More expensive |
| Generic/Universal | Lower cost | May not fit, no warranty guarantee |
Check your fridge’s manual or manufacturer’s website for part numbers before buying.
Key Insights Many Beginners Miss
- Air in the line is a common cause after changing a filter or installing a new fridge. Many people overlook this, thinking something is broken, when running water through the dispenser for several minutes fixes it.
- Freezer temperature matters. If the freezer is too cold, it can cause the fill tube to freeze. Many assume colder is always better, but setting the freezer to 0–5°F is best for ice production.
- Water pressure is often overlooked. Some homes, especially older ones, may have low water pressure. A simple water pressure gauge from a hardware store can help diagnose this quickly.
- Checking the filter bypass. If your fridge allows, try running without the filter using a bypass plug. If water flow returns, the filter was the problem.
- Aftermarket valves and lines can leak. Always double-check connections and use Teflon tape on threads when installing new water lines or valves.
These non-obvious points can save you hours of troubleshooting.
Frequently Asked Questions
Why Is My Icemaker Not Getting Water, But The Water Dispenser Works?
If your fridge’s water dispenser works but the icemaker does not, the problem is likely with the icemaker itself, the fill tube (may be frozen), or the control sensor. The water line and valve are likely working fine since the dispenser has water.
How Do I Know If My Water Inlet Valve Is Bad?
Signs of a bad water inlet valve include no water flow, loud buzzing or humming noises, or visible leaks. You can test the valve with a multimeter for electrical continuity or listen for the valve opening when the icemaker cycles.
Can A Clogged Filter Stop My Icemaker From Making Ice?
Yes, a clogged water filter can block water flow to both the dispenser and the icemaker. If your filter is more than six months old or you notice slow water flow, replace it and see if the problem resolves.
How Long After Fixing Should My Icemaker Start Making Ice Again?
After fixing the problem, most icemakers take up to 24 hours to produce a full bin of ice. The first batch may be small or irregular. If you don’t see any ice after a day, recheck your repairs.
Is It Safe To Use A Hair Dryer To Thaw A Frozen Fill Tube?
Yes, using a hair dryer on low heat is a safe way to thaw a frozen fill tube. Hold it a few inches from the tube and move it slowly to avoid melting plastic parts. Never use sharp objects to chip away ice.
Solving an icemaker water supply problem can be straightforward with the right knowledge and steps. By following this guide, you can diagnose, fix, and even prevent most issues yourself—keeping your drinks cold and your kitchen running smoothly.