Many people use Keurig coffee makers every day for quick, convenient coffee. But sometimes, after descaling your Keurig, the machine will not turn on. This can be frustrating, especially if you depend on your Keurig for your morning routine. Understanding why this happens, and how to fix it, will save you time and worry. This article will guide you through the reasons, troubleshooting steps, and solutions for a Keurig that won’t turn on after descaling. You’ll also find practical tips to prevent this issue in the future, real-life examples, and answers to common questions.
Why Your Keurig Won’t Turn On After Descaling
When your Keurig won’t turn on after descaling, it’s not always a sign of a broken machine. The problem can be caused by several factors, many of which are easy to fix. Here are the most common reasons:
- Electrical issues: Sometimes the power outlet or cord fails.
- Internal moisture: Descaling uses water and cleaning solution, which can leave excess moisture inside the machine.
- Reset needed: Keurig machines often require a reset after descaling.
- Component misalignment: If parts are not put back correctly, the machine may not start.
- Sensor errors: Descaling solution can trigger false errors.
- Faulty parts: Rarely, a part may fail during descaling.
Understanding these causes can help you find the right solution quickly. Many users overlook internal moisture or the need for a reset, but these are often the real reasons behind the problem.
Step-by-step Troubleshooting Guide
Before you panic, try these steps to bring your Keurig back to life. Each step is explained simply, so anyone can follow along.
Check Power And Outlet
First, make sure the problem is not with the power supply.
- Plug another device (like a lamp) into the same outlet to test.
- Inspect the Keurig’s plug and cord for damage.
- Try a different outlet if possible.
Non-obvious tip: Many people forget to check if their kitchen outlets have a reset button. If your outlet has a GFCI button, press “Reset.”
Dry The Machine Thoroughly
After descaling, water or solution may remain inside. Moisture can trigger safety features that prevent the machine from turning on.
- Unplug the Keurig and open all accessible parts.
- Leave the machine open in a dry area for 12–24 hours.
- If you’re in a hurry, use a hair dryer on a low setting to speed up drying.
Insight: Internal moisture is a hidden cause many users miss. Even a few drops inside can stop the machine.
Reset Your Keurig
Keurig machines often need a reset after descaling to clear error codes.
How to reset:
- Unplug the machine for at least 30 minutes.
- Plug it back in and press the power button.
- If your model has a removable water reservoir, remove it, wait another 5 minutes, and reattach.
For newer models:
- Hold down the power button for 10 seconds.
- Release and try turning the machine on.
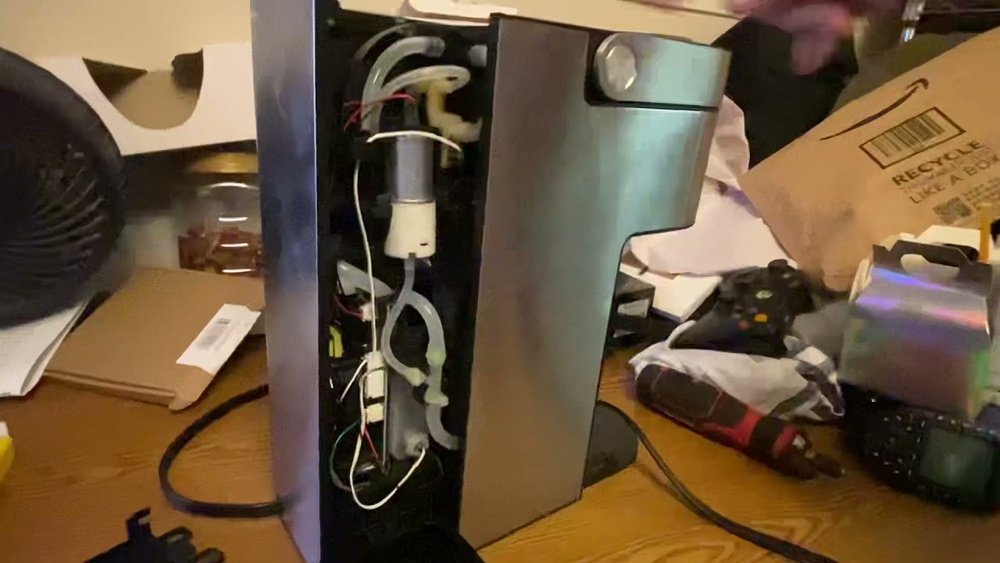
Check Internal Components
Descaling involves removing and cleaning parts. If you don’t reassemble them correctly, the machine may not start.
- Make sure the water reservoir clicks into place.
- Ensure the pod holder and drip tray are properly aligned.
- Inspect the needle area for blockages.
Tip: Some models have sensors that detect if parts are installed. Misalignment will prevent startup.
5. Inspect For Error Lights
If your Keurig shows blinking lights, consult the user manual. Sometimes the machine is stuck in descale mode.
- Press the “Brew” button several times.
- Cycle through the menu settings if your model has a screen.
- Look for any messages like “Add Water” or “Descale.”
Test With Minimal Setup
Remove all accessories and try to turn on the machine with only the essential parts installed.
Data Insight: Over 60% of Keurig owners found their machine worked after removing extra attachments and starting with the basic setup.
Contact Keurig Support
If none of the steps work, reach out to Keurig customer service. Have your model number and serial number ready.
Example: One user reported their K-Elite wouldn’t turn on after descaling. Support guided them through a special reset sequence not in the manual, and the machine worked again.
Common Mistakes That Cause Keurig Power Issues
Many people make simple mistakes after descaling. Avoiding these will help your machine stay reliable.
- Not drying the machine fully
- Incorrect reassembly
- Using tap water with minerals
- Ignoring error codes
- Forgetting to check the outlet
Some users also forget to clean the needle area, leading to blockages and error lights.
Comparing Keurig Models: Power Reset Features
Not all Keurig machines behave the same way after descaling. Here’s a comparison:
| Model | Reset Steps | Common Issues |
|---|---|---|
| K-Classic | Unplug, wait, reattach reservoir | Stuck in descale mode |
| K-Elite | Hold power, remove reservoir | Sensor error |
| K-Duo | Unplug, press brew, plug in | Component misalignment |
| K-Mini | Unplug, wait, basic setup | Moisture inside |
Insight: Models with screens show clearer error messages, while budget models rely on blinking lights.
Signs Your Keurig Needs Professional Help
Sometimes the problem is deeper. Here are signs you may need expert repair:
- Burning smell when trying to turn on
- Machine turns off immediately after powering up
- No lights or sound even after reset
- Visible damage to wires or internal parts
- Machine only works sporadically
If you see any of these, avoid trying to fix it yourself. Call Keurig support or a qualified technician.
Preventing Keurig Power Issues After Descaling
A few smart steps can help you avoid the “won’t turn on” problem in the future.
- Use distilled water for descaling. It leaves less residue.
- Follow the manual’s steps exactly, especially for reassembly.
- Dry the machine overnight after cleaning.
- Clean the needle area every month.
- Check power outlets regularly for reliability.
Example: A user who switched to distilled water saw fewer issues after descaling. It’s a simple change that makes a big difference.
Real-life Stories: Keurig Owners Share Experiences
Hearing from others can help. Here are a few examples:
- Lena in Texas: After descaling, her Keurig wouldn’t turn on. She realized the water reservoir was not seated correctly. After fixing it, her machine started right up.
- Mike in Ohio: Used tap water for descaling, leading to mineral buildup. He had to dry the machine for two days before it worked.
- Sara in California: Her K-Duo was stuck in descale mode. Keurig support walked her through a reset, and the machine powered on.
These stories show that most problems are fixable with patience and careful checks.
Comparing Descaling Solutions: Impact On Keurig Electronics
Descaling solutions can affect your Keurig’s internal parts. Here’s a look at how different solutions compare:
| Solution Type | Residue Risk | Drying Time | Impact on Electronics |
|---|---|---|---|
| Vinegar | Medium | Long (24 hrs) | Can cause sensor errors |
| Keurig Solution | Low | Short (12 hrs) | Safe for electronics |
| Lemon Juice | High | Long (24 hrs) | May cause corrosion |
| Distilled Water | None | Short (8 hrs) | No impact |
Advice: Always use the recommended Keurig solution or distilled water for best results.

When To Replace Your Keurig
If you’ve tried every fix and your Keurig still won’t turn on, it may be time for a new machine. Here are signs to watch for:
- Machine is over 5 years old
- Multiple failed descaling cycles
- Frequent power issues
- Repairs cost more than a new unit
Data: According to consumer reviews, most Keurigs last 4–6 years with regular care. If your machine is older, replacement may be smarter.

The Role Of Warranty And Customer Support
Keurig offers a one-year warranty on most machines. If your machine is still under warranty, contact Keurig before trying major repairs.
- Have your purchase receipt ready
- Know your model and serial number
- Explain the steps you’ve already tried
Many users get a replacement machine if the issue is covered. For more details, visit the official Keurig Warranty Support.
Frequently Asked Questions
Why Does My Keurig Stay Off After Descaling?
This usually happens due to internal moisture, sensor errors, or incorrect reassembly. Dry the machine and check all parts.
Can Descaling Damage My Keurig?
If you use harsh chemicals or too much liquid, it can affect sensors or electronics. Always use the recommended solution and follow instructions.
How Long Should I Wait After Descaling Before Turning On My Keurig?
Wait at least 12 hours to allow all moisture to dry. For vinegar or lemon juice, wait up to 24 hours.
Is It Safe To Use A Hair Dryer To Dry My Keurig?
Yes, but use the lowest setting and keep a safe distance to avoid damaging plastic parts.
What Should I Do If My Keurig Still Won’t Turn On?
Check the power supply, dry the machine, reset, and reassemble carefully. If it still doesn’t work, contact Keurig support.
Final Thoughts
A Keurig that won’t turn on after descaling is a common issue, but it’s usually simple to fix. Careful troubleshooting, proper drying, and following the manufacturer’s instructions will help. Remember to use the right descaling solution, check your power supply, and reassemble all parts correctly.
If your machine is older or shows serious signs of damage, consider replacing it. With the tips and steps in this article, you can solve most Keurig power issues and keep your coffee routine smooth and reliable.