
When the Add Water Light on Keurig Not Working, it is often because a magnetic float inside the reservoir is stuck. This component gets coated in scale or trapped by debris, preventing it from signaling that the tank is full. If tapping the reservoir doesn’t free the float, the sensor cannot detect the water level.
Why the Add Water Light on Keurig Not Working
| Cause | How common | How to confirm it | Fix it yourself? |
|---|---|---|---|
| Stuck magnetic float | Very common | Float doesn’t move | Yes |
| Mineral scale buildup | Common | White flakes in tank | Yes |
| Improper tank seating | Common | Tank feels loose | Yes |
| Air bubble in line | Occasional | Pump sounds strained | Yes, with care |
| Failed sensor | Rare | Nothing works | No |
| Damaged tank magnet | Rare | Magnet is missing | No |
A stuck float is often caused by biofilm residue. If the float feels sticky, clean it with a mild vinegar solution rather than harsh chemicals.
Mineral scale is the primary culprit in hard water areas. If you spot white flakes, descale the tank immediately. Ignoring this buildup can permanently clog the internal intake valves, requiring a full replacement.
For air bubbles, listen for a high-pitched whine from the pump. If you hear it, tilt the unit gently while running to release trapped gas.
If the tank magnet is missing, you can verify this by holding a fridge magnet against the sensor housing. If the machine suddenly starts, the tank magnet has detached. Don’t attempt to glue a new magnet in place, as the polarity must match the sensor exactly. If the sensor remains unresponsive after this test, the internal circuit board has likely failed.
Stuck float inside the reservoir
The magnetic float is a small, hollow plastic piece located inside a vertical housing within your water tank. Its job is to rise with the water level so a sensor on the machine base can read its position. When the float gets stuck at the bottom due to limescale or oily residue, the machine thinks the tank is empty, regardless of how much water is actually inside.
To confirm this, lift the reservoir off the Keurig base and look at the bottom area inside the tank. You should see a small plastic cylinder containing a float. If you gently tilt the tank, the float should slide up and down easily. If it stays fixed at the base, it’s stuck.
The fix involves cleaning the float area thoroughly. Use a soft brush or a cotton swab dipped in white vinegar to clear away any gunk or mineral deposits holding it in place. Rinse the tank completely with fresh water afterward to ensure no vinegar residue remains. If the float begins to move freely, the light should turn off once you seat the tank back on the base. This process usually takes about ten minutes. If the float is physically broken or the internal magnet has detached, cleaning won’t resolve the issue, and the tank assembly will likely need a replacement. You can find detailed care instructions for your brewer on the Keurig official support page.
Mineral scale blocking the sensors
Mineral scale is a hard, white buildup that happens when tap water sits in the machine and evaporates, leaving calcium and magnesium behind. This scale often creates a crust around the magnetic float or coats the sensor window on the machine base. Because the sensor needs a clear path to detect the magnet’s position, even a thin layer of scale can disrupt the signal.
You can tell if scale is the culprit by looking for white, chalky spots on the inside walls of your reservoir or near the intake valve. If the water in your area is “hard,” this buildup happens faster. To confirm this, run a finger over the plastic surfaces inside the tank; if they feel rough or gritty, you have a scale problem.
The fix is a standard descaling process. Fill the reservoir with a mixture of half white vinegar and half water, or use a dedicated descaling solution. Run the machine through several brew cycles without a K-Cup until the tank is empty, then follow up with at least two full tanks of fresh water to flush the system. This usually clears the sensors and restores the float’s movement. If you have a model with a filter, remove it before you start the descaling process to avoid clogging it with loosened scale. This fix requires only your time and a bottle of vinegar, costing almost nothing compared to a professional repair or a new machine.
Improper tank seating
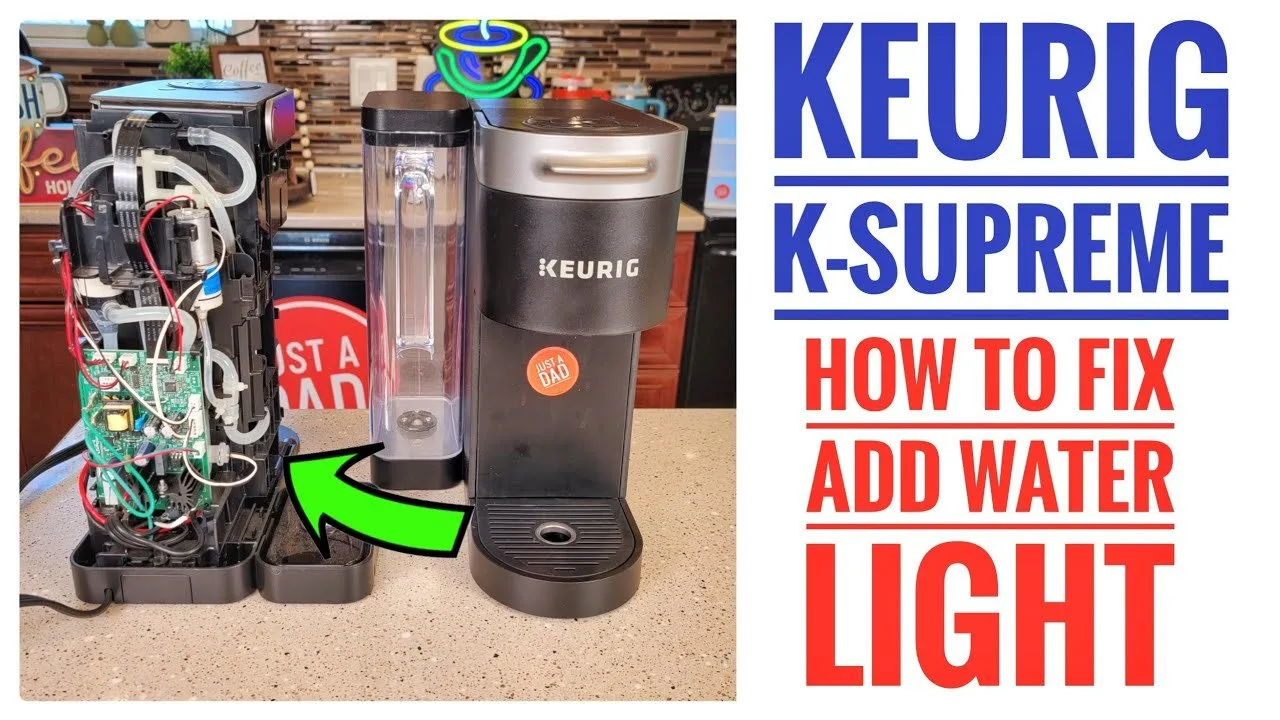
The reservoir must be perfectly flush with the machine base for the internal electrical connections to align. If the tank is slightly crooked or if debris is caught under the base, the machine can’t register the presence of the tank. This is a common mistake that prevents the sensor from reaching the signal from the magnetic float.
You can tell if this is the issue by gently pressing down on the top of the reservoir while it’s attached to the machine. If the light turns off or flashes differently while you apply pressure, the tank isn’t sitting correctly. Check the area where the tank meets the machine base for any crumbs or dried coffee spills that might be propping the tank up.
To fix it, remove the reservoir completely and wipe the base of the machine and the bottom of the tank with a damp cloth. Ensure the valve at the bottom of the tank is clean and that the rubber gasket isn’t twisted or damaged. When you replace the tank, listen for a soft click or ensure it slides firmly into its tracks. If the tank is cracked or the plastic tabs are worn down, it may not stay in the correct position on its own. This fix is quick and requires no tools, but if the tank remains loose even after cleaning, the mounting tabs might be damaged.
The less likely causes
- Air bubble in the line: An air pocket can block the flow of water to the pump, which sometimes triggers the low-water sensor; try tilting the machine gently to release trapped air.
- Failed internal sensor: If the float is clean and the tank is seated perfectly but the light stays on, the electronic sensor inside the base has likely failed.
- Damaged tank magnet: The magnet inside the float can lose its strength over time or fall out, meaning it no longer triggers the sensor; you’ll need to replace the entire reservoir.
- Electrical fault: If the machine has suffered a power surge or internal short, the control board may be reading the sensor data incorrectly, which is a job for a professional technician.
What a fix usually involves
Fixing this issue typically involves simple cleaning or repositioning. If the problem is just debris or light scale, you only need a damp cloth, some white vinegar, and a few minutes of your time. These fixes cost almost nothing, as they use common household supplies.
If the issue is a broken float or a cracked reservoir, the fix requires a replacement part. You can find these parts on the manufacturer’s website or through authorized retailers. A new reservoir is usually a small part of the price of a whole new brewer. To get a real quote or ensure you get the right part, check the model number printed on the bottom of your machine. If the problem is electrical or involves the internal sensors of the base, you’re looking at a much more expensive repair. In many cases, the cost of professional labor and internal parts makes buying a new machine more economical. Always check the official documentation for your specific model to see if it’s still under warranty before you try any major repairs.
Frequently asked questions
Can I bypass the add water light?
No, you can’t bypass the sensor because it’s a safety feature designed to prevent the pump from running dry. If the pump operates without water, it can overheat and cause permanent damage to the heating element. You must resolve the issue with the float or the tank seating to get the machine to function safely again.
How long does it take to descale?
About 45 minutes is the typical time needed to finish a full descaling cycle. You’ll spend a few minutes preparing the solution, about 30 minutes running the brew cycles, and another 10 minutes flushing the machine with fresh water. The exact time varies by model, so check your manual for the recommended cycle count.
Is it safe to use soap to clean the reservoir?
Yes, you can use mild dish soap to clean the reservoir, but you must rinse it thoroughly. Any leftover soap suds can affect the taste of your coffee and may even leave a film on the sensors. Always finish by rinsing the tank with clean water until you no longer see any bubbles or smell the soap.
What happens if I ignore the light?
Nothing will happen because the machine will simply refuse to brew. The sensor acts as a kill switch to protect the internal components from heat damage. If the machine doesn’t detect water, the pump won’t engage, and the heating cycle won’t start, effectively locking the brewer until the tank is refilled.
Does it matter if I use filtered water?
Yes, using filtered water is better for your machine because it reduces the amount of mineral scale that builds up inside. Hard water causes scale to form much faster, which leads to stuck floats and sensor errors. Using filtered water will extend the time between needed descaling sessions and keep the internal components clean.
Why does the light stay on after I fill it?
The light stays on because the machine hasn’t registered the water level change, usually because the magnetic float is stuck. If the float doesn’t rise when you fill the tank, the sensor remains in the “empty” state. Simply tapping the tank or cleaning the float area will usually fix this connection and turn the light off.
Final Thoughts
If these quick adjustments don’t get your machine brewing again, it’s likely time to reach out to the manufacturer’s support team. They’ll help you determine if there’s an internal sensor fault that needs professional repair. Don’t worry, because you’ll be back to enjoying your favorite morning coffee in no time.