
Effective Whirlpool Duet Dryer Troubleshooting starts by checking the power supply, the door latch, and the thermal fuse, as these three components cause the vast majority of machine failures. If the dryer won’t start, the most common culprit is a tripped circuit breaker or a door that isn’t fully engaging the safety switch. For any issue involving heat or power, you should first consult the official Whirlpool product support page to confirm if your specific model has a known service code.
Why this happens
Dryers stop working primarily because of safety mechanisms designed to prevent fires. When the machine senses a blockage in the airflow or an electrical surge, it interrupts the cycle to protect your home. A clogged lint screen or a restricted vent hose causes heat to build up rapidly, which triggers the thermal fuse to blow. Once this fuse breaks, the circuit is permanently opened, and the dryer won’t start again until the component is replaced.
Another frequent cause is the door switch. If the latch is loose or the plastic tab is worn, the dryer assumes the door is open and refuses to spin or heat. Additionally, electrical issues often stem from a loose connection at the wall outlet, which should be inspected by a technician.
Whirlpool Duet Dryer Troubleshooting: Power and Latches
This fix is for users whose dryer has no lights or won’t start when the button is pressed. First, confirm the power cord is pushed firmly into the wall outlet. If the dryer is completely silent, check your home’s main electrical panel for a tripped breaker. Because dryers use high-voltage circuits, a breaker can sometimes trip on one side, meaning the drum light works but the motor stays dead. If the breaker is fine, inspect the door catch. Look for any debris inside the latch mechanism that might prevent the door from closing tightly. If the door feels loose or does not “click” shut, the safety switch won’t engage.
If you find the dryer still doesn’t respond after checking these points, the internal door switch or the main control board may have failed. This isn’t a task for a standard home repair, as testing these components requires specialized diagnostic equipment and knowledge of live-voltage circuits. In such cases, contact a certified appliance technician to avoid injury or damage to your machine. Always unplug the unit before attempting to clean the lint filter or clear the area around the door latch to ensure your safety.
Clear the exhaust path
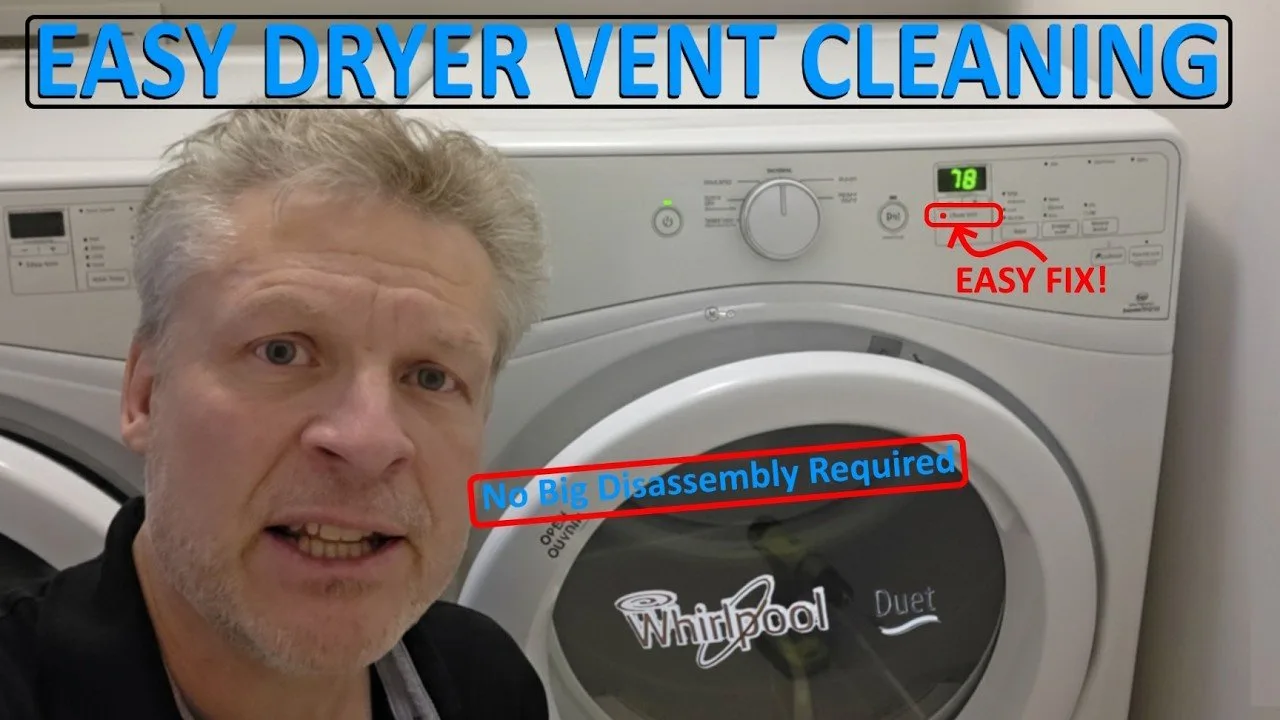
This fix is for dryers that run but don’t produce heat or take multiple cycles to dry a single load. A clogged vent is the most frequent cause of poor performance. Start by removing the flexible hose from the back of the dryer. Check the hose for lint buildup, especially at the bends where material often accumulates. If the hose is crushed or kinked, straighten it out to allow for proper airflow. Next, go outside and check the exterior vent hood. Ensure the flaps move freely and aren’t blocked by birds’ nests or packed lint.
If you clear the vent and the dryer still fails to heat, the internal thermal fuse has likely blown due to previous overheating. This varies by model — check the label on your specific unit to locate the fuse. If you identify a blown fuse, you must address the airflow restriction first, or the new part will fail immediately. If you aren’t comfortable moving the heavy appliance to access the rear vent, or if the vent runs deep into your walls, hire a professional duct cleaning service. They have the brushes and industrial vacuums needed to clear long, complex vent runs that standard residential tools can’t reach.
Reset the control board
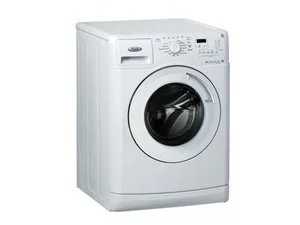
This fix is for models experiencing “frozen” buttons or erratic cycle times. Sometimes the electronic control board experiences a minor software glitch. You can try a hard reset by unplugging the dryer from the wall outlet for at least 10 minutes. This allows the capacitors on the control board to drain their charge completely. After waiting, plug the unit back in and attempt to start a standard cycle.
This is only useful for electronic glitches; it won’t repair a broken heating element or a faulty motor. If the dryer displays an error code on the screen after the reset, write it down, as this helps a technician identify the exact part that has failed. If the dryer is under warranty, don’t attempt to open the control panel housing. Removing the screws and accessing the internal circuitry will void your manufacturer’s warranty and could lead to electrical shocks, as internal components can hold a lethal charge even when the power is disconnected. If the unit remains unresponsive after a power cycle, it’s time to call for professional service.
What not to do
- Never bypass the thermal fuse with a wire or foil, as this removes the dryer’s primary fire protection and risks a home fire.
- Don’t use flexible plastic venting hoses, as these are highly flammable and trap lint much faster than rigid or semi-rigid metal ducts.
- Avoid using extension cords to power your dryer, as they can’t handle the high amperage required and will likely melt or cause a circuit fire.
- Don’t attempt to test the heating element or the motor, as a technician must confirm whether the part has failed.
- Never spray water or cleaning solvents directly into the control panel or the interior drum, as moisture will destroy the electronic sensors and the main computer.
How to stop it happening again
Preventing future issues requires simple, consistent maintenance habits that keep your machine running efficiently.
| If you’re doing this | Do this instead | Why |
|---|---|---|
| Clean the lint screen after every single load | Prevents airflow restriction and thermal fuse failure | |
| Install rigid metal vent pipe whenever possible | Reduces lint accumulation and fire risk | |
| Inspect and clean the outside vent yearly | Prevents motor strain and overheating | |
| Dry smaller, balanced loads | Increases air circulation and protects the belt |
Most users mistake a slow drying cycle for a worn-out heating element. In reality, 90% of these cases stem from a clogged exhaust path. If your clothes remain damp after a standard cycle, stop immediately. Check the exterior vent hood for debris before calling a repair technician.
Follow this decision rule to avoid costly service calls: If the dryer takes longer than 60 minutes to dry a standard load, your venting system is compromised. Clear the ductwork before running another cycle. Operating the machine with restricted airflow causes excessive heat buildup, which can damage internal components and shorten the lifespan of the dryer. This simple check saves you a significant amount in professional labor fees annually.
Frequently asked questions
Can I replace the heating element myself?
You shouldn’t attempt this repair unless you have specific training in appliance repair. Replacing a heating element involves working near high-voltage wiring and sharp components. A professional technician can verify if the element is broken or if a secondary sensor is preventing it from turning on.
Why is my dryer making a loud thumping noise?
The most likely cause is a worn drum roller or a damaged belt. If the noise is constant, a roller likely has a flat spot, while a rhythmic slapping often indicates a fraying belt. Both situations require opening the cabinet, which is a task for a qualified technician.
How long should a Whirlpool Duet dryer last?
Most dryers are designed to last between 10 and 13 years with regular maintenance. This assumes you clean the vent system annually and avoid overloading the machine. If the dryer takes longer to dry clothes, it usually indicates a restricted vent rather than the end of the machine’s life.
Is it safe to run the dryer when I am not home?
No, it isn’t safe to leave a dryer running while you’re away or sleeping. If a component fails or lint catches fire, you wouldn’t be there to respond. Always operate the dryer only when you’re awake and present in the home.
What happens if I ignore a dryer error code?
Ignoring an error code usually leads to the dryer stopping mid-cycle or failing to start. These codes warn you of specific faults like poor airflow or sensor failure. If ignored, the machine may run with restricted airflow, creating excessive heat that leads to more expensive repairs.
Final Thoughts
If your machine still won’t cooperate after these checks, don’t hesitate to reach out to a certified technician. They’ll have the right tools to diagnose hidden electrical faults safely. It’s often better to call for help early than to risk further damage while you’re trying to fix it yourself.