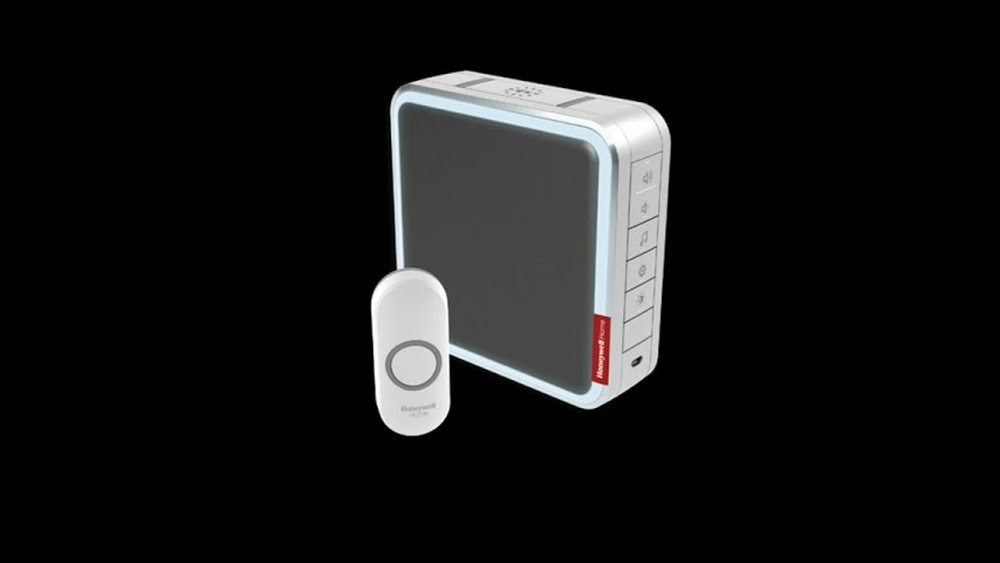
If your Honeywell doorbell suddenly stops working, it can be frustrating. Doorbells are small devices, but they play a big role in home safety and convenience. Whether you rely on a wired or wireless model, issues can appear without warning. This guide explains how to troubleshoot and fix your Honeywell doorbell, even if you have little experience with electronics. Many problems are simple and only require a few minutes to solve. You’ll also learn tips to prevent future issues, and how to decide if a repair or replacement makes sense.
Common Causes For Honeywell Doorbell Not Working
Understanding why your Honeywell doorbell is not working is the first step. Some problems are obvious, while others are hidden. Here are the most frequent reasons:
- Dead batteries – Wireless models use batteries, which can lose charge quickly, especially in cold weather.
- Loose wiring – Wired systems often stop working when wires become loose or corroded.
- Button failure – The button may get stuck, worn out, or damaged by weather.
- Receiver problems – The chime unit can malfunction due to age or internal faults.
- Signal interference – Wireless models can be affected by Wi-Fi, Bluetooth, or thick walls.
- Power supply issues – Transformers or circuit breakers may fail or trip.
- Incorrect installation – Sometimes, the doorbell was never set up properly.
Each cause needs a different approach. Let’s look at solutions for each problem.
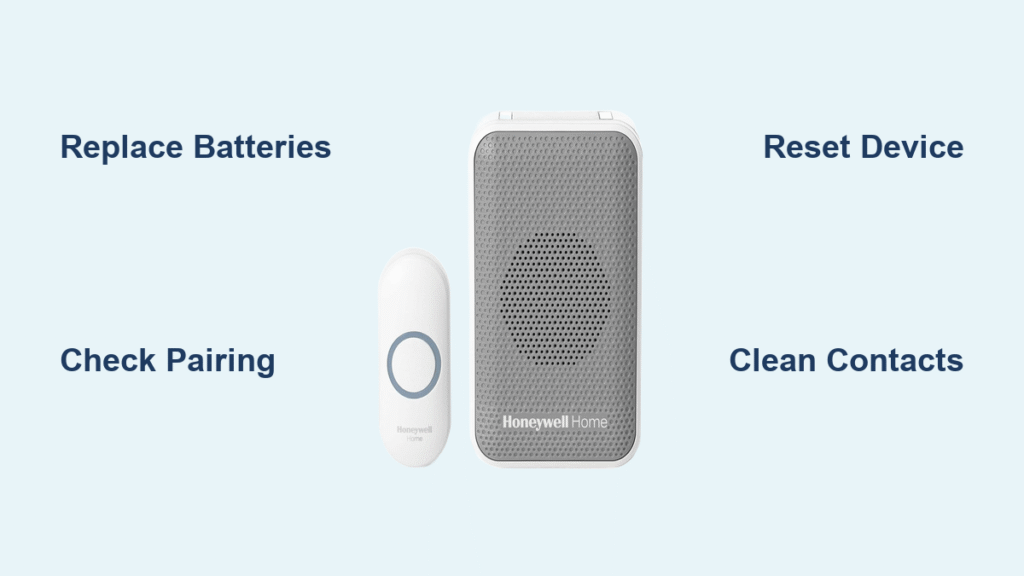
Step-by-step Troubleshooting
Check Power And Batteries
For wireless Honeywell doorbells, battery issues are common. Remove the back cover of the button and chime unit. Replace the batteries with new ones of the correct size (often AA, AAA, or CR2032). Make sure the contacts are clean and not rusty. If you use a wired Honeywell doorbell, check the power supply. Locate the transformer (usually near your electrical panel) and see if it’s getting power. If not, reset the circuit breaker.
Inspect Wiring And Connections
Wired models depend on secure connections. Remove the doorbell button from the wall. Look at the wires—are they loose, corroded, or broken? Clean the contacts and tighten the screws. Inside the chime unit, check for the same problems. If you see damaged wires, replace them or call an electrician for help.
Test The Doorbell Button
Press the doorbell button. Does it feel stuck or soft? If the button doesn’t click, it may be broken. Try cleaning it with a dry cloth. For wireless buttons, make sure the battery is fresh. If cleaning doesn’t help, replace the button.
Examine The Chime Unit
Open the chime unit (the box that makes the sound). Look for dust or debris inside. Gently clean with a dry brush. If you have a wireless chime, reset it by removing and reinserting the batteries. For wired units, ensure the wiring is secure.
Check For Signal Interference
Wireless models can lose signal. Move the chime unit closer to the doorbell button. Try turning off other wireless devices like Wi-Fi routers or Bluetooth speakers for a few minutes. If the doorbell works after this, interference was the problem.
Confirm Installation Settings
Some Honeywell models have multiple channels or volume levels. Make sure the button and chime are paired correctly. Refer to your user manual for pairing instructions. Adjust the volume to a higher level to see if the chime works.
Compare Honeywell Doorbell Troubleshooting Steps
Here’s a quick comparison of steps for wired vs wireless Honeywell doorbells:
| Step | Wired Model | Wireless Model |
|---|---|---|
| Check Power | Transformer, circuit breaker | Batteries |
| Inspect Wiring | Button & chime wires | Battery contacts |
| Test Button | Physical click, corrosion | Battery, pairing |
| Check Chime | Wiring, dust | Battery, reset |
| Signal Interference | Not applicable | Nearby devices, distance |
| Installation Settings | Volume, channel | Pairing, channel |

Credit: www.youtube.com
Practical Fixes For The Most Common Problems
Replacing Batteries
Always use the correct battery size. Most Honeywell wireless buttons need CR2032 or AA batteries. Chime units often use AA or AAA. Replace both button and chime batteries at the same time to avoid future failures. Battery contacts must be clean and free of rust.
If you notice corrosion, gently scrub with a pencil eraser or a cotton swab dipped in vinegar.
Tightening Loose Wiring
If the wires are loose, use a small screwdriver to tighten the terminal screws. For corroded wires, cut back the insulation and attach the wire to a clean section. Make sure the power is off before touching any wiring. If you are unsure, call an electrician.
Cleaning And Replacing The Button
A sticky or broken button can stop the doorbell from working. Remove the button from the wall or doorframe. Clean around the edges with a dry cloth. If the button is cracked or won’t click, buy a replacement from a hardware store or online.
Honeywell models are usually easy to swap—just match the model number.
Resetting The Chime Unit
Sometimes, the chime unit needs a reset. Remove all batteries, wait 10 seconds, then reinstall them. For wired models, unplug the unit and plug it back in. This often solves software glitches.
Solving Signal Interference
Move the chime unit closer to the button. Try pairing on a different channel (if your model allows). Avoid placing the chime near thick walls or metal objects, which block the signal. If interference continues, consider switching to a wired model.
Preventing Future Doorbell Problems
A few simple habits can help keep your Honeywell doorbell working:
- Change batteries every 6–12 months, even if they seem fine.
- Clean the button and chime unit at least twice a year.
- Keep the chime unit away from strong Wi-Fi routers and Bluetooth speakers.
- Inspect wiring once a year for signs of wear.
- Use weather-resistant covers for outdoor buttons.
These steps save time and money by preventing common issues.
When To Repair Vs Replace
It’s important to know when fixing your Honeywell doorbell is smart, and when replacement is better.
Repair
- The problem is a dead battery or loose wire.
- The button is dirty but not broken.
- The chime unit works after a reset.
Replace
- The button or chime unit is physically damaged.
- Wires are deeply corroded or broken inside the wall.
- The transformer is burned out.
- The model is old and parts are unavailable.
Repairs are usually cheap ($5–$20 for batteries or buttons). Replacement is more expensive ($30–$80 for a new unit), but sometimes necessary.
Comparing Honeywell Doorbell Models
Honeywell offers several doorbell types. Understanding the differences helps you choose the right fix or replacement.
| Model | Type | Main Features | Common Issues |
|---|---|---|---|
| Honeywell RDWL917A | Wireless | Portable, adjustable volume | Battery drain, signal loss |
| Honeywell RCWL300A | Wireless | Multiple chimes, easy pairing | Interference, button wear |
| Honeywell RCW110KB | Wired | Classic chime, reliable | Loose wiring, transformer faults |
| Honeywell RCW200N | Wired | Two-door capability | Wiring issues, button damage |
Some models are easier to fix than others. Wireless models are simpler for most homeowners. Wired models last longer but can be harder to repair.
Credit: bestdoorbellguide.blog
Non-obvious Tips Most Beginners Miss
Many first-time troubleshooters overlook small details that make a big difference:
- Pairing problems – Wireless Honeywell models need proper pairing. If you change batteries, re-pair the button and chime.
- Weather effects – Cold or wet weather can drain batteries and damage buttons. Install weather shields or covers if your button is outside.
- Transformer checks – Wired doorbells rely on a transformer. If none of the doorbell parts work, check if the transformer is warm or making noise. If it’s silent and cold, it may be dead.
These tips often solve problems that basic troubleshooting misses.
Safety Reminders
- Always turn off power at the circuit breaker before touching wires.
- Use insulated tools for electrical work.
- Never mix old and new batteries.
- If you feel unsure, call a professional.
Safety prevents accidents and protects your home.
Where To Find Replacement Parts And Help
Most Honeywell doorbell parts are available online or at hardware stores. Look for model numbers on your device. If you need help, Honeywell’s official website offers manuals and support. For detailed troubleshooting guides, visit Honeywell Home.
Frequently Asked Questions
Why Does My Honeywell Doorbell Chime Randomly?
Random chiming is usually caused by signal interference. Other wireless devices or nearby neighbors with similar doorbells can trigger yours. Try changing the channel or moving the chime unit to a different location.
Can I Use Rechargeable Batteries In My Honeywell Wireless Doorbell?
Honeywell recommends using regular alkaline batteries. Rechargeable batteries may not provide enough voltage, leading to weak performance or failures.
What Should I Do If My Honeywell Doorbell Button Gets Wet?
Dry the button completely. Remove the battery and let the button air-dry for 24 hours. If it still doesn’t work, replace it. Water damage can cause long-term issues.
How Often Should I Replace Honeywell Doorbell Batteries?
Replace batteries every 6–12 months for best performance. Cold or humid weather may require more frequent changes.
Is It Safe To Repair Doorbell Wiring Myself?
Simple wiring fixes are safe if you turn off power at the circuit breaker. For deep wiring repairs, or if you’re unsure, call a licensed electrician.
A working Honeywell doorbell is more than just convenience—it’s security. With these troubleshooting steps, practical fixes, and safety tips, most homeowners can quickly solve problems and avoid expensive replacements. Remember, regular maintenance prevents most issues. When in doubt, seek professional help to keep your doorbell—and your home—safe and sound.

Credit: www.reddit.com