
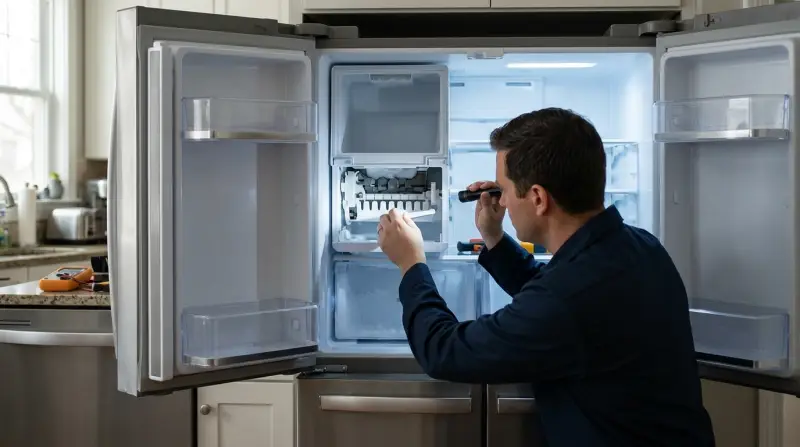
The Whirlpool WRQA59CNKZ Ice Maker Not Working because the water supply is blocked or the internal temperature is too high for the freezing cycle to trigger. You should first check the water line for kinks and verify that your freezer is set to the manufacturer’s recommended temperature of zero degrees Fahrenheit.
Whirlpool WRQA59CNKZ Ice Maker Not Working: Likely Causes
| Cause | How common | How to confirm it | Fix it yourself? |
|---|---|---|---|
| Water line kinked | Very common | Inspect hose behind fridge | Yes |
| Freezer too warm | Common | Check digital display | Yes |
| Water valve closed | Common | Check supply valve position | Yes |
| Filter is clogged | Frequent | Check filter status light | Yes |
| Ice bin misaligned | Occasional | Check sensor alignment | Yes |
| Sensor error | Rare | Check error codes | No |
Most DIYers overlook the water line kink. If your fridge was recently pushed back, the hose likely folded against the wall. A simple 90-degree bend restricts flow enough to stop ice production while still allowing a slow drip. Pull the unit out six inches to verify.
Don’t rely on the internal dial; use a standalone thermometer to confirm.
A clogged filter is the silent culprit. If your water pressure at the dispenser feels lower than usual, the filter is likely at fault. Change it regularly regardless of the status light. If you notice a “hollow” ice cube, the filter is definitely restricted.
Finally, check the shut-off arm. If it’s stuck in the “up” position, the machine thinks the bin is full. Gently nudge it down to reset the cycle.
Blocked or restricted water flow
Water supply issues are the primary reason for a lack of ice production in this refrigerator model. When the water line leading to the unit is pinched, bent, or restricted, the ice maker can’t draw enough liquid to form cubes. You can confirm this by pulling the refrigerator gently away from the wall and inspecting the plastic tubing for sharp bends or flattened sections. If the tubing looks clear, ensure the shut-off valve located under the sink or behind the unit is turned fully to the open position.
According to the Whirlpool official water filter guide, you should replace these filters whenever you notice it to maintain proper flow and pressure. If you haven’t changed yours in that timeframe, start there. This fix takes about five minutes and costs only the price of a replacement filter. If the water flow is strong at the dispenser but no ice is made, the problem lies within the ice maker assembly itself rather than the house supply. If you find the line is frozen solid, you can attempt to thaw it with a warm towel, but never use a heat gun or open the internal housing to force the mechanism. If the blockage persists after a filter change, it’s time to call a professional.
Incorrect freezer temperature settings
The ice maker requires a very specific environment to function, and if the freezer temperature rises above the set point, the production cycle will pause. The unit needs to be at or below zero degrees Fahrenheit to trigger the harvest cycle. You can confirm this by looking at the control panel on the exterior of your door. If the display shows a temperature higher than zero, the ice maker will remain in standby mode to prevent slushy or partial ice production.
Adjust the temperature by using the control panel to set the freezer to zero degrees Fahrenheit. Once you change the setting, it often takes between twelve and twenty-four hours for the internal temperature to stabilize and for the ice maker to resume its normal cycle. If the display shows the correct temperature but the internal air feels warm, you may have a circulation issue. This happens if you pack the freezer too tightly with food, blocking the cold air vents. If you move items away from the vents and the temperature still doesn’t drop, the system may have a refrigerant leak, which requires a certified technician. This fix costs nothing in parts but requires patience, as the system doesn’t react instantly to thermostat adjustments.
Misaligned bin or sensor issues
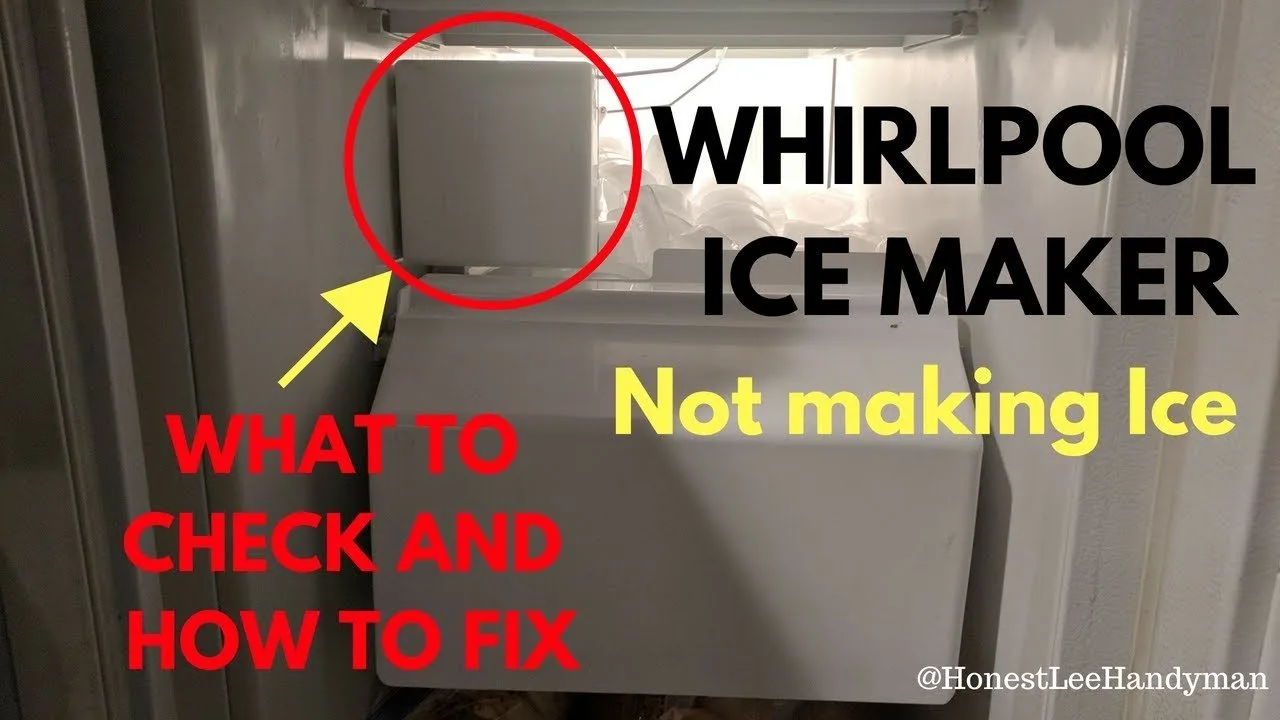
The ice maker has a safety sensor that detects when the ice bin is full or when it isn’t seated correctly. If the bin is even slightly out of place, the lever or light sensor will prevent the unit from dumping new ice. You can confirm this by removing the bin entirely and sliding it back into place, ensuring it clicks or sits flush against the back wall. If the bin is pushed in properly, check for any stray ice cubes that might be blocking the sensor arm from moving freely.
This is a common mistake that costs users hours of waiting for ice that will never come. If the sensor arm is stuck in the “up” position, the machine thinks the bin is already full. Gently move the arm to ensure it drops down when the bin is empty. If the sensor is clean and the bin is seated correctly, but the unit still refuses to cycle, the internal motor might be jammed. This varies by model — check the label inside your freezer door for the specific reset sequence for your unit. If the reset doesn’t work, the internal motor is likely damaged. This isn’t a user-serviceable part, as it involves electrical components behind the sealed housing. In such cases, contact the manufacturer for a repair under your warranty.
The less likely causes
-
Door seal leak: A damaged gasket lets warm air inside, preventing the freezer from reaching the required freezing temperature. Test this by closing the door on a dollar bill; if you can pull it out with zero resistance, the seal is compromised and must be replaced to prevent frost buildup.
-
Control board failure: The main computer may stop sending the harvest signal to the ice maker. If your freezer maintains 0°F but the ice maker remains dead, the board likely lacks the power output to trigger the cycle.
-
Water inlet valve failure: The electrical solenoid that opens the water line can burn out. If you hear a faint hum but no water flows, the valve is likely seized.
-
Internal wiring break: Wires fray due to repeated door movement. If the unit works intermittently, check the harness at the door hinge for visible copper exposure.
What a fix usually involves
Fixing an ice maker often involves simple physical adjustments or replacing consumable parts like the water filter. If the issue is a kinked line, a simple repositioning is all that’s required. If the filter is the culprit, you’ll need to purchase a replacement part, which is a small cost relative to the price of a new appliance.
Most users mistakenly assume a total unit failure when the problem is merely a frozen fill tube. This simple step saves a cheap professional diagnostic fee.
When the issue requires internal components like a new inlet valve or a control board, the cost increases significantly because these parts are specialized. You can find the exact part numbers by looking at the sticker inside your door and searching the official manufacturer website.
If you aren’t comfortable with basic maintenance, a professional repair service will charge a diagnostic fee plus the cost of labor. Always check your warranty status before paying for repairs, as many major components are covered for several years. You can verify your specific coverage by checking the original purchase documents or the warranty card that came with your unit.
Frequently asked questions
How long does it take for the ice maker to start after a reset?
It usually takes between twelve and twenty-four hours to produce the first batch of ice. The system must reach the target freezing temperature before the internal thermostat signals the water valve to open. Don’t be alarmed if you hear nothing for several hours, as the unit must stabilize its internal environment before it begins the water fill and harvest process.
Is it safe to thaw a frozen water line with a hair dryer?
No, you should never use a hair dryer or any high-heat tool inside your freezer. These tools can melt the plastic components and damage the internal insulation or wiring, which often voids your warranty. Use a warm, damp towel placed near the area instead, and allow the ambient temperature to melt the ice slowly over several hours.
Can I fix a broken ice maker motor myself?
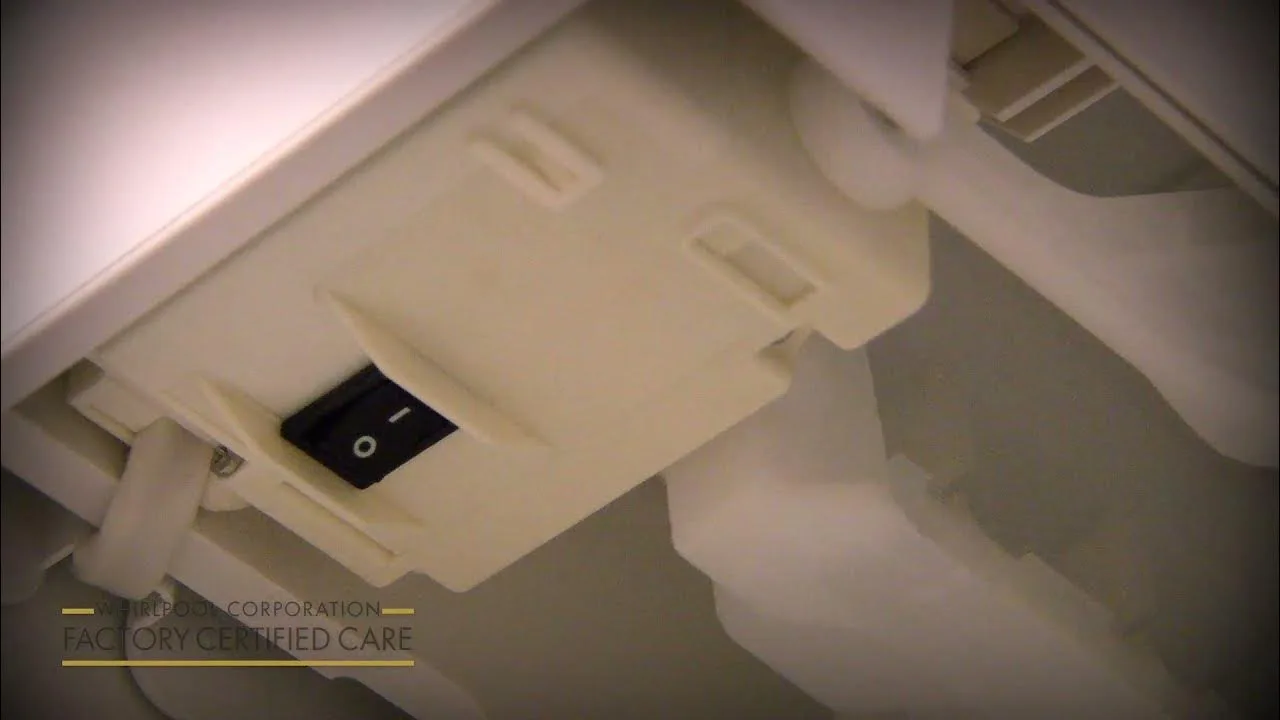
No, the internal motor assembly isn’t a user-serviceable part. Attempting to open the sealed housing can lead to electrical hazards or permanent damage to the unit’s sensors. If the motor isn’t cycling after you have confirmed the temperature and water flow are correct, you should contact a professional service technician to handle the repair safely.
Does the water filter age affect ice production?
Yes, a clogged water filter significantly reduces the water pressure, which prevents the ice maker from filling the mold correctly. If the filter is older than six months, it may be causing a flow restriction that mimics a mechanical failure. Replace the filter with a genuine manufacturer-approved part to rule out this common cause before seeking further professional help.
Why is my ice maker making loud clicking noises?
Clicking sounds often indicate that the ice maker is attempting to cycle but is being blocked by a jammed ice cube or a misaligned bin. Clear any loose ice from the area around the mold and ensure the bin is pushed in completely. If the noise continues without producing ice, the internal gears may be stripped, indicating a mechanical failure.
What happens if I turn the ice maker off for a long time?
Turning the ice maker off for an extended period is safe, but you should empty the bin to prevent the cubes from clumping together. If you leave the unit off for weeks, the remaining ice can melt and refreeze, which may cause leaks or block the dispenser chute. Always empty and wipe down the bin if you plan to keep the system powered off.
Final Thoughts
If these quick checks don’t get the ice flowing again, don’t worry. It’s possible there’s a deeper mechanical fault that needs a professional’s touch. Reach out to a local appliance repair technician to inspect the internal components, as they’ll have the right tools to get your kitchen back in order.