
A Bostitch Pencil Sharpener Not Working is usually caused by a simple jam in the blade assembly or a safety switch that hasn’t fully engaged. You can fix most units by clearing debris from the cutters or ensuring the shavings bin is locked firmly into place. If you hear the motor running but the blades don’t turn, or if the unit is completely silent, the issue is likely a mechanical obstruction or a tripped thermal sensor that needs time to reset.
Reasons your Bostitch sharpener stopped working
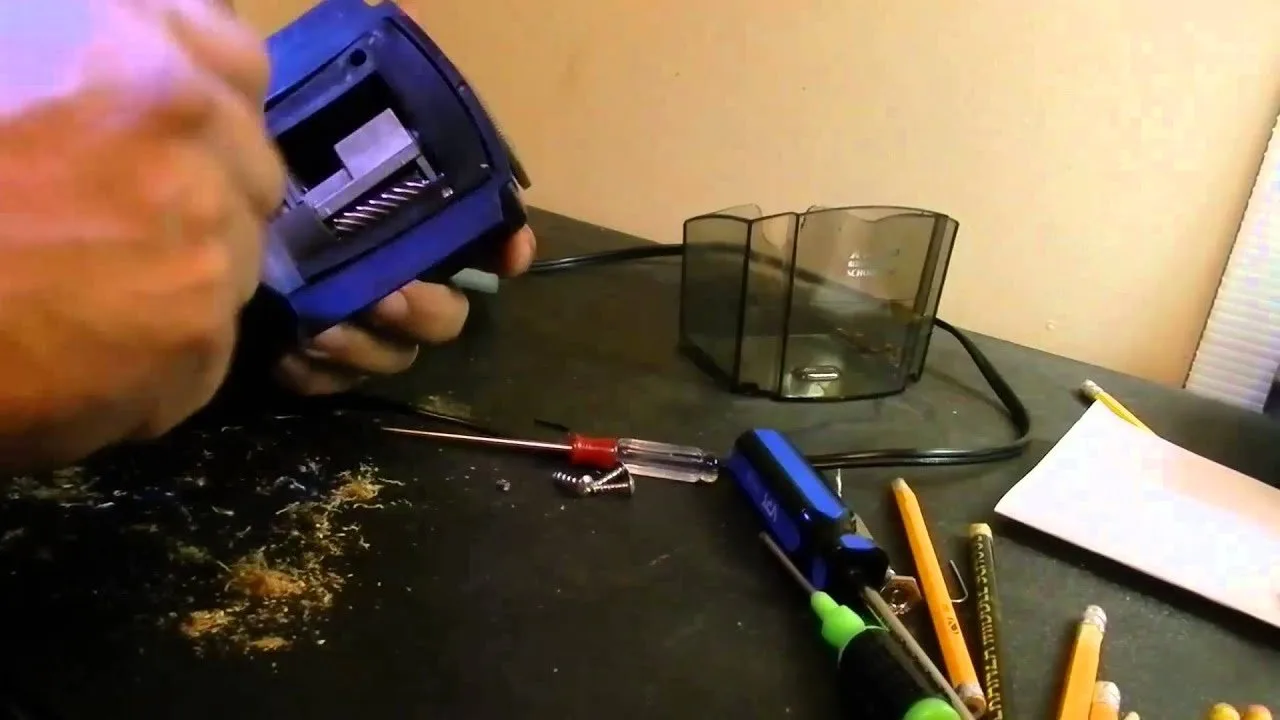
Most sharpener failures occur because pencil lead or wood shards get stuck between the cutters. When these small pieces lodge in the mechanism, they prevent the gears from spinning, which can cause the motor to stall. If you continue to press the pencil against the blades while they’re jammed, you risk burning out the motor or stripping the internal plastic gears.
Another common cause is the safety interlock. Most electric sharpeners contain a small switch that prevents the motor from starting unless the shavings tray is pushed all the way into the housing. If the tray is slightly loose, or if a small piece of debris is blocking the tray from closing fully, the machine won’t receive power.
Finally, some models have a thermal protection circuit. This is a safety feature that prevents the motor from overheating during heavy use. If you have been sharpening many pencils in a row, the motor may simply be too hot to run. If the unit stops suddenly during use, allow it to cool down for several minutes before attempting to use it again. If the unit remains unresponsive after this time, the internal fuse may have blown, which is a permanent failure that requires a replacement unit rather than a repair.
Clear the cutter assembly
If the blades are stuck, you must remove the obstruction to allow the motor to spin freely again. First, unplug the device from the wall outlet to ensure there’s no risk of accidental activation. Look into the sharpening slot using a flashlight to see if a broken pencil tip or a piece of lead is wedged between the metal cutters.
If you can see the debris, use a pair of long, thin tweezers to gently pull the obstruction out. Never use a metal knife, a screwdriver, or any sharp tool to pry at the blades, as this can permanently damage the cutter edges or cause a short circuit. If the debris is deep inside, try turning the sharpener upside down and giving it a gentle shake to dislodge the loose bits. If you’re unable to reach the obstruction, don’t attempt to take the plastic casing apart. These devices are factory-sealed, and opening them often voids the warranty and exposes internal wiring that poses a shock risk. If a visual inspection and gentle shaking don’t clear the jam, the obstruction is likely too deep for a home fix. In this case, you should check your warranty status through the manufacturer, as attempting to dismantle the device yourself will make it ineligible for professional support or replacement.
Reset the safety tray
The shavings bin is a critical part of the safety circuit, and it must be seated perfectly for the sharpener to activate. Remove the bin entirely and inspect the area where it slides into the main body. Look for any pencil shavings or dust that might be preventing the bin from sliding in far enough to click into place. Use a dry cloth or a soft brush to clear out the tray compartment.
Once the area is clean, slide the bin back in firmly. Most models have a distinct click or a flush fit when the safety switch is engaged. If the bin feels loose, check the plastic tabs on the sides of the tray for any cracks or signs of wear. If the tabs are broken, the bin won’t hold the safety switch down, and the motor will remain disabled. This is a common issue for users who empty the bin frequently, as the plastic tabs can become brittle over time. If the tray is physically damaged, you’ll need to contact the manufacturer to see if they sell a replacement bin for your specific model number. Don’t try to tape the tray in place or bypass the safety switch using objects like paperclips, as this creates a significant risk of injury if the blades were to activate while your fingers are near the slot.
Verify the power source
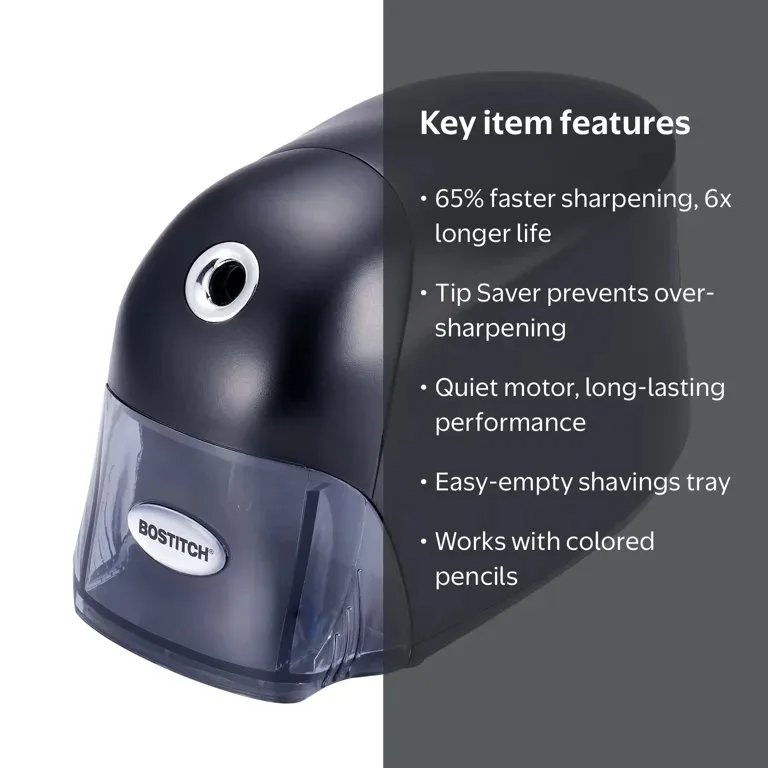
When the unit appears to be completely dead, the problem might be the power delivery rather than the machine itself. Start by checking the outlet with a different appliance, such as a lamp, to ensure the wall socket is providing power. If the outlet works, inspect the power cord for any visible signs of damage, such as fraying or deep kinks that might indicate an internal break in the wire.
If you’re using an extension cord or a power strip, remove it and plug the sharpener directly into the wall. Some heavy-duty sharpeners require more current than a standard power strip can provide, or the strip itself might have a tripped breaker. For models that use a detachable power cable, ensure the connection at the back of the sharpener is pushed in completely. If the cord feels loose or wiggles, it may not be making the necessary contact to power the motor. If you have confirmed the outlet is working and the power cord is secure, yet the sharpener remains silent, the internal motor has likely reached the end of its lifespan. This is common for units used in high-volume environments like classrooms or offices. At this point, it’s usually more cost-effective to replace the unit than to pay for professional repair services, as the labor costs for small appliance repair often exceed the price of a new sharpener.
What not to do
- Don’t push a pencil harder when the sharpener stops, as this forces the motor to work against the jam and will likely cause permanent damage to the gears.
- Don’t attempt to oil or lubricate the blades with household oils, as this will attract pencil dust and create a sticky, thick sludge that ruins the cutting mechanism.
- Don’t use water or wet cleaning sprays inside the sharpening slot, as the moisture can corrode the internal electronics and cause a dangerous electrical short.
- Don’t use the sharpener to sharpen items other than standard graphite pencils, such as crayons or colored pencils with soft wax, as these will coat the blades and jam the unit instantly.
How to stop it happening again
Regular maintenance ensures your sharpener lasts through years of use. If you follow these habits, you’ll significantly reduce the risk of future jams and motor failures.
Frequently asked questions
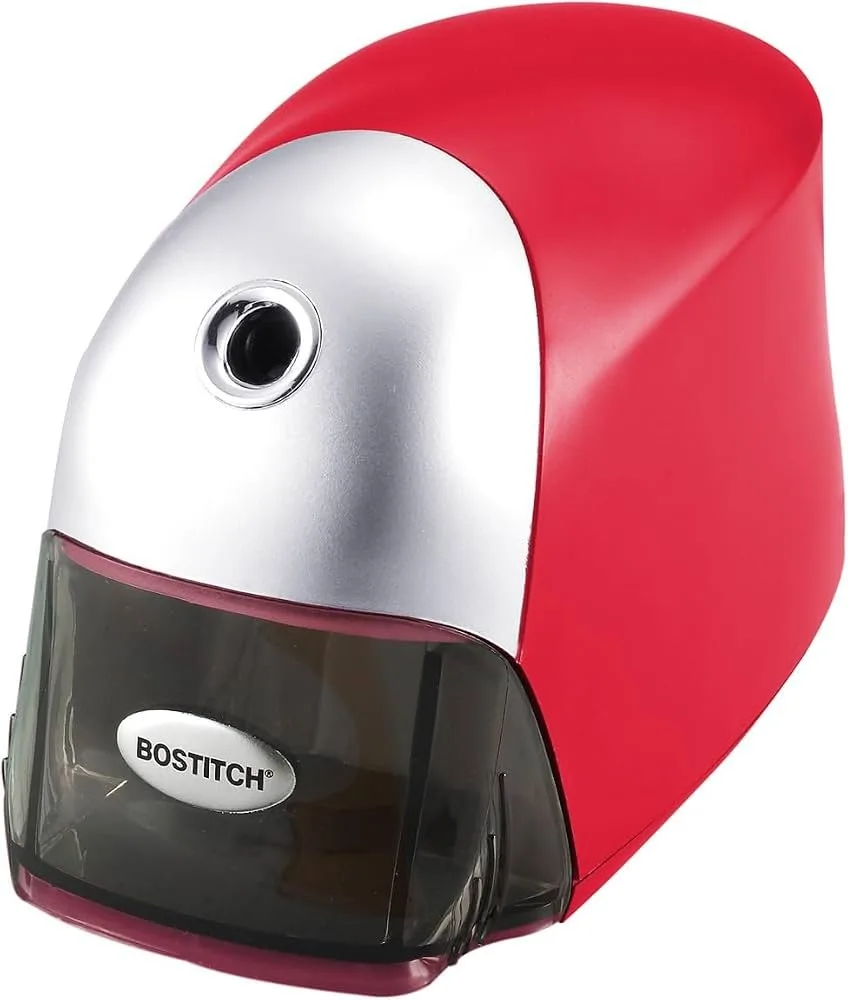
Can I sharpen colored pencils in my electric sharpener?
No, most electric sharpeners are designed only for graphite pencils. Colored pencils have a soft wax core that melts from motor friction and coats the blades, causing a permanent jam. Use a manual sharpener for colored pencils to protect your electric unit.
How long does a Bostitch sharpener usually last?
The lifespan varies by model, so check the label for your daily usage limit. Heavy-duty models last for years with moderate use, while portable units are for light tasks. Match the model’s capacity to your work volume to ensure the longest life.
Is it safe to use a sharpener that makes a grinding noise?
No, a grinding noise usually indicates stripped gear teeth or debris caught in the mechanism. Continuing to use the sharpener will cause further damage to the internal plastic gears. Unplug the unit immediately if you hear grinding to prevent permanent failure.
What happens if I sharpen a pencil too far?
Sharpening a pencil until the tip is excessively thin often causes the lead to break off inside the cutters. This broken lead acts like a wedge, preventing the blades from turning. Stop the process early to avoid leaving lead inside the machine.
Why does my sharpener stop before the pencil is sharp?
This usually happens because the shavings bin is full or the safety switch isn’t fully engaged. When the bin reaches capacity, shavings block the pencil path, or the safety sensor cuts power. Empty the bin and ensure it clicks firmly into place.
Final Thoughts
If your sharpener still won’t cooperate after these checks, it’s time to reach out to the manufacturer’s support team. They’ll help you determine if your device is still under warranty or if it’s time for a replacement. Don’t worry, you’ll be back to writing with a sharp point again soon.
Related guides