
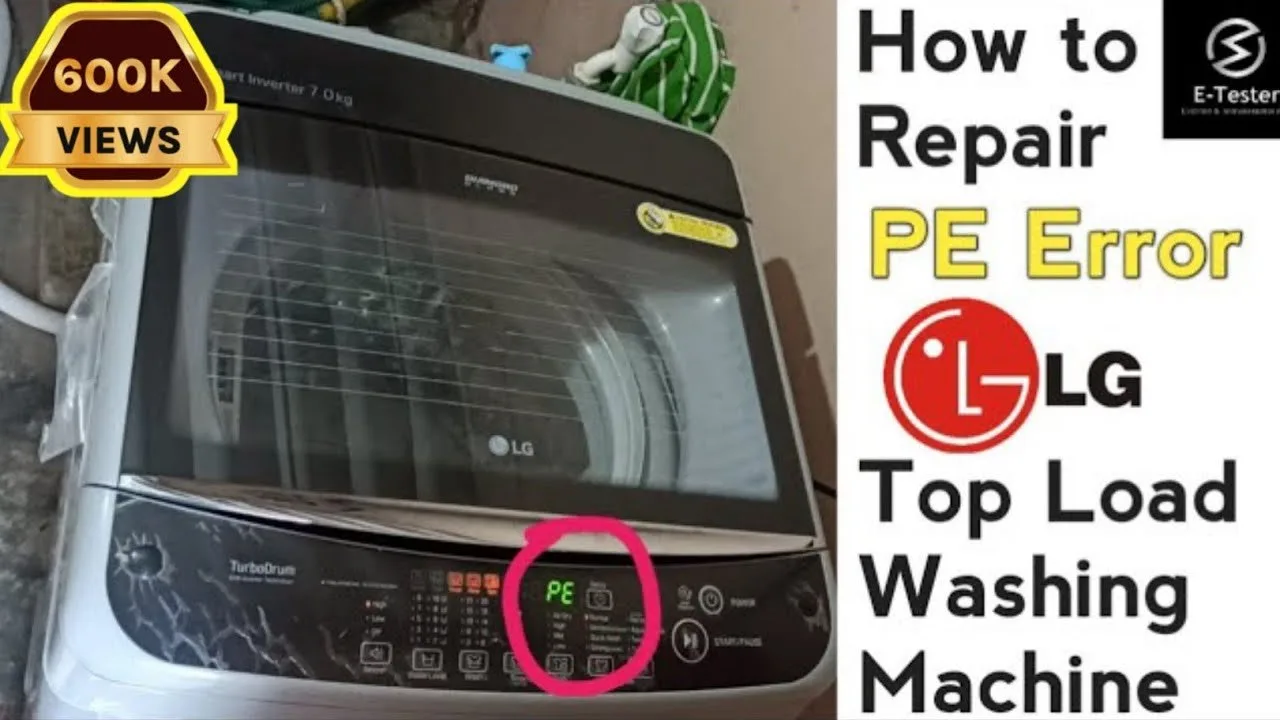
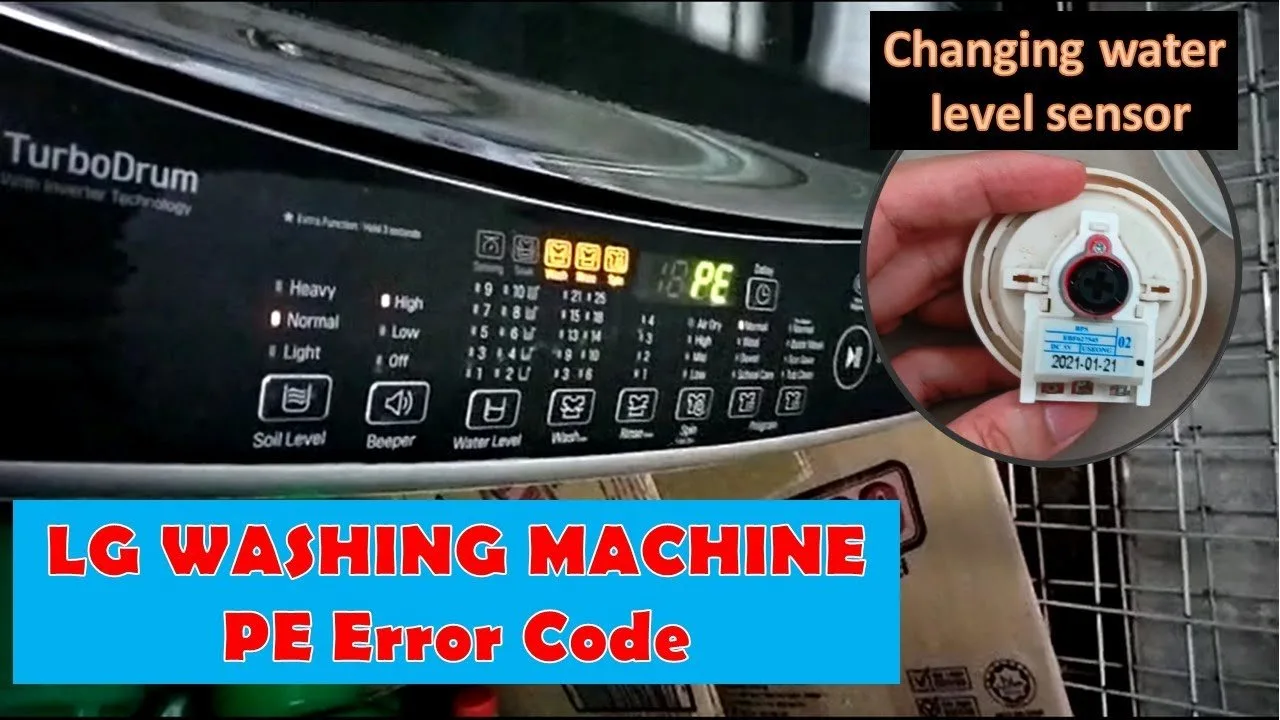
A faulty water level sensor is the primary reason you see an LG Washing Machine PE Error Code. Because the machine can’t calculate water levels, it may overflow or refuse to start. If the code returns, the sensor or its wiring is likely disconnected or broken.
Understanding the LG Washing Machine PE Error Code
| What you notice | What it usually means | What to do first |
|---|---|---|
| PE code on display | Water level sensor error | |
| Drum fills past door | Sensor failure | Turn off water supply |
| Machine won’t start | Signal path broken | Check wire connections |
| Clicking sound inside | Faulty pressure switch | Inspect wire harness |
| Slow or no fill | Blocked pressure tube | Clear debris from tube |
| Code after reset | Failed main control | Call service center |
If you see the PE code, wait the full minute before plugging back in. If the code returns immediately, the sensor is physically damaged rather than stuck.
When the drum overfills, the water level sensor is likely stuck in the “empty” position. If the water continues to rise after you turn off the supply, check the inlet valve for a mechanical failure. A valve that stays open even without power requires an immediate replacement.
The clicking sound often indicates a loose connection at the pressure switch terminal. If the machine clicks but the motor never engages, wiggle the wire harness near the control board.
Finally, don’t mistake a blocked pressure tube for a pump issue. If the machine drains but still reports a sensor error, the tube is likely kinked or clogged with sediment. Clear this by blowing air through the tube toward the tub.
Pressure sensor connection failure
The most frequent cause of this error is a loose or damaged wire connection between the pressure sensor and the main control board. When the sensor can’t send a signal to the computer, the machine assumes the worst and stops to prevent flooding.
You can check this by removing the top panel of your washer. If you see a small, round plastic part with a thin rubber hose attached, look for the wire harness connected to it. If the plug is loose, push it firmly until it clicks into place.
If you see a broken wire or corrosion on the pins, you have found the point of failure. A common mistake is assuming the harness is secure because it looks seated; always tug gently on each individual wire to ensure the crimp hasn’t failed inside the plastic housing. A loose wire here often causes intermittent errors that only appear during the spin cycle due to vibration.
This assumes you’re working on a standard top-load model. For front-load machines, the sensor is often located near the top of the cabinet, requiring you to remove the rear or top cover to access it.
If the connection looks clean and secure, the problem is likely internal to the sensor itself. If the sensor diaphragm has hardened or cracked, it will fail to detect the water level accurately. You’ll know the fix worked if the machine begins a normal cycle without flashing the code within the first 30 seconds of water intake.
Blocked or leaking pressure tube
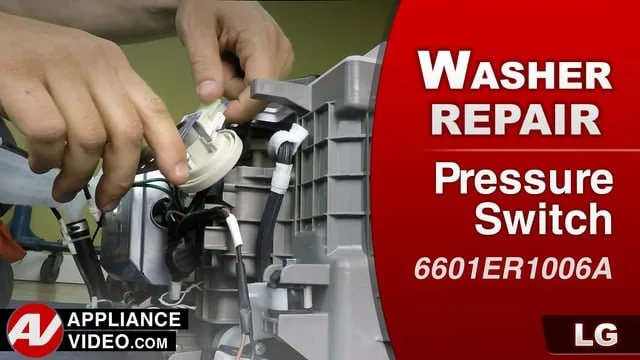
A blocked or leaking pressure tube is the second most common cause, preventing the sensor from reading the air pressure inside the drum. The sensor relies on a column of air trapped in this small tube to determine the water level. If the tube is pinched, cracked, or clogged with soap residue, the sensor receives no data.
To check this, find the clear rubber tube running from the sensor down to the side of the outer tub. Remove it from both ends and blow through it to ensure there are no blockages. If you find water inside the tube, shake it out and let it air dry completely before reattaching. If the tube is brittle or has a visible crack, it must be replaced to maintain an airtight seal.
You can tell this apart from a wiring issue because a blocked tube often results in the washer overfilling or failing to detect water even when the drum is visibly full. A common mistake is failing to check the connection point at the tub itself. If that port is clogged with lint, the tube will remain clear while the sensor still fails.
Use this decision rule: If the machine fills indefinitely and overflows, the tube is likely leaking or disconnected. If the machine stops mid-cycle with a sensor error, the tube is likely clogged.
Internal sensor component failure
The internal diaphragm of the pressure sensor can fail over time, especially if the machine is exposed to heavy vibrations. This is the least common cause, but it’s a permanent hardware failure that can’t be fixed by cleaning or reconnecting wires.
Unlike a wiring issue, which might be intermittent, a failed sensor usually triggers the error code every time you attempt to run a cycle. If you have already verified that the wiring is secure and the pressure tube is clear, the sensor itself has likely lost its ability to measure pressure accurately.
A common mistake is assuming the sensor is faulty because the machine stops mid-cycle. However, if the error appears only when the drum is full, the issue is likely a mechanical load imbalance rather than a sensor failure. If the error code persists even when the machine is empty, the sensor is almost certainly the culprit.
This varies by model; check the label on the part for the exact replacement number. If you aren’t comfortable replacing electronic components, this is the point where you should contact a professional technician.
A failed sensor won’t reset regardless of how many times you power cycle the unit. If the code remains after you have confirmed the wiring and tube are in perfect condition, replacing the sensor is the only way to resolve the fault. Don’t attempt to bypass the sensor, as this can lead to catastrophic overflow.
When to stop and get help
You smell burning plastic or see smoke coming from the control panel area, indicating a short circuit. If you detect this acrid odor, immediately shut off the power at the circuit breaker rather than just unplugging the unit.
The machine is leaking water onto the floor, which poses a slip hazard and risks damaging your home’s flooring. If the water is pooling near the power cord or the electrical outlet, don’t approach the machine; call a professional to prevent electrocution.
You’re required to use a multimeter to test for electrical continuity, as this involves potential exposure to live circuits. If you lack experience with high-voltage testing, don’t attempt to probe the internal wiring. A single slip of the leads can cause an arc flash.
The error persists after you have verified all connections and checked the pressure tube, meaning the main control board may be faulty. If the diagnostic lights continue to flash after a hard reset, the logic board is likely fried.
If you reach this point, stop all work immediately. A capacitor can hold a lethal charge even when the machine is unplugged. Technicians use specific tools to discharge them before testing. Contact an authorized service technician to perform these repairs.
Frequently asked questions
Is it safe to keep using the washer with this code?
No, it isn’t safe to use the machine while this code is active. The sensor is responsible for telling the washer when to stop filling with water. If the sensor isn’t working, the washer might continue to fill until it overflows, causing water damage to your home. Always resolve the error before attempting to run another laundry load.
How do I reset the Pe error code?
After waiting, plug the machine back in and try to start a cycle. If the code reappears immediately, the issue is a hardware fault, not a temporary glitch.
Can I fix this without buying new parts?
Yes, you can often fix this if the problem is just a loose wire or a dirty pressure tube. If the wiring is secure and the tube is clear, the sensor or the control board itself may be damaged. In those cases, you’ll need to purchase a replacement part that matches your specific model number.
Does the Pe error mean my washer is broken?
No, it means the water level sensor system isn’t communicating correctly with the main computer. Many times, this is caused by a simple vibration that loosened a plug or a small piece of debris in the tube. It’s a common maintenance issue rather than a sign that the entire machine is ruined.
How long does it take to check the sensor?
It usually takes about 15 to 20 minutes to check the sensor and the pressure tube. You’ll need to remove the top panel, inspect the wiring, and verify that the rubber tube is clear. If you aren’t experienced with home appliances, allow extra time to carefully remove and replace the screws.
What happens if I ignore the Pe code?
If you ignore the code, the washer will likely refuse to start any cycle to protect itself from flooding. If the sensor is failing intermittently, the machine might start a cycle but then stop mid-way or overflow during the fill process. Ignoring the warning will eventually lead to a complete breakdown of the washing function.
Final Thoughts
If these simple checks don’t resolve the issue, it’s time to reach out to a professional technician for help. You shouldn’t hesitate to call for support if you’re uncomfortable handling internal components. They’ll quickly identify if a part needs replacing so you can get back to your laundry routine without any stress.