
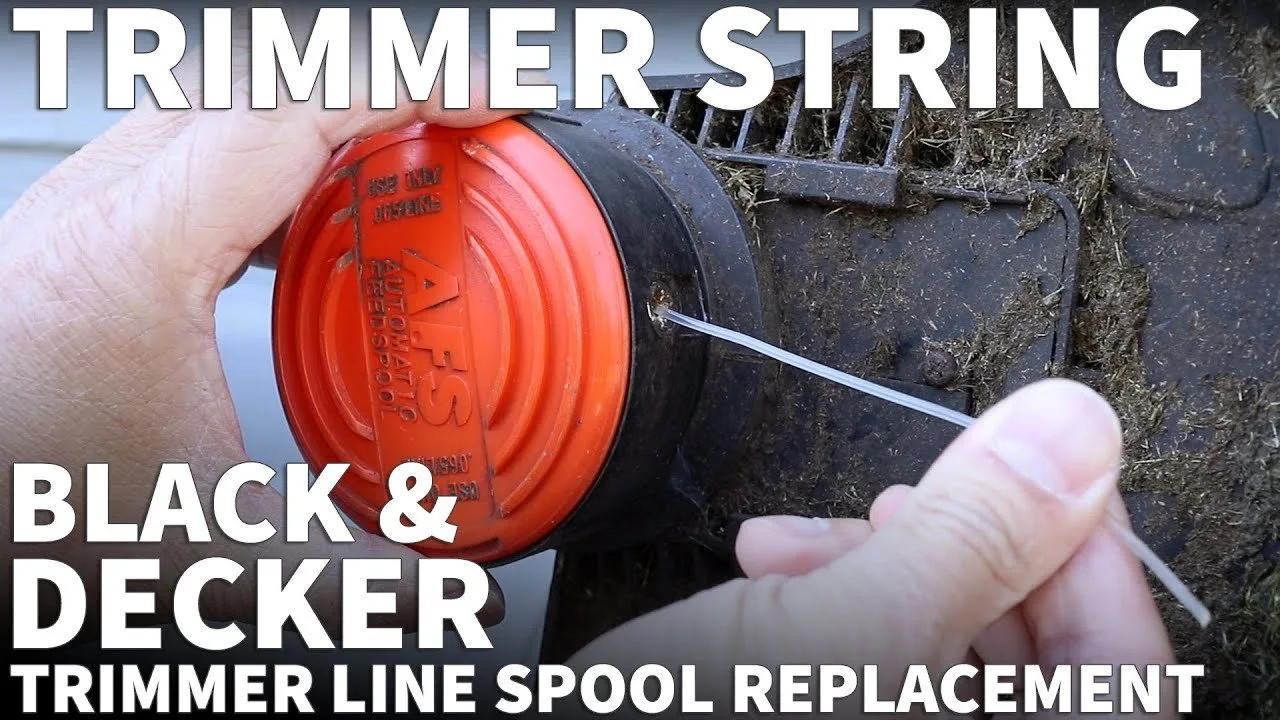
A Black And Decker Automatic Feed Spool not working is usually caused by tangled line or a dirty compartment, especially when trimming thick weeds. Confirm this by checking the spool cover for debris and pulling the line to ensure it moves freely. If stuck, clear the path to allow the mechanism to rotate. For model-specific maintenance, consult the official Black and Decker support page for your manual.
Why your Black And Decker Automatic Feed Spool Not Working
| Cause | How common | How to confirm it | Fix it yourself? |
|---|---|---|---|
| Tangled line | Very common | Pull line by hand | Yes |
| Dirt or debris | Common | Inspect under cover | Yes |
| Empty spool | Common | Check line level | Yes |
| Incorrect winding | Common | Inspect coil layers | Yes |
| Damaged eyelet | Occasional | Check plastic wear | Yes |
| Worn spring | Rare | Check spring tension | Yes |
| Motor failure | Very rare | Listen for sound | No |
Most users assume a mechanical failure when the trimmer stops feeding, but 90% of issues stem from the spool housing. If the trimmer head spins but fails to advance, start by checking the eyelet. If the plastic guide shows deep grooves or jagged edges, the line is catching on the housing rather than the spool. Replace the eyelet immediately.
When checking for dirt, look for compacted grass clippings inside the spring mechanism. If the spring feels sluggish or fails to snap back, clean it with compressed air. Don’t use oil, as it attracts more dust.
Finally, distinguish a motor failure by sound. If you hear a high-pitched whine but no rotation, the motor or internal gears may be damaged. If the unit is silent, check your power source or battery contacts first. Replacing a motor usually costs more than a new unit, so confirm the electrical connection before discarding the tool.
Tangled line inside the spool
Tangled line occurs when the trimmer cord overlaps itself inside the housing, preventing the centrifugal force from pulling more line out. This happens because the line was wound too loosely or pulled too hard during heavy cutting. You can tell this is the problem if you try to pull the line out by hand and it feels jammed or stuck tight.
To fix this, you need to remove the spool from the trimmer head. Once the spool is out, unspool the entire length of the line. Check for any melted or fused sections of the nylon cord, which are often caused by friction from the trimmer running against hard surfaces like stone or concrete. If the line is fused, you must cut off the damaged part and discard it. Rewind the remaining line neatly onto the spool, ensuring there are no overlaps. Keep the tension firm but not tight enough to stretch the material. If the line is too short after cutting away the damaged sections, you’ll need to replace the entire spool with a new one. If you find the line continues to tangle even after a neat rewind, your spool might be deformed from heat. In that case, replacing the spool is the only reliable fix. If the line is fine but the feed mechanism still fails, the issue is likely deeper inside the assembly.
Dirt or debris in the housing
Dirt and grass clippings often pack into the spool compartment, creating enough friction to stop the automatic mechanism from rotating. This symptom is distinct from a tangle because the line might move, but the spool itself won’t spin or click when you tap the head. You can confirm this by removing the spool cover and looking for packed green material or dry soil around the base of the shaft.
Cleaning this is a simple task that requires only a dry cloth or a soft brush. Remove the spool cover and wipe away all loose debris from the interior of the trimmer head. Ensure the area around the spring is clear, as even a small amount of grit can prevent the spring from compressing correctly when you tap the unit. If you see sap or sticky plant residue, use a damp cloth to wipe it off, then dry it completely before putting the spool back. Don’t use chemical cleaners or solvents, as these can weaken the plastic housing and cause it to crack during operation. If the unit still fails to feed after a thorough cleaning, check the eyelet where the line exits the head. If the eyelet is worn down or grooved, it can create too much resistance for the line to pass through, even if the spool itself is perfectly clean.
Empty or incorrectly wound spool
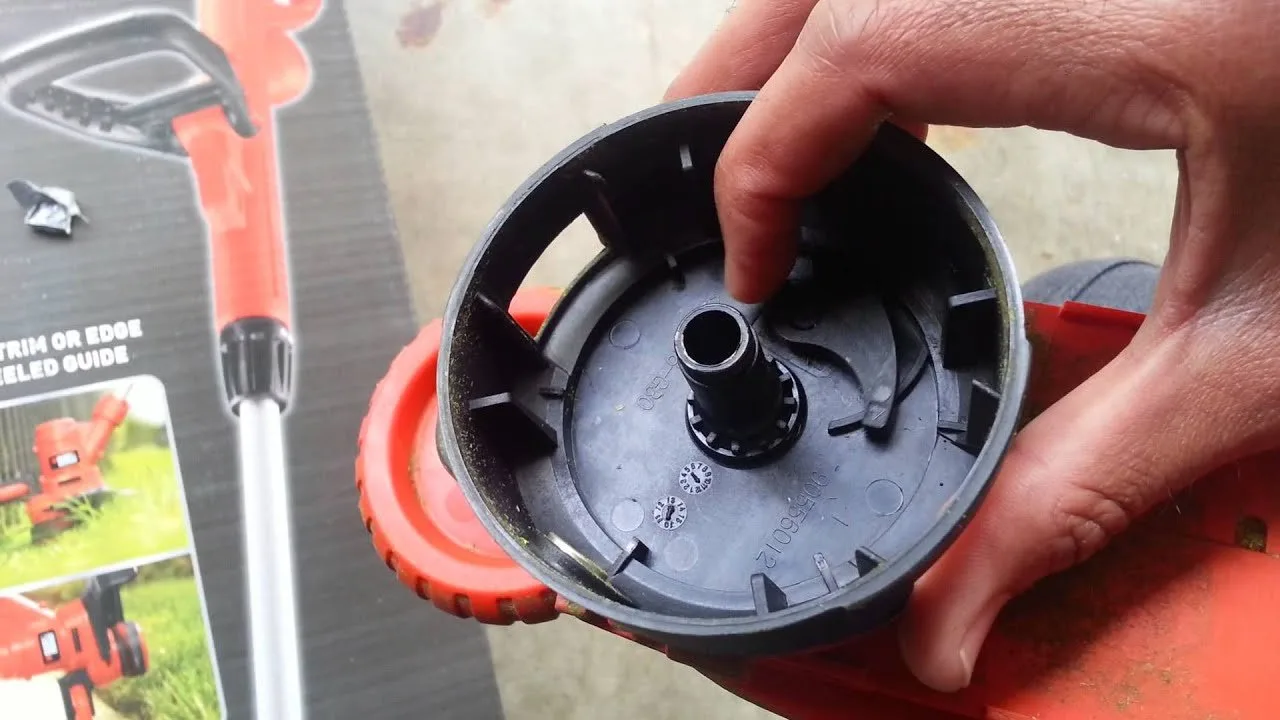
An empty spool is the most obvious reason for a feed failure, but many people overlook it until they have spent time checking the motor. You can confirm this by simply looking at the spool; if you see the plastic core, the line is gone. If there’s line but it looks like a chaotic mess of loops, the issue is incorrect winding.
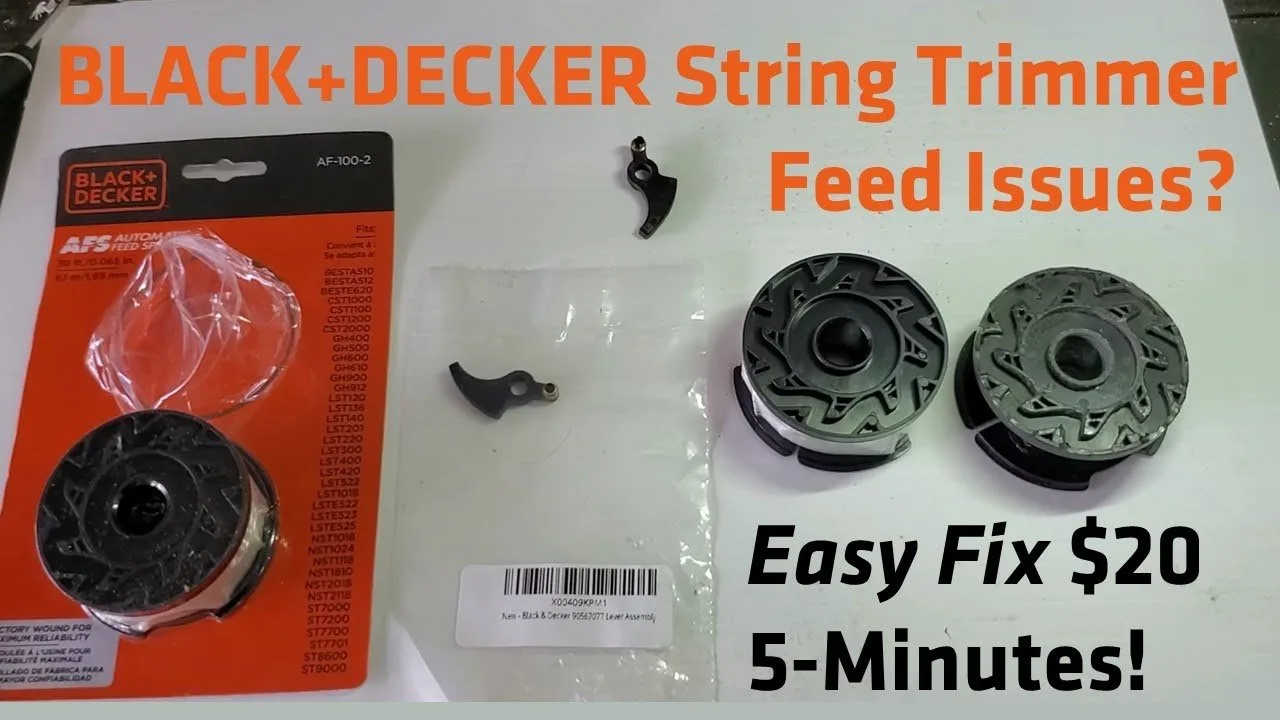
If the spool is empty, replace it with a new, pre-wound spool designed for your specific model. Mixing different brands or sizes of line can cause the automatic feed to jam because the thickness of the cord must match the internal channel precisely. If you choose to wind your own line, follow the arrows printed on the spool. Most models require you to wind the line in the direction of the arrows, and failing to follow this will cause the feed mechanism to lock up immediately. If you have wound the line and it still fails, check the tension. If the line is wound too loosely, it will collapse on itself and create a knot. If it’s too tight, the centrifugal force won’t be enough to pull the line out. If you’re unsure about the correct length of line for your model, check the label on the trimmer or the manual. This varies by model — check the label or the base of the trimmer for the recommended line diameter and length.
The less likely causes
- Damaged eyelet: The plastic exit point becomes grooved or cracked, which grips the line too tightly for it to feed out.
- Weakened spring: The metal spring under the spool loses its tension over time and fails to push the spool back into the correct position.
- Worn spool housing: The plastic teeth or tabs that hold the spool in place wear down, causing the spool to spin freely without catching.
- Motor or gear failure: The internal drive mechanism has stopped spinning the head, which requires professional repair or a unit replacement.
- Safety warning: If the motor housing feels extremely hot or you smell burning plastic, stop using the tool immediately and consult a professional, as this indicates an electrical fault.
What a fix usually involves
Fixing these issues usually involves only basic cleaning or replacing a small part. If the spool is tangled or empty, you’ll likely spend a small amount of money on a pre-wound replacement spool. This is often the most cost-effective path, as it saves you the time of winding the line yourself and ensures the tension is correct. Replacing the spool is a snap-in process that requires no special tools. If the issue is dirt, the cost is nothing more than a few minutes of your time and a clean cloth. However, if the motor or the internal gears are broken, the repair can cost most of the price of a new trimmer. In such cases, it’s often better to buy a new unit rather than paying for parts and labor. To get a real quote for repairs, look up your model number on the manufacturer’s website to find an authorized service center in your area. Never attempt to open the motor housing yourself, as this voids your warranty and poses a risk of electric shock.
Frequently asked questions
Can I use any type of trimmer line?
No, you must use the specific diameter and type recommended for your machine. Using a line that’s too thick will jam the automatic feed mechanism, while a line that’s too thin will break constantly. Check the manufacturer’s documentation or the sticker on the trimmer head to see the exact line size required for your specific model.
How do I know if my trimmer line is too old?
If the line feels brittle, snaps easily when you bend it, or has lost its flexibility, it’s too old to use. Old nylon line dries out and becomes weak over time, which causes it to break inside the housing rather than feeding out. Replace the old line with a fresh spool to ensure it holds up during operation.
Is it safe to fix the spool while the battery is attached?
No, you must always remove the battery or unplug the power cord before touching the trimmer head. This prevents the motor from starting accidentally while you’re working near the cutting blades. Always keep the power source disconnected until the spool cover is fully secured and you’re ready to resume trimming.
What happens if I wind the line in the wrong direction?
If you wind the line against the direction of the internal arrows, the automatic feed will lock up and refuse to release more cord. The mechanism relies on a specific rotation to catch the line and pull it out. If you have done this, simply remove the spool, uncoil the line, and re-wind it following the arrows correctly.
Does it matter if I use a generic brand of spool?
Yes, it often matters because generic spools may not fit the exact dimensions of your trimmer’s housing. A slight difference in the width of the plastic core can prevent the spool from seating properly, leading to feed failure. Using the official brand-name spool designed for your model is the most reliable way to avoid compatibility issues.
How long should the trimmer line last?
The lifespan of a single spool varies by model — check the label for the total length of line and the recommended usage. How fast you go through the line depends on the thickness of the weeds you’re cutting and how often you hit hard surfaces like rocks or concrete. A spool used in thick brush will empty much faster than one used on grass.
Final Thoughts
If the trimmer still doesn’t feed properly after you’ve cleaned it, the internal spring might be worn out. Don’t worry, as these parts aren’t expensive to replace. You’ll find that swapping in a fresh spool gets you back to your yard work quickly so you can finish your project with ease.
Related guides