
If your Nespresso Vertuo Cleaning Cycle Not Working, ensure the water tank is fully seated and the capsule head is locked. This issue often stems from poor water flow or sensor errors. If the light blinks orange or red, perform a factory reset to clear electronic glitches.
Reasons the Nespresso Vertuo cleaning cycle fails

The primary cause for a failed cleaning cycle is a lack of pressure buildup. The machine relies on a specific internal pressure to circulate water through the system. If the water tank isn’t pushed all the way into the base, the pump can’t pull water, and the cycle will stop immediately. This is common if the tank was recently removed for refilling and not clicked firmly into place.
Another frequent cause is debris blocking the barcode reader. The Vertuo machines use an optical barcode reader to scan the rim of the capsule, and during a cleaning cycle, the machine verifies that the head is closed. If coffee grounds or scale buildup cover the lens or the mechanical sensors, the machine assumes the head is open for safety reasons and refuses to start the pump. You can find detailed guidance on maintaining your Nespresso machine through the official manufacturer support portal.
Finally, the machine might be in a temporary error state. If you interrupted a previous brew or if the machine overheated, the software enters a lockout mode. This prevents the pump from running to avoid damage to the heating element. If the machine is cool to the touch but still refuses to start, a factory reset is usually required to clear the internal error code.
Check the water tank connection
This fix is for users who see the machine lights blinking but hear no sound from the pump. Start by removing the water tank completely from the back of the machine. Inspect the valve at the bottom of the tank and the corresponding port on the machine base. If you see any mineral deposits or stuck plastic bits, wipe them away with a clean, damp cloth.
Once the area is clear, fill the tank with fresh, room-temperature water. Place the tank back onto the base and apply firm pressure until you hear a distinct click. If the tank wobbles or sits slightly tilted, the suction required for the cleaning cycle will fail. After seating the tank, press the button once to wake the machine. If the light turns solid white, attempt the cleaning cycle again by pressing the button three times within two seconds. If the light remains blinking orange, the machine doesn’t recognize the water supply, and you should repeat the seating process once more. This assumes your machine is on a level surface; if the machine is tilted, the internal float sensor may fail to register the water level correctly.
Clean the capsule head sensors
This fix is for cases where the machine light blinks red or orange, indicating a sensor fault. You’ll need a soft, lint-free cloth and a small amount of warm water. Start by opening the machine head and removing any used capsule. Look for the small, circular lens or optical sensor located near the capsule holder.
Gently wipe the sensor area to remove any dried coffee oils or dust. These sensors are sensitive; don’t use harsh chemicals, vinegar, or abrasive brushes, as these can scratch the lens and permanently disable the barcode reader. After cleaning the lens, take a damp cloth and wipe the underside of the machine head where it meets the capsule holder. This ensures the seal is tight when the head closes. Once the surfaces are dry, close the head and lock it firmly. If the machine recognizes that the head is closed, the light should turn solid white. This fix isn’t for machines that have visible cracks in the housing or leaking water, as those indicate internal damage that requires a professional repair service.
Reset the machine to factory defaults
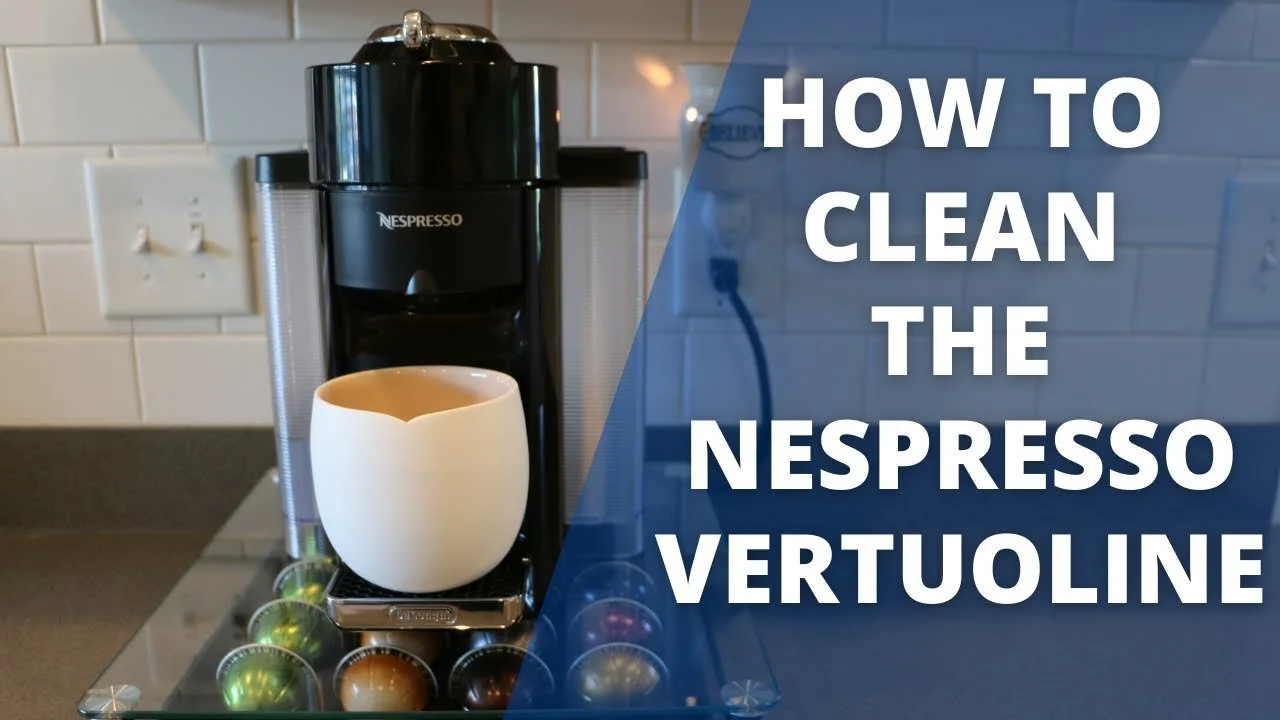
A factory reset is the best option when the machine remains stuck in an error loop despite proper cleaning. To perform this, ensure the machine is plugged in and the head is closed and locked. Open the head to eject any capsule, then close the head but leave the handle in the unlocked position. Press the button five times within three seconds.
The light should blink five times to confirm the reset. This process clears the internal memory of any stuck cycles or temporary errors. If the light doesn’t blink five times, the machine didn’t register the command; wait ten seconds and try the sequence again at a slightly faster pace. This is the limit of what a user can safely do at home. If the machine still fails to start the cleaning cycle after a successful reset, the issue is likely a failed internal pump or a faulty control board. At this point, stop attempting further fixes and contact the manufacturer or a certified service center. Don’t attempt to open the outer casing, as this voids your warranty and exposes you to electrical shock risks.
What not to do
Don’t use descaling solution inside the water tank to force a cleaning cycle. The high concentration can damage the pump if it sits too long. If you must descale, dilute the solution according to the manufacturer’s ratio before pouring it into the reservoir.
Don’t poke the nozzle or sensor lens with a needle or paperclip. These components are precision-engineered; a single scratch can cause permanent sensor failure. If you see mineral buildup, use a soft-bristled toothbrush and water.
Don’t leave the machine plugged in while cleaning the internal head. An accidental bump against the brew button can trigger the motor while your fingers are inside, risking injury. Always pull the plug first.
Don’t force the handle shut if you feel resistance. This often indicates a misaligned pod or debris in the chamber. Forcing it will snap the internal locking mechanism, rendering the machine impossible to open. If it sticks, check for debris or a misaligned pod, then try again gently.
How to stop it happening again
Regular maintenance prevents the buildup of oils and minerals that trigger these errors.
| If you’re doing this | Do this instead | Why |
|---|---|---|
| Leaving used capsules inside | Eject capsules after every use | Grounds dry and stick to sensors |
| Using tap water | Use filtered water | Reduces mineral scale buildup |
| Wiping with paper towels | Use a soft microfiber cloth | Prevents lint from clogging sensors |
| Ignoring blinking lights | Troubleshoot the specific error | Prevents machine damage |
The most common mistake is waiting for a total system failure before cleaning.
If your machine displays a persistent amber light, perform a hard reset by holding the power button for ten seconds. However, if the light remains red after the reset, the internal pressure sensor is likely obstructed by scale. In that case, use a food-safe descaling solution rather than vinegar, as vinegar can corrode delicate internal rubber seals over time. Always prioritize the manufacturer’s specific chemical ratio to ensure longevity.
Frequently asked questions

Can I run the cleaning cycle with vinegar?
No, you should never use vinegar inside a Nespresso Vertuo machine. Vinegar is too acidic and can damage internal seals, causing leaks over time. Always use the official manufacturer descaling kit to ensure the safety of your machine’s pump and heating components.
Why is my machine light blinking red?
A red light indicates a system error that the machine can’t resolve independently. This is typically caused by a communication failure between the capsule head and the base. If a factory reset doesn’t clear the light, the machine likely has an internal hardware fault requiring professional inspection.
How long does the cleaning cycle take?
A full cleaning cycle typically lasts about seven minutes. The machine pumps water through the system in bursts to ensure all internal piping is thoroughly rinsed. Ensure you have a container with at least 34 ounces of capacity ready to catch the water before starting.
Is it safe to use the machine if it’s leaking?
You should stop using the machine immediately if you notice water leaking from the base or housing. Leaks often indicate a disconnected tube or failed seal, which poses a significant risk of electrical short-circuiting. Unplug the unit and contact the manufacturer’s customer service for assistance.
What happens if the cleaning cycle is interrupted?
If a cycle is interrupted, the machine may become unresponsive or blink an error code. The software remains stuck in the previous cycle, preventing new operations. Perform a factory reset to clear the machine’s memory and allow you to start a fresh, complete cycle from the beginning.
Final Thoughts
If your machine still won’t cooperate after these checks, don’t worry. It’s likely time to reach out to Nespresso’s customer support team for a deeper diagnostic. They’ll help you determine if there’s a hardware fault, so you can get back to brewing your favorite coffee without any more interruptions.
Related guides
- Dyson Deep Clean Cycle Button Not Working? Easy Fixes Inside
- How to Remove Contact Cement: Easy Solutions for a Clean Surface
- How Do You Reset the Clean Light on a Breville Espresso Machine: Easy Guide