
A Shark Self Propelled Vacuum Not Working is usually caused by a blockage or tangled brush roll triggering the safety shut-off. If your vacuum loses suction or stops moving, check the floor nozzle and hose for debris. A flashing or solid red indicator light often signals these internal sensor alerts; always consult your Shark user manual to interpret specific light patterns before making adjustments.
Why your Shark Self Propelled Vacuum Not Working
| Cause | How common | How to confirm it | Fix it yourself? |
|---|---|---|---|
| Brush roll jam | Very common | Debris visible on brush | Yes |
| Airflow blockage | Very common | Suction feels weak | Yes |
| Full dust cup | Common | Cup visibly overflowing | Yes |
| Dirty filters | Common | Suction drops over time | Yes |
| Overheat trigger | Occasional | Vacuum shuts off suddenly | Yes |
| Worn drive belt | Rare | Motor runs but brush stays | No |
| Electrical fault | Rare | No lights or power | No |
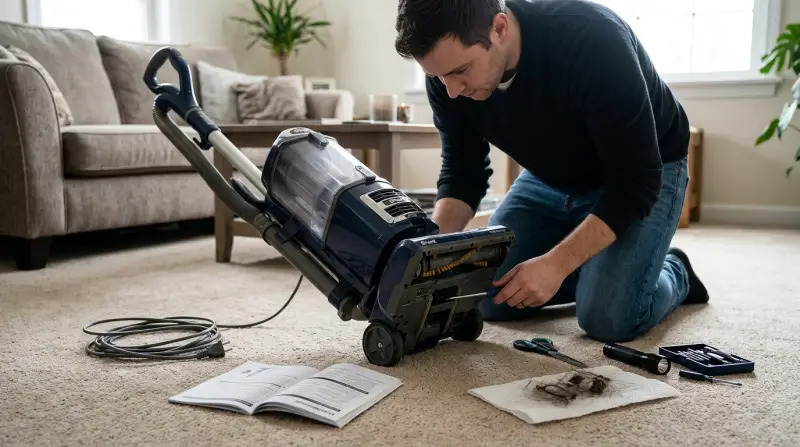
Start with the brush roll. If the vacuum makes a rhythmic clicking sound, a hair tangle is likely stalling the motor. Check the roller for tight, wrapped fibers. If you can’t pull them out by hand, use a seam ripper to slice the strands.
For airflow issues, perform the “hand test” at the hose intake. If you feel no suction at the base, disconnect every segment to find the clog. A common mistake is ignoring the small intake port behind the brush head. This costs you time because debris often hides in that tight bend.
If the machine shuts off after ten minutes, the thermal sensor is likely tripping. This happens when filters are clogged, forcing the motor to work harder. If the unit is cool to the touch but still refuses to start, check the power cord for fraying.
Clearing a stuck brush roll
The brush roll is the most frequent point of failure when a vacuum stops moving as expected. Hair, string, and carpet fibers wrap around the roller, creating enough friction to stop the motor from spinning. If the brush roll is jammed, the vacuum’s internal control board detects the high current draw and cuts power to the floor nozzle to prevent the motor from burning out.
To confirm this, turn the vacuum off and unplug it from the wall. Inspect the brush roll by looking at the underside of the floor nozzle. Use a pair of scissors to carefully cut through any hair or string wrapped around the bristles. Don’t pull the fibers with force, as this can damage the bristles or the belt housing. Once clear, rotate the brush roll by hand; it should turn with minimal resistance.
If you have cleared all visible debris and the brush roll refuses to engage, the unit requires professional service. Attempting to force the brush roll or opening the sealed motor housing will void your warranty and risks damaging the plastic clips that hold the nozzle together. This check takes about ten minutes and requires only basic household tools like scissors.
Resolving airflow obstructions
Airflow blockages cause the vacuum to struggle because the motor can’t pull enough air to maintain suction or cooling. When the air path is choked by large debris, the vacuum may sound louder than usual or simply stop moving because the internal sensors detect a pressure drop.
Distinguish this from a brush roll jam by checking the suction at the hose. Detach the wand or hose from the floor nozzle and turn the vacuum on. If you feel strong suction at the hose but not at the nozzle, the blockage is strictly within the floor head. If there’s no suction at the hose, the clog is in the main body or the hose itself.
Check for clogs by looking through the transparent hose sections for trapped objects like coins, small toys, or large clumps of dust. If you find a clog, use a broom handle or a dull, long object to gently push the obstruction through. Never use a sharp metal tool like a screwdriver, as this can puncture the flexible hose. If the obstruction is stubborn and can’t be cleared by gently shaking the hose or using a long, dull tool, don’t force it. You risk tearing the hose material, which would lead to a permanent loss of suction. Clearing a blockage usually takes fifteen minutes. If the vacuum continues to exhibit a “no suction” error after you have confirmed the path is clear, the internal sensors may need a reset, which is often as simple as unplugging the unit for ten minutes.
Maintaining the dust cup and filters
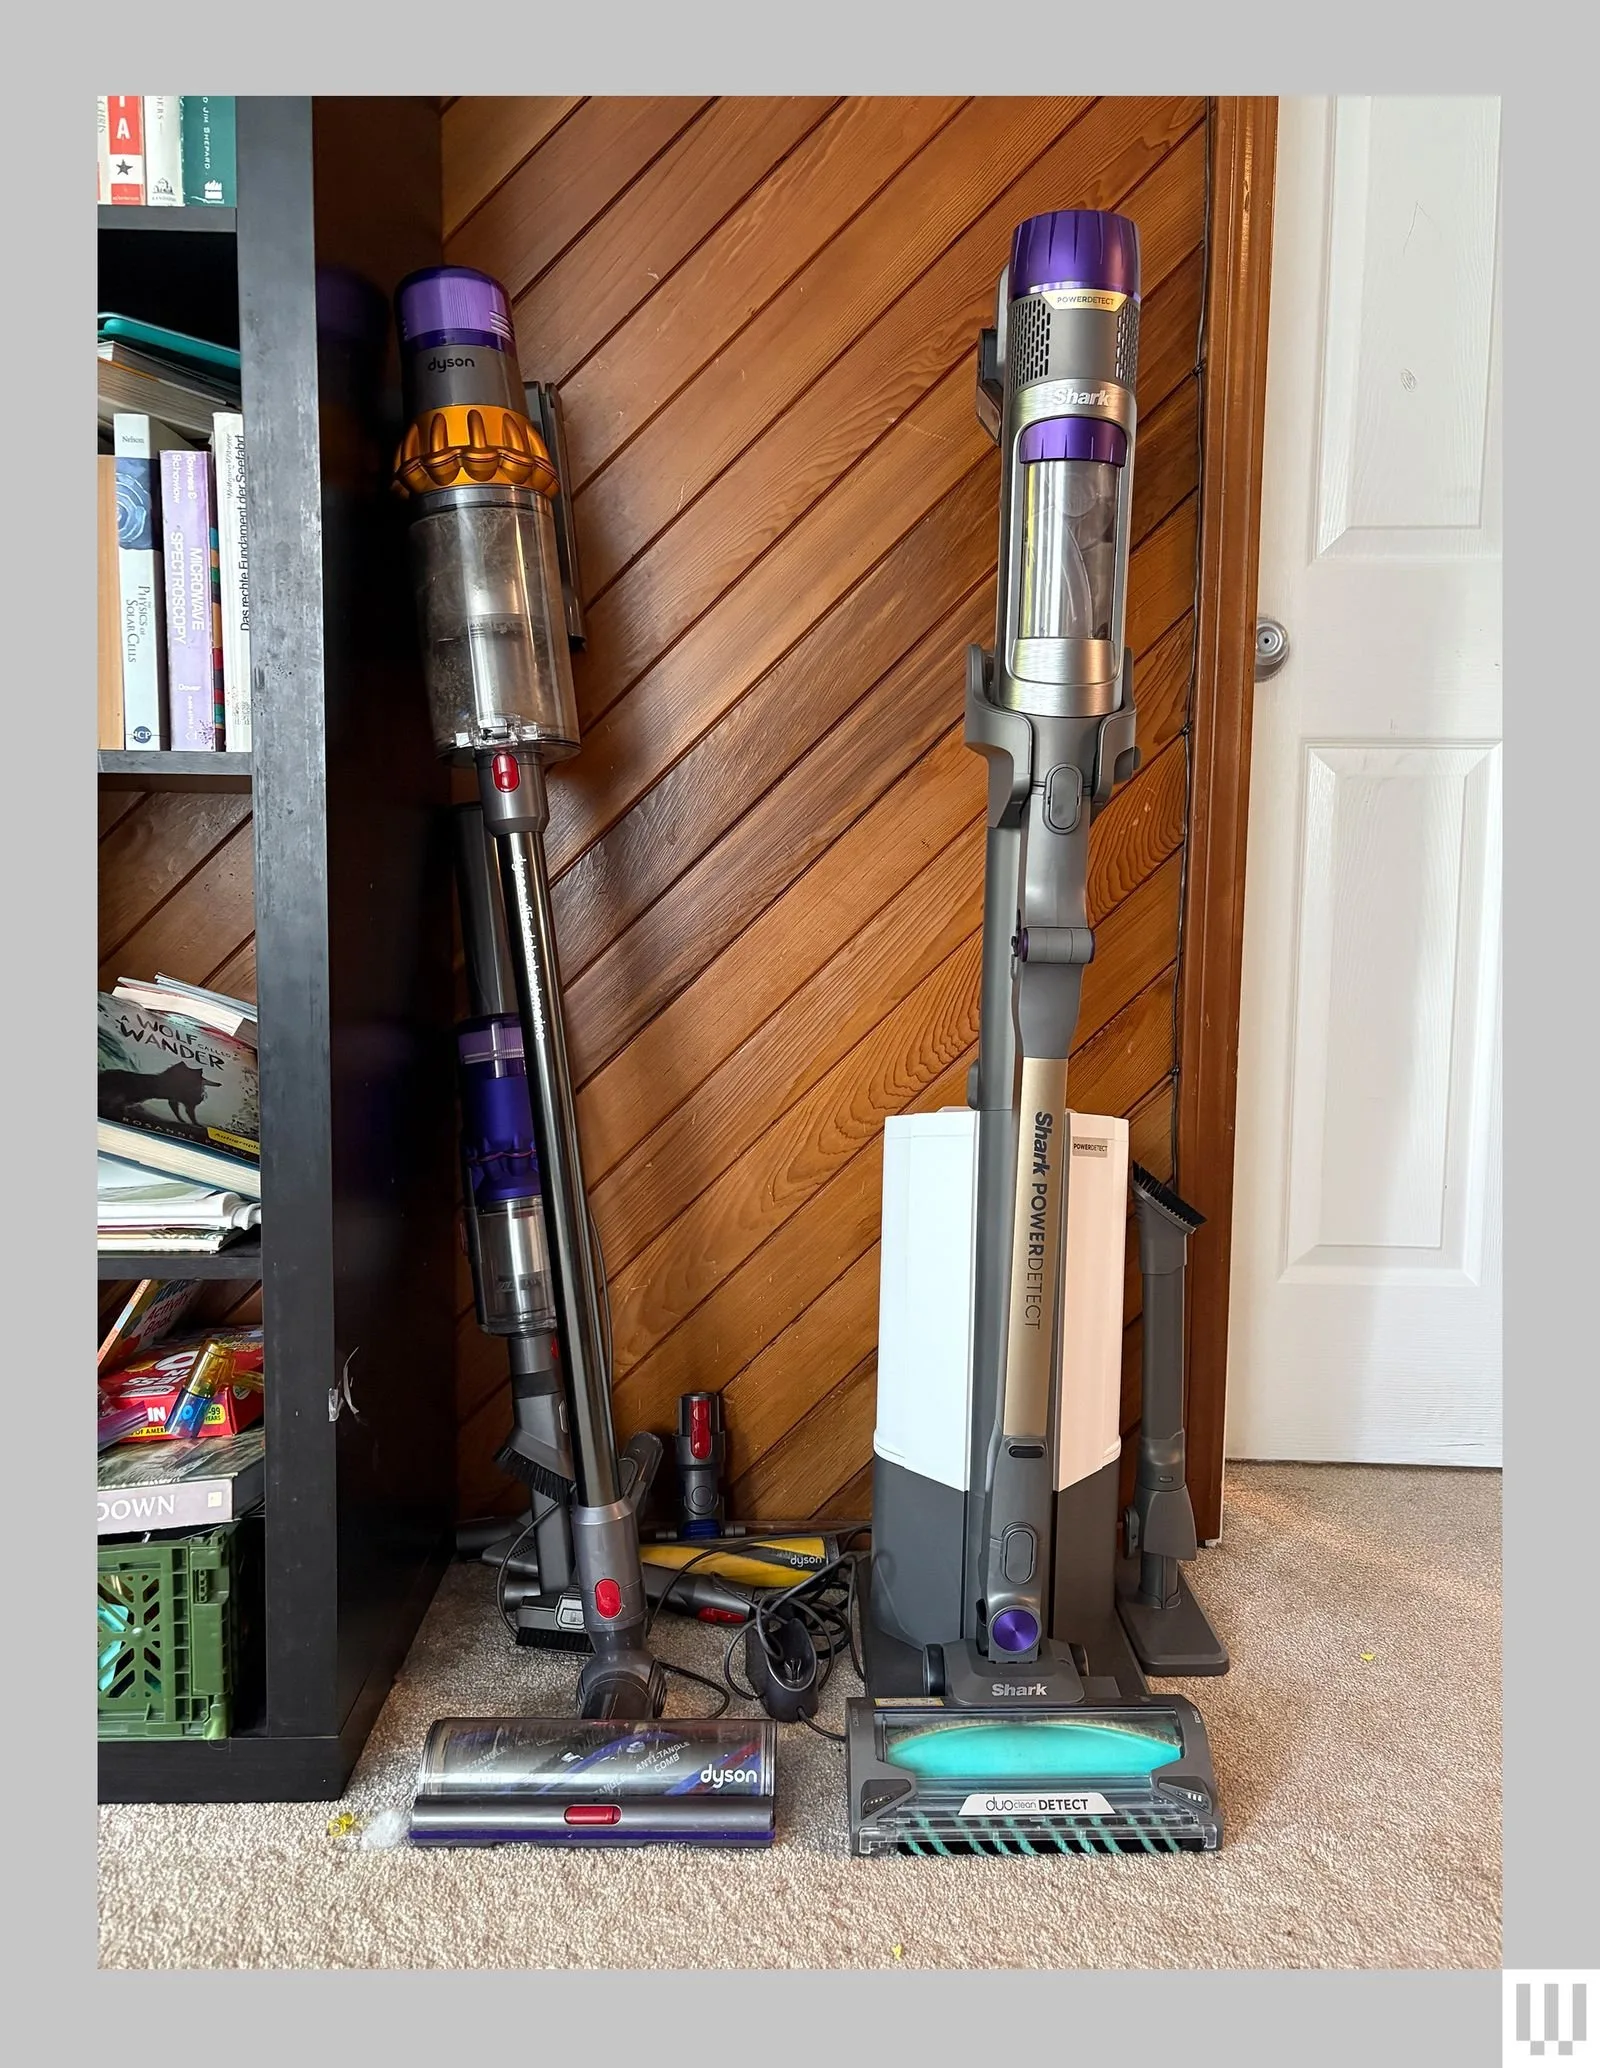
A full dust cup or clogged filters will mimic a mechanical failure by causing the vacuum to lose power or shut down. The vacuum relies on consistent airflow to keep the motor cool, and when the filters are blocked by fine dust, the motor works harder than it should.
Check the dust cup by ensuring it’s emptied every time you finish a cleaning session. If the cup is full, the suction is automatically restricted. Next, check the pre-motor and post-motor filters. You can typically access these by opening the top or side panels of the vacuum body. If the foam or felt filters are grey or caked with dust, they must be washed. Rinse them with cool water only and let them air dry for at least twenty-four hours. Never use a hair dryer or oven to speed up this process, as heat can warp the filter material and ruin its seal.
This is a common maintenance requirement that many people overlook. If you replace the filters while they’re still damp, you’ll cause mold growth and potentially damage the motor. If you have washed the filters and the vacuum still shuts off, verify the filters are seated correctly in their housing. A filter that isn’t snapped into place will create an air leak, causing the vacuum to lose efficiency immediately. This task takes about five minutes of active work, plus the long wait for drying.
The less likely causes
-
Thermal cutoff activation: The motor overheated due to extreme use or a long-term blockage and needs to cool down for sixty minutes before it will restart. If the unit shuts down immediately after you restart it, the internal thermal fuse may have permanently tripped, signaling a deeper mechanical failure rather than a temporary heat spike.
-
Loose electrical connection: The connection pins between the handle and the floor nozzle may be dirty, requiring a gentle wipe with a dry cloth to restore the signal. If the brush roll stops spinning while the suction motor remains active, focus your cleaning specifically on the metal contact points located at the neck joint.
-
Voltage drop: Using an extension cord that’s too long or has a thin gauge can prevent the motor from getting the power it needs for high-torque tasks. Avoid cords exceeding 25 feet or those rated below 14 AWG.
-
Motor failure: The motor has reached the end of its life, which is a professional repair job that often costs as much as a new unit. If you smell ozone or notice a high-pitched grinding sound, disconnect the power immediately to prevent a fire hazard.
What a fix usually involves
Fixing a vacuum yourself is almost always limited to clearing debris and basic cleaning. These tasks require common items like scissors, a broom handle, or a soft cloth. When a part like a hose, a filter, or a dust cup latch breaks, you can order a replacement part from the manufacturer’s website. The cost of these parts is usually a small part of the total machine price.
However, if the issue is internal—such as a faulty motor, a broken circuit board, or a damaged drive belt—the fix requires a professional technician. Repairing these components often costs most of the price of a new unit. Before you pay for a professional, check the warranty status on your official product documentation. Many manufacturers provide a limited warranty that covers motor failure for several years. If you’re out of warranty, get a quote from a local repair shop to compare it against the cost of a new model. Always ask if the quote includes labor, as parts alone don’t reflect the full cost of the repair.
Frequently asked questions
Can I use my vacuum if the light is red?
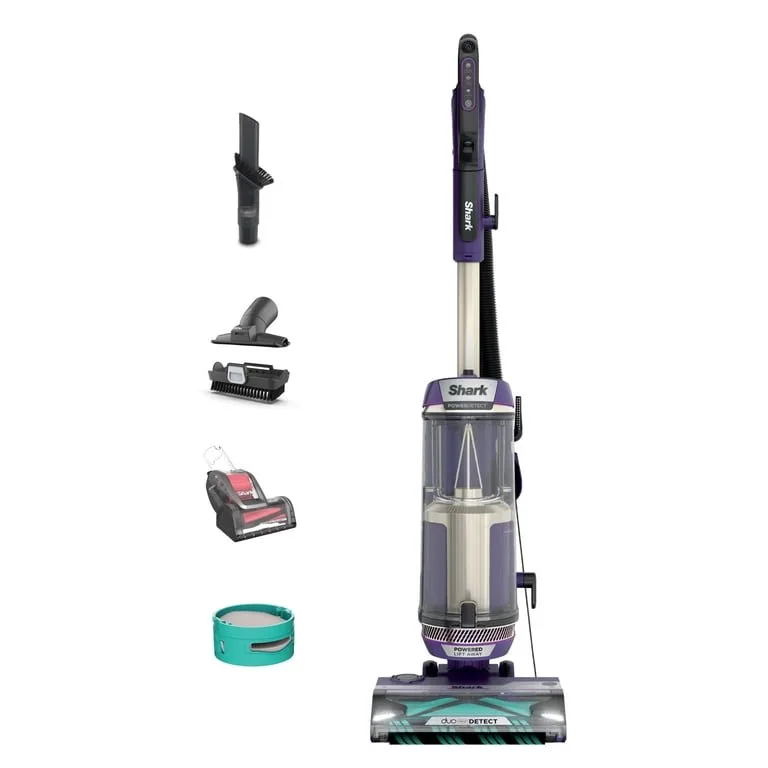
No, you should stop using it immediately. A solid or flashing red light usually indicates a safety shutdown triggered by a motor overload, a clog, or a jammed brush roll. Operating the vacuum while this light is active can permanently damage the motor or melt internal plastic components. Unplug the machine and clear the obstructions before attempting to turn it back on.
How long does it take for the vacuum to reset?
It typically takes about ten to thirty minutes for the thermal sensor to reset once the unit has cooled down. If the vacuum shut off due to overheating, ensure you have cleared all clogs and verified the filters are clean before trying again. If it shuts off again immediately, the blockage is still present or the motor is failing.
Is it safe to wash the vacuum filters?
Yes, you can wash the foam and felt filters with cool, clear water. You must never use soap or detergents, as these chemicals can degrade the filter material. The most important step is the drying time; ensure the filters are completely dry to the touch for twenty-four hours before putting them back into the vacuum.
What happens if I keep using a clogged vacuum?
You’ll likely burn out the vacuum motor. When the air path is blocked, the motor overheats because the lack of airflow prevents the cooling system from functioning. This heat damages the internal windings and can melt the housing or the belt. A simple clog is a minor fix, but a fried motor is a total loss.
Does it matter if I use a generic replacement part?
Yes, it matters because generic parts often have slightly different dimensions or material quality. Using a poorly fitted filter or hose can cause air leaks that lower your suction power. Always try to buy genuine parts from the manufacturer to ensure the vacuum maintains its original performance and safety standards.
How do I know if the motor is dead?
The motor is likely dead if you have cleared all clogs, cleaned the filters, and verified the power outlet is working, yet the vacuum still produces no sound or movement. If the vacuum is completely silent when you press the power button, there’s an electrical failure inside the unit. This requires a professional technician for diagnosis.
Final Thoughts
If the machine still doesn’t perform correctly after you’ve cleared the paths, don’t hesitate to reach out to Shark’s customer support team. They’re happy to help you troubleshoot further or determine if a specific part needs replacing. Keeping your vacuum clean will ensure it’s ready for your next big tidy-up.
Related guides
- Steam Clean Oven Vs Self Clean: Which Method Works Best?
- Shark Vacuum Making Noise: Top Fixes for a Quieter Clean