
The primary reason your Cadence And Resistance Not Working on Peloton is a connection issue between the monitor and the bike frame, which you can often resolve by checking the main data cable. This cable runs from the base of the bike up through the handlebars to the touchscreen. If it becomes loose or pinched, the sensor data can’t reach the display. Before you do anything else, check if the screen is still receiving power, as a loose power cord often looks like a sensor failure.
Why your cadence and resistance aren’t working
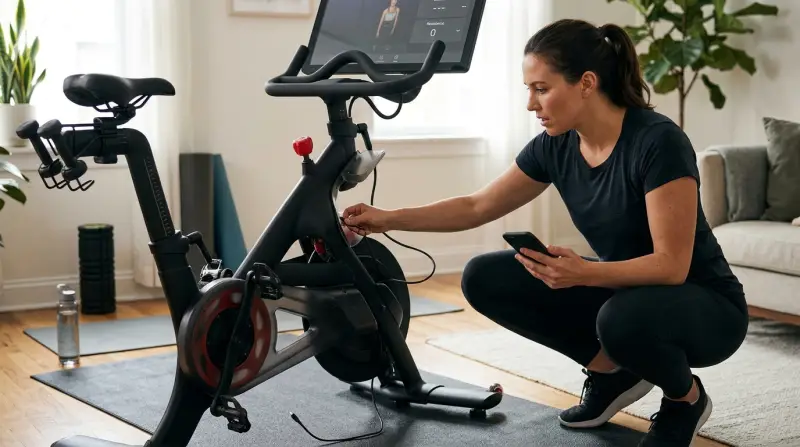
The most frequent cause is a loose connection at the monitor’s rear. During intense rides, the constant vibration can cause the data cable to wiggle out of its port. If the cable is seated correctly, the next likely culprit is a damaged sensor. The cadence sensor, which tracks your pedal speed, is located near the crank. If the magnet that triggers this sensor moves out of alignment, the computer stops seeing your movement.
Another possibility is a software glitch. Like any computer, the Peloton touchscreen needs to process data. If the software freezes, it may stop updating your metrics even if the sensors are working perfectly. This is usually temporary and resolves with a forced restart.
Finally, consider the internal wiring. If you have moved the bike recently or if the frame has been bumped, a wire inside the head tube might have become pinched or disconnected. This isn’t something you should try to fix by opening the frame yourself. If the cable looks fine but the metrics are still missing, you need to contact Peloton Support to diagnose deeper hardware faults. Never attempt to use tools to open the frame, as this voids your warranty and poses a risk of electrical shock or permanent damage to the internal components.
Safety: Inside a mains-powered machine, the parts behind the outer cover can hold a dangerous electrical charge even after it has been unplugged — that’s why they sit behind a cover. Opening the housing, or testing or replacing anything behind it, is a job for a qualified technician, never a home repair.
Check the data cable
This fix is for riders who see a blank or frozen metric display while the screen remains powered on. Start by turning off the touchscreen. Locate the cable at the back of the monitor. Carefully unplug it and look for bent pins or debris inside the connector. If you see any, don’t try to bend them back yourself, as they’re fragile and break easily.
Push the connector back into the port firmly until you hear a click or feel it seat completely. If the cable seems loose even after pushing it in, check if the protective shroud is putting too much tension on the wire. Adjusting the height of your handlebars can sometimes relieve this tension.
A common mistake is assuming the cable is seated because it looks flush. If the plastic housing isn’t perfectly level, the internal pins may not be making contact. You should feel a distinct tactile snap. If you don’t hear that click, the connection remains unreliable.
Once the cable is secure, turn the bike back on and start a short class to see if the numbers appear. If the metrics return, you have fixed the connection. If you still see zero or dashes, the issue is likely deeper in the wiring harness or the sensor itself.
This fix isn’t for bikes that have visible damage to the wires or exposed copper, as that requires professional repair. If you aren’t comfortable handling these cables, stop and reach out to the manufacturer. If you see fraying near the base of the plug, don’t attempt to reconnect it, as this can short the monitor board.
Perform a factory reset
If the cable is secure but the screen still refuses to display your cadence or resistance, the software might be the cause. A factory reset clears out temporary files that can block sensor data. To do this, hold down the power button on the back of the screen for at least 15 seconds until the device shuts down completely. Once it’s off, unplug the power cord from the wall for at least 60 seconds.
Plug the power cord back into the wall outlet and press the power button once. The system will reboot, which can take a few minutes. Once the screen returns to the home menu, navigate to a class and begin pedaling. If the numbers appear, the software was the bottleneck.
This fix isn’t for hardware damage; if you see physical signs of a broken sensor or a cut wire, a reset won’t help. If your screen has a “No Sensor Detected” error message after the reset, it confirms that the hardware isn’t communicating with the computer. In this case, you must stop trying to fix it and call professional support to avoid further issues. If the screen remains black despite these steps, check the power brick’s LED indicator; if it’s unlit, the power supply itself has failed and requires a physical replacement.
Inspect the sensor alignment
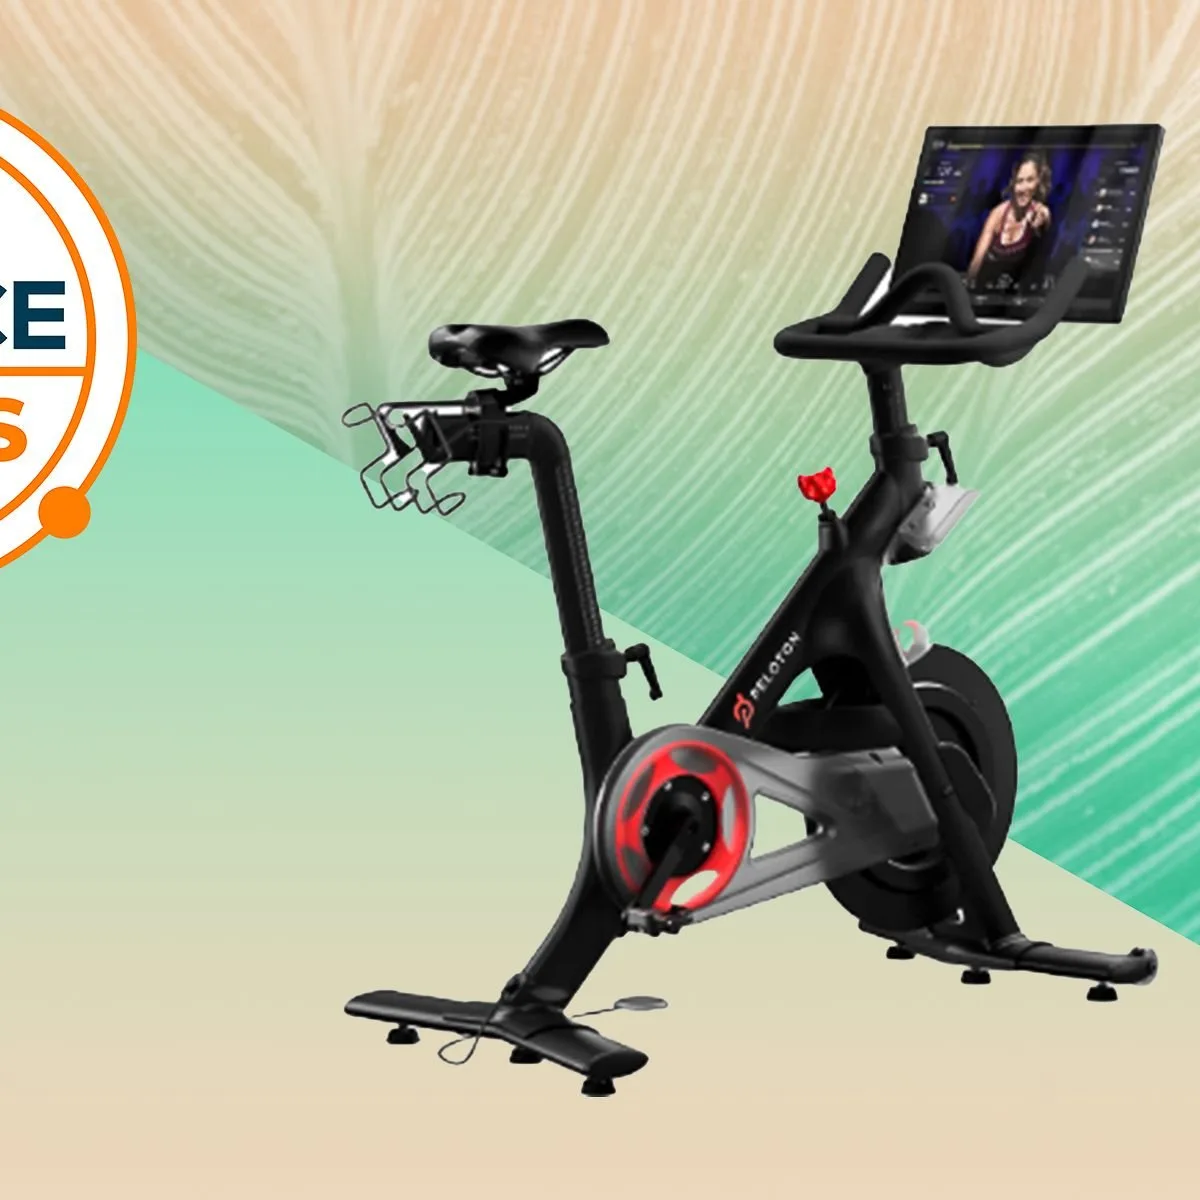
This fix is for advanced cases where you suspect the cadence sensor near the pedal crank is the problem. The sensor relies on a magnet passing by it to count your revolutions. If the sensor has shifted due to a hard impact or cleaning, it won’t register your speed. Look at the area near the base of the crank arm for a small plastic component. Ensure it’s parallel to the path of the pedal magnet.
If the sensor is loose, you can gently push it back into position. Be careful, as the plastic tabs holding it in place can snap if you use too much force. Don’t use adhesives or tools to force it into place. If the sensor is completely detached or the wiring leading to it’s frayed, don’t attempt a repair. This is a delicate electronic part that requires specific tools for proper calibration. If you can’t align the sensor by hand, you need to contact the manufacturer for a replacement part or a technician visit. This is the point where a DIY approach ends. Trying to bypass the sensor or modify the wiring can lead to permanent damage to the bike’s motherboard or cause the resistance system to fail completely.
What not to do
Don’t spray liquid cleaners directly onto the screen or into the ports. Moisture seeping into the housing causes immediate short circuits, often frying the motherboard beyond repair. If you need to sanitize the display, dampen a microfiber cloth slightly and wipe it gently.
Never use a screwdriver or metal tool to pry out a stuck data cable. This habit frequently bends the delicate internal pins, rendering the port permanently useless. If a cable resists, wiggle it side-to-side with your fingers instead.
Don’t attempt to open the main housing to inspect internal circuits yourself, as this voids your warranty.
Finally, don’t ignore frayed wires. If you see exposed copper, stop using the bike immediately. A damaged path creates a significant fire hazard as the power supply continues to force current through the compromised insulation. Replace the wiring harness before attempting another ride.
How to stop it happening again
Keep your bike in a climate-controlled room to protect sensitive electronics from humidity and dust. These elements are the primary enemies of sensor connections, often causing intermittent signal loss that’s difficult to diagnose.
| If you’re doing this | Do this instead | Why |
|---|---|---|
| Moving the bike often | Keep it in a fixed spot | Reduces cable strain |
| Cleaning with wet cloths | Use a dry microfiber cloth | Prevents moisture in ports |
| Yanking the handlebars | Adjust height gently | Protects internal wiring |
Most riders mistakenly believe that any indoor space suffices, but garages with fluctuating temperatures invite condensation inside the housing. If you notice a flickering display, check the port for oxidation immediately. If the pins look dull or green, use a contact cleaner spray rather than a physical tool to avoid snapping the delicate contact points. When in doubt, prioritize a consistent, low-humidity environment over proximity to your workout area.
Frequently asked questions
Can I fix a cadence sensor myself?
No, you shouldn’t attempt to repair the internal sensor or its wiring yourself. The sensor is a precision electronic part that requires a professional technician for replacement. Attempting repairs yourself can cause a short circuit that damages the main computer.
Why is my resistance stuck on one level?
Your resistance is likely stuck due to a failure in the magnetic resistance motor or the internal tension cable. Ensure the power cable is plugged into the wall, as the system requires electricity to operate. Don’t force the knob, as this can snap internal components.
How long does a Peloton sensor last?
There’s no set lifespan for a sensor, as it depends on your usage and environment. These sensors are designed to last for the life of the bike under normal conditions. Frequent movement, high humidity, or sweat can cause them to fail earlier.
Is it safe to ride if the cadence isn’t working?
Yes, it’s safe to ride if the cadence isn’t working, provided there are no loose or exposed wires. You can still complete your workout using the resistance knob, though you won’t be able to track your output. Stop using the bike immediately if you smell burning plastic.
What happens if I ignore the connection error?
Ignoring a connection error will prevent you from tracking performance metrics and may make the bike unusable for classes. A loose connection can also cause intermittent power loss to the screen. Secure the cable now to prevent permanent damage to the pins from constant vibration.
Final Thoughts
If these quick checks don’t get your metrics back on screen, don’t worry. Reach out to the support team with your bike’s serial number ready. They’ll help you figure out if a part needs replacing so you can get back to your favorite rides as soon as possible.