
You can Reset Ecobee for New Owner by selecting the “Reset” option within the device’s main settings menu to clear all user data and restore factory defaults. This process takes about two minutes to complete and requires you to have physical access to the thermostat screen. It’s the best way to ensure the previous user’s account, schedule, and Wi-Fi credentials are fully removed before you connect the unit to your own smartphone app and home network.
Things to prepare before resetting your ecobee

-
Ecobee Thermostat: You need the physical unit mounted on the wall. Verify the model number on the backplate, as the reset sequence for the Smart Thermostat Premium differs slightly from the older Ecobee3 Lite.
-
Wi-Fi Network: Access to your home’s 2.4GHz network credentials is mandatory. Most Ecobee thermostats support 2.4GHz networks, and newer models also support 5GHz. If your network uses a combined SSID, temporary isolation of the 2.4GHz band is often required to prevent connection timeouts.
-
Smartphone: A device with the latest version of the Ecobee app installed. Ensure your mobile operating system is updated to the current version to avoid compatibility errors during the device discovery phase.
-
Account: A registered account on the Ecobee platform to link the device. If you’re inheriting a device from a previous homeowner, you must perform a factory reset to unpair their credentials before your account can claim the hardware.
-
Basic Tools: A small flat-head screwdriver if you need to remove the unit from the wall, though this is rarely required for a software reset.
-
Power: The unit must be connected to its C-wire or power adapter to stay on during the reset process. If the screen flickers or goes dark during the reboot, your C-wire may have a loose connection at the furnace control board.
If you have lost the Wi-Fi password, reset your router before starting. The thermostat won’t connect without it. If you’re uncomfortable with network settings, contact your ISP for assistance.
Step-by-step: How to Reset Ecobee for New Owner
- Wake the screen by tapping anywhere on the display of the thermostat.
- Select the Main Menu icon located in the bottom left corner of the screen.
- Tap on Settings and then scroll down to find the Reset menu.
- Choose Reset All Settings to wipe the device completely, including Wi-Fi, HVAC configurations, and user preferences.
- Confirm your choice when the screen prompts you, as this action can’t be undone.
- Wait for the device to reboot, which usually takes about sixty seconds.
- Follow the on-screen prompts to pair the device with your own mobile app once it displays the “Pairing Code.”
Don’t turn off the power at the breaker while the reset is in progress, as this can corrupt the software.
Careful: If you see a “Registration” error, your device might still be linked to the old owner’s cloud account; if this happens, you must contact Ecobee support to have them manually clear the serial number from their server.
Situations affecting the process
The time and effort required to reset your device depend on the model and the state of your network. If the device has been offline for a long time, it may need a firmware update immediately after it reconnects to your Wi-Fi.
| Situation | Time Required | Difference in Effort | What to Watch |
|---|---|---|---|
| Standard Reset | 2 minutes | Basic menu navigation | Screen responsiveness |
| Firmware Update | 5-10 minutes | Automatic download | Don’t power off |
| Cloud Unlink | 24-48 hours | Support ticket needed | Serial number status |
A common mistake is assuming a reset is complete the moment the screen turns back on. In reality, the device often performs background indexing for another five minutes.
The decision rule is simple: if the device is unresponsive for more than ten minutes, force a power cycle by holding the physical button for fifteen seconds. If it remains frozen, you’re likely dealing with a hardware failure rather than a software glitch.
It’s always safer to perform a full factory reset rather than changing individual settings. This prevents hidden conflicts from old schedules or corrupted configuration files. If you’re selling the unit, ensure the cloud unlink status is confirmed via email before handing it over. Failing to verify this status leaves your personal data accessible to the next owner.
How to tell you did it right
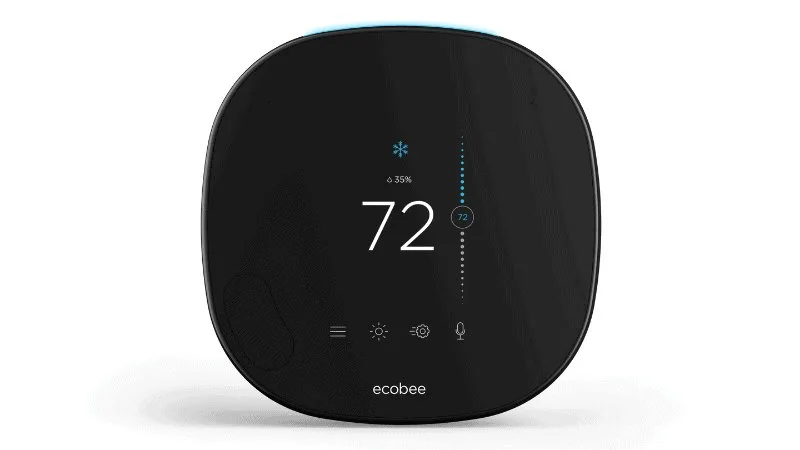
A successful reset is confirmed when the thermostat screen shows the “Welcome” or “Pairing” screen instead of the previous owner’s home temperature or schedule settings. If you still see a name or a personalized home screen, the reset didn’t clear the data properly. This usually happens if you only performed a partial reset or if the device failed to save the changes due to a temporary power fluctuation.
To prevent this, ensure the thermostat is firmly pressed onto the backplate to maintain a constant power supply. If you encounter a frozen screen, wait for the device to cycle power on its own before trying the menu steps again. A clean reset will always present you with the initial setup wizard, asking you to choose your language and network settings from scratch.
If you still see old data after two attempts, ensure your C-wire is providing constant voltage. Low power can prevent the memory from wiping correctly. Use a multimeter to check for a steady 24V reading at the terminals.
The decision rule is simple: if the screen flashes the brand logo but returns to the old schedule, you have a power delivery failure. If it stays on the “Welcome” screen, the internal memory has successfully cleared. Never attempt a third reset without verifying the power source, as repeated failed cycles can occasionally corrupt the device firmware.
Maintaining the device afterwards
The standard for smart home privacy requires that all previous user data be purged before a new owner takes control, a protocol supported by the manufacturer’s security guidelines. A factory reset isn’t merely a suggestion; failing to perform one leaves your personal network credentials exposed to the next occupant.
Once you finish the reset, you must register the device to your own email address through the mobile app to ensure you receive important firmware updates. These updates often contain critical security patches that prevent unauthorized access.
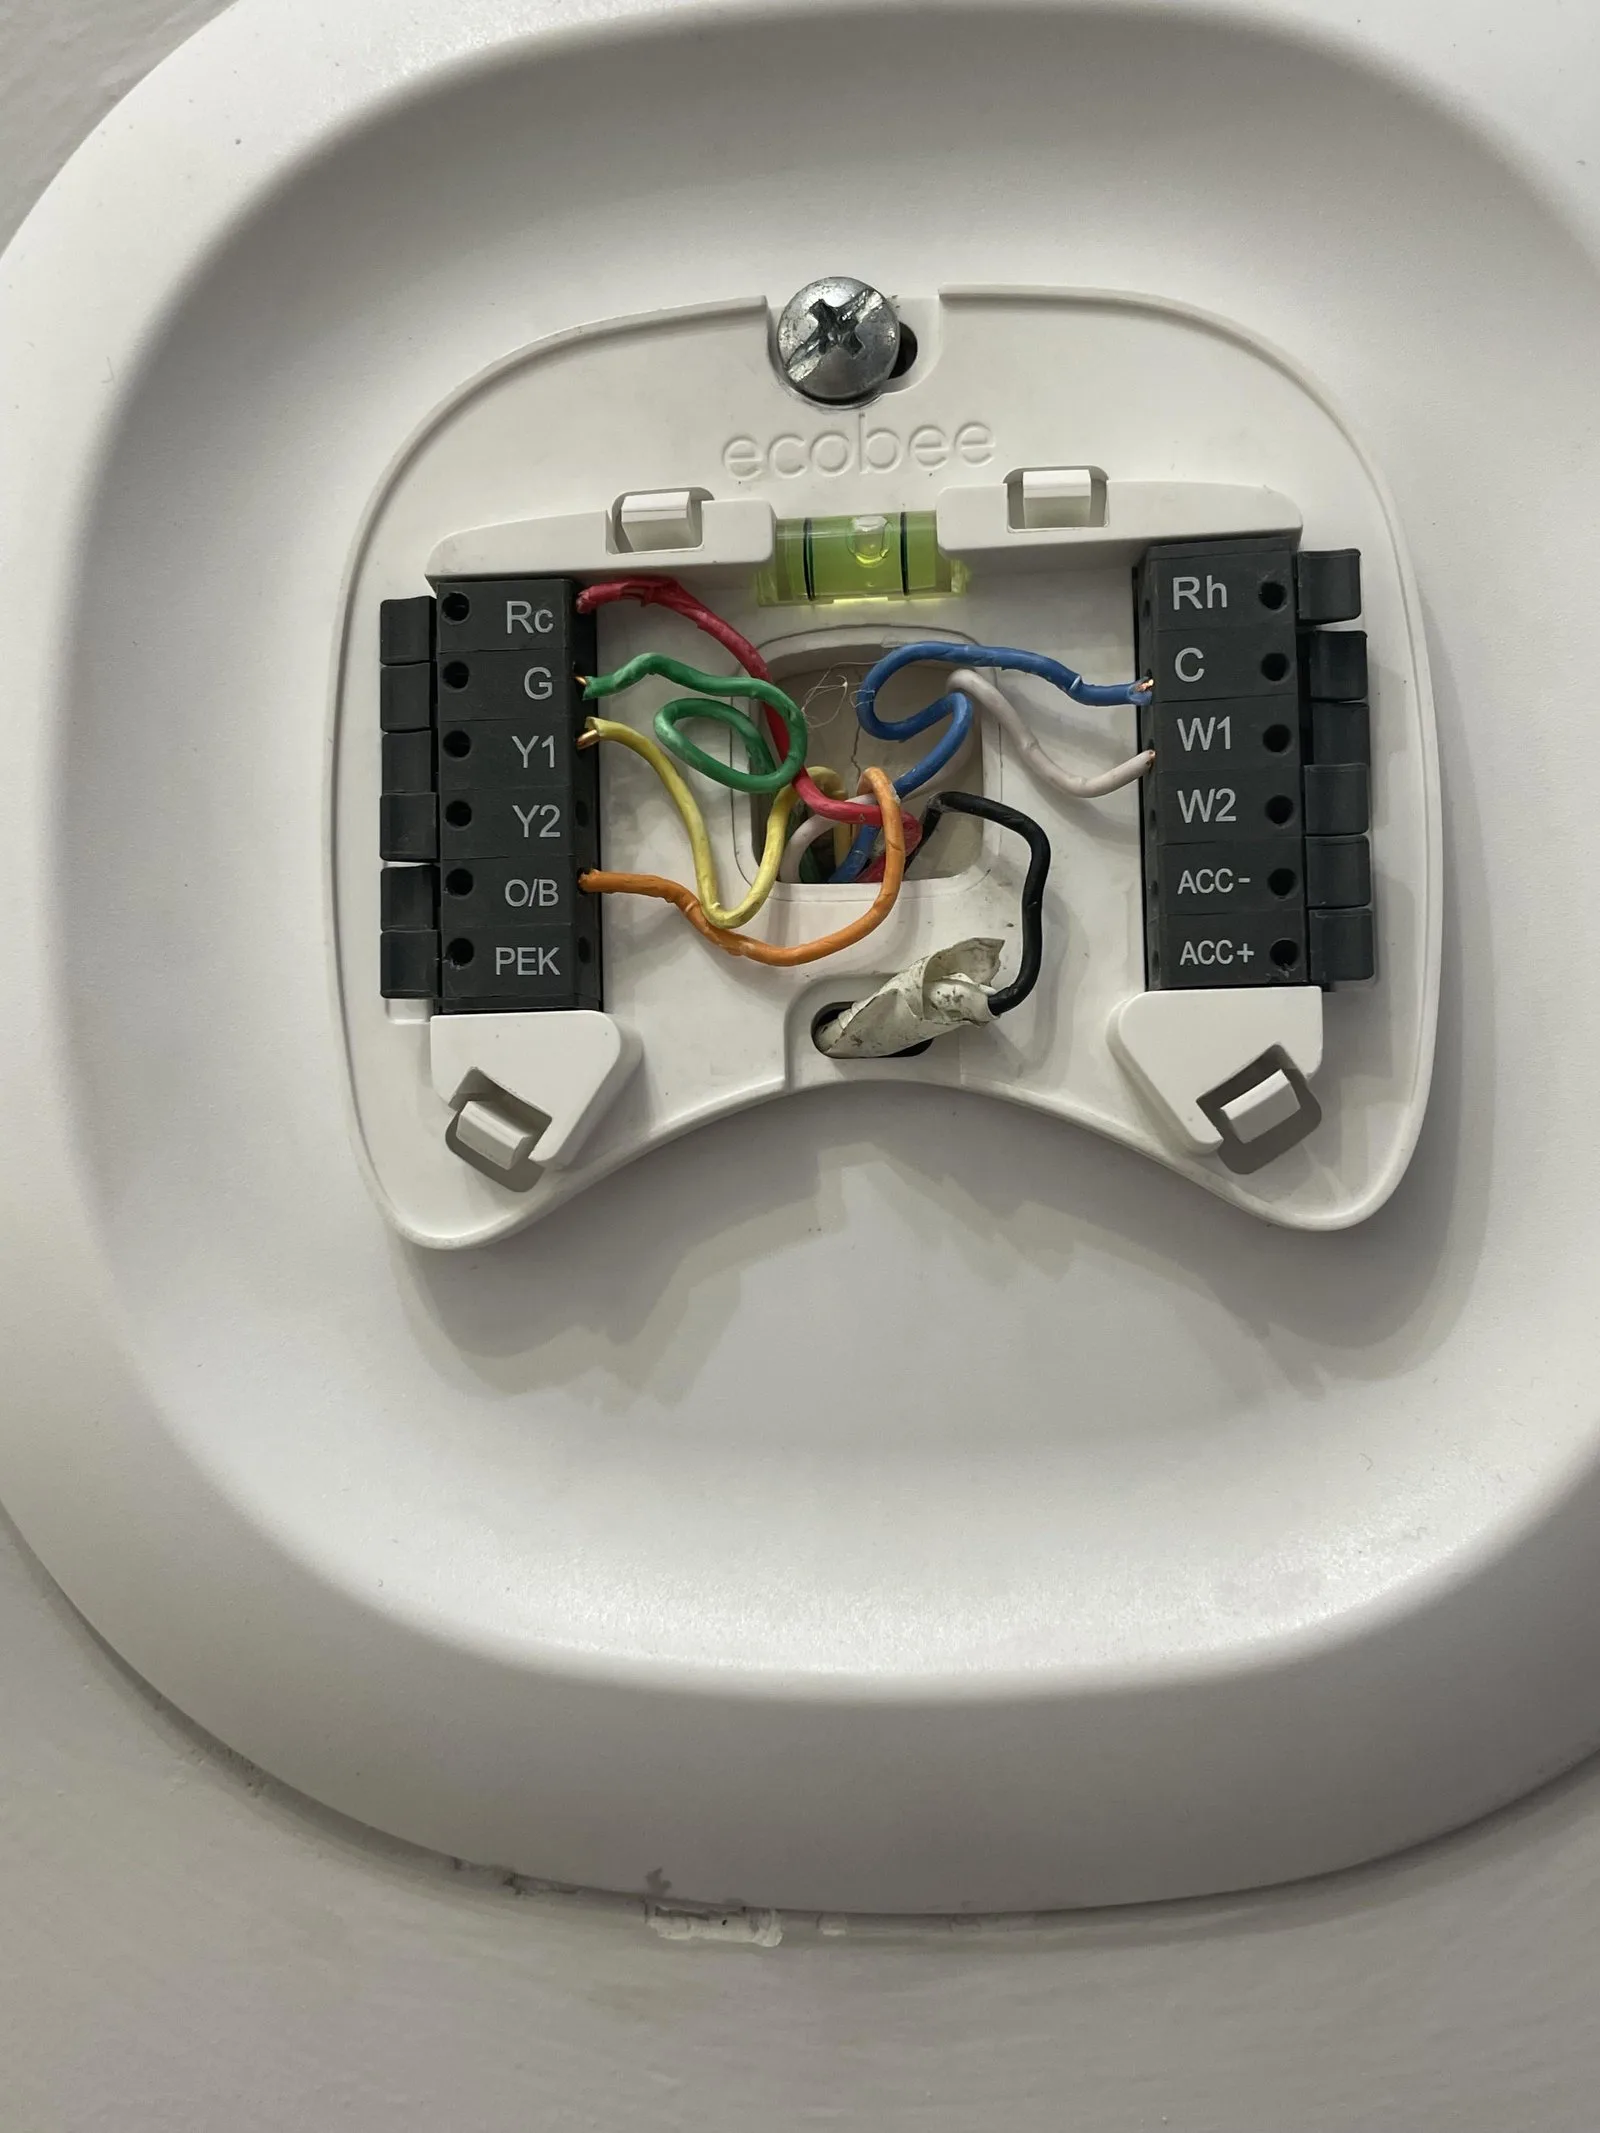
Check the device regularly to ensure the Wi-Fi connection is stable. If you notice the temperature readings seem inaccurate, check the wire connections behind the unit, as these can loosen over time due to thermal expansion. A variance of more than two degrees from a secondary thermometer indicates a loose terminal.
If you aren’t confident handling electrical wiring, always consult a licensed HVAC technician to verify your system is compatible and that the wiring is secure. Attempting to tighten terminals without turning off the circuit breaker risks a short circuit that can damage the thermostat or the HVAC control board.
Record your device’s serial number in a safe place, such as a digital password manager. You’ll need this specific 12-digit string if you ever contact support for technical help. Without it, the manufacturer can’t verify your warranty status or push remote diagnostics to your hardware.
Other ways to do it
Using the App
If you still have access to the old owner’s app account, you can remove the thermostat from their profile remotely. This doesn’t always wipe the local hardware settings, so you should still perform a manual factory reset on the screen to ensure the device is truly blank and ready for your own account.
Replacing the Backplate
If the unit is physically damaged or the screen is unresponsive, you might need to replace the backplate or the entire unit. This is a last resort, as it involves disconnecting the HVAC wires. Ensure you turn off the power at the breaker before touching any wires to avoid a short circuit.
Calling Support
If the thermostat is stuck in a “Locked” state, you can’t reset it yourself. You must call the manufacturer’s support line. They can see the lock status on their end and provide a specific unlock code or clear the device remotely from their central database.
Frequently asked questions
Can I reset the Ecobee without the PIN?
Yes, you can perform a full factory reset through the “Reset” menu on the thermostat screen, which ignores any PIN set by a previous owner. If the device is locked by a specific security password that you don’t have, you’ll need to contact the manufacturer to verify the device and have them provide an override code.
How long does an Ecobee reset take?
It takes about two minutes to complete the reset process once you select the option in the settings menu. The device will then reboot and guide you through the setup process, which may take an additional three to five minutes depending on how quickly it connects to your local Wi-Fi network.
Is it safe to buy a used Ecobee?
Yes, it’s safe to buy a used thermostat as long as you perform a full factory reset immediately after installation. This removes all previous owner data, schedules, and cloud account links, allowing you to treat the device as if it were brand new.
What happens if the reset fails?
If the reset fails, the screen will typically remain frozen or return to the previous user’s home screen. Try a power cycle by removing the thermostat from the wall for thirty seconds and then reattaching it; if it still doesn’t clear, the internal memory may be faulty.
Why is my Ecobee still showing the old name?
The name remains because the device is still registered to the previous owner’s cloud account. You must perform a full factory reset and then register the device to your own email address to overwrite the old profile and personalize the thermostat with your own information.
Final Thoughts
Once the screen displays the welcome message, you’re ready to start fresh. Just download the app on your phone and follow the on-screen prompts to link the device to your home network. You’ll have full control over your comfort settings in no time, and it’s a great way to save energy.
Related guides
- How to Reset Nest Thermostat: Quick and Easy Guide
- Factory Reset Acer Laptop Alt F10 Not Working: Quick Fixes
- Kindle Paperwhite Frozen Reset Not Working: Quick Fixes