
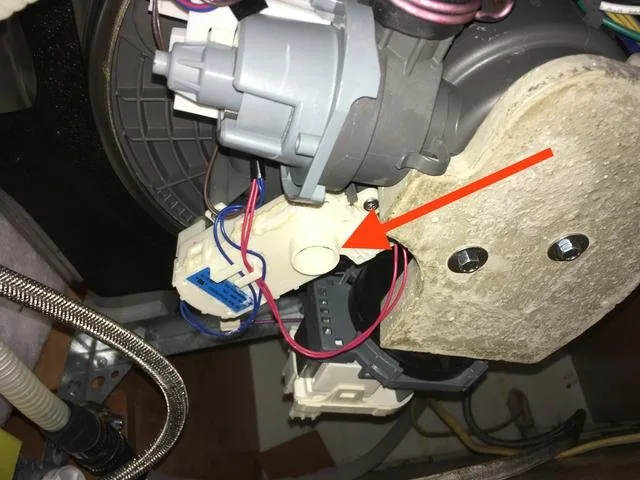
Stop the machine immediately if water is actively pooling on your kitchen floor to prevent potential electrical hazards or water damage. A Kenmore Dishwasher Leaking from Bottom is often caused by a worn door seal, a clogged filter, or a damaged float switch. You should unplug the power cord or flip the circuit breaker dedicated to the kitchen area to ensure safety before you touch any internal parts. If the leak is small, place a thick towel under the door to soak up moisture and protect your flooring while you prepare to inspect the unit.
Stop the Kenmore dishwasher leak immediately
-
Turn off the water supply valve located under your kitchen sink to stop more water from entering the unit. If you can’t find a dedicated valve, shut off the main water line for the entire house.
-
Unplug the dishwasher from the wall outlet or switch off the dedicated circuit breaker in your electrical panel. Don’t rely on the dishwasher’s control panel to cut power, as a faulty board could still send live current to the motor.
-
Remove all dishes from the racks to clear the way for a full inspection of the interior.
-
Use a sponge or a wet-dry vacuum to remove standing water from the bottom of the tub. Leaving water behind makes it impossible to see the drain’s intake screen.
-
Check the drain filter for debris like food scraps or broken glass. These particles prevent proper drainage and cause overflows that ruin your kitchen floor.
What is actually happening
When a dishwasher leaks, it’s usually because the internal water level is rising higher than the door seal can handle or because that seal has lost its shape. The machine operates on a timed fill cycle, but a float switch acts as a safety sensor to stop water from entering if the tub gets too full. If this switch is stuck due to hard water buildup or debris, the unit may continue to fill until water spills over the bottom edge of the door.
To test this, listen for the water valve clicking off. If you hear the water running for more than two minutes, the float switch is likely jammed. You can manually lift the float—usually a small plastic cylinder—to see if it moves freely. If it feels gritty or stuck, clear the mineral deposits with white vinegar.
Another common cause is a damaged or dirty door gasket. This rubber seal is designed to keep water inside the tub during the wash cycle. Over time, grease and food particles collect on the rubber, preventing it from closing tightly against the door frame. If the gasket looks flat, cracked, or brittle, it can no longer form a watertight barrier.
You should also consider the spray arms. If a spray arm is cracked or blocked, it might direct water forcefully against the door seal rather than down into the tub. This puts extra pressure on the seal, which isn’t designed to handle direct water spray. Check for hairline cracks along the arm seams that could be diverting the stream outward.
Finally, verify the machine is level. If the unit tilts forward, water pools at the front door rather than flowing toward the drain pump. Use a carpenter’s level on the rack tracks; if the bubble is off-center, adjust the front legs to ensure the unit is level or tilted slightly toward the back.
Check these, cheapest first
Inspect the door gasket
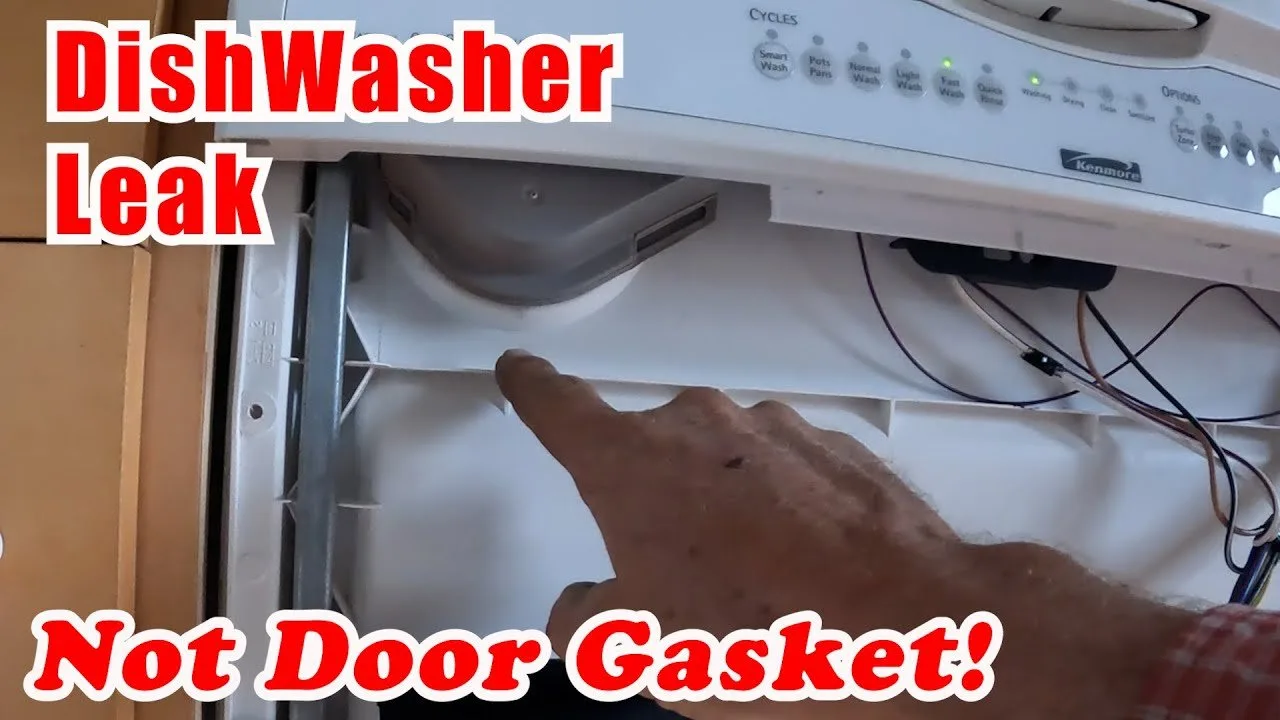
Look at the rubber seal around the door frame. A good seal is soft and flexible; a bad one has cracks or feels stiff. If it has debris, wipe it with a damp cloth. If the gasket feels brittle, replace it immediately. A compromised seal costs you energy efficiency and risks a kitchen floor leak.
Clean the bottom filter
Remove the filter assembly at the base of the tub. If it’s clogged with food, the water can’t drain fast enough. Rinse it under hot water until clean. If you see a greasy film, use a soft toothbrush and dish soap to scrub the mesh.
Verify unit leveling
Place a carpenter’s level on the top of the door. The unit must be level or slightly tilted toward the back. If it leans forward, adjust the front feet to raise the front of the unit.
Clear the float switch
Find the small plastic cylinder near the bottom. Lift it up and down to ensure it moves freely without sticking on soap scum. If it stays stuck in the “down” position, the machine may overfill and flood.
Check spray arm holes
Look for mineral deposits blocking the tiny holes on the spray arms. Use a toothpick to poke out any debris that restricts water flow. If the arms don’t spin freely by hand, the center bearing is likely seized.
The fix
If the door gasket is the culprit, you must replace it to stop the leak permanently. First, pull the old gasket out of the channel by starting at the top center. Clean the channel thoroughly with warm water and mild soap to remove any hidden grease.
Press the new gasket into the channel, ensuring it sits flat without any twists or gaps. For most standard models, the gasket should be installed while the door is open. If the seal feels too tight, a light coat of silicone grease can help it slide into place. Don’t use petroleum-based lubricants, as these degrade the rubber over time.
If the float switch was stuck, simply cleaning the area around the base with a soft brush and hot water often resolves the issue. If the switch remains unresponsive after cleaning, the electrical contact inside may be burnt. In this case, the entire switch assembly must be replaced. Test the switch by lifting the float; you should hear an audible click. If you hear nothing, the internal spring has likely failed.
You’ll know the fix is successful if the dishwasher completes a full cycle without any dampness appearing on the floor. If the problem returns within a week, the issue is likely a warped door frame or a failing pump seal.
If the door frame is bent, the gasket can’t make a proper seal. You’ll see water escaping from the exact same spot every time. This usually happens if the door was forced shut or hit by a heavy object. If you suspect a frame issue, place a straightedge against the door liner. A gap of more than 1/16th of an inch confirms the frame is the root cause.
Where this stops being a DIY job
You should stop working on the machine if you need to disassemble the motor, the pump assembly, or the internal wiring harness. These components require specialized knowledge and can involve sharp metal edges or high-voltage capacitors that remain dangerous even when the power is off. A technician must handle any work that involves opening the outer housing or touching the electrical control board.
If you have checked the filter, the gasket, and the level of the unit but the leaking persists, contact a licensed appliance repair service. Don’t attempt to bypass the internal pressure sensors or force the door latch mechanism, as these parts are calibrated to specific tension settings. Over-tightening a seal often causes the plastic housing to crack, turning a simple repair into a total unit replacement.
Tell the technician that you have already confirmed the gasket is clean and the float switch moves freely. This saves them time and helps them focus on internal pump seals or structural door damage that requires professional tools to fix correctly.
Frequently asked questions
Can a dishwasher leak if it isn’t level?
Yes, a dishwasher that tilts forward will cause water to pool at the door seal, which leads to leaks. You should use a level tool on the top of the machine to ensure it’s balanced. If the front feet are too low, the water will sit against the door gasket rather than flowing to the drain. Adjust the feet until the bubble sits in the center of the level.
Why is there water under my dishwasher after a cycle?
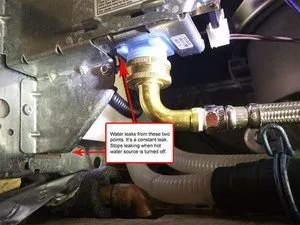
Water under the machine usually means the door seal is failing or the drain hose is loose. Check the hose connection at the back of the unit for any signs of a slow drip. If the floor is dry during the wash but wet after, the seal is the most likely cause. Always check the hose clamps to ensure they’re tight and not rusting.
Is it safe to use the dishwasher if it leaks a little?
No, it isn’t safe to use a leaking dishwasher because water can reach electrical components or ruin your subfloor. Even a small amount of water can cause mold growth or damage your cabinetry over time. Stop using the machine until you find the source of the leak. You should dry the area completely to prevent damage to the wood or tile under the unit.
How long does a door gasket last?
A door gasket typically lasts five to ten years, though this varies by model and usage frequency. You can check the condition of the rubber by looking for cracks or brittleness. If the seal feels hard or doesn’t bounce back when you press it, it has lost its effectiveness. Consult your owner’s manual to find the exact part number for your specific machine.
What happens if I ignore a small leak?
Ignoring a leak leads to floor rot, subfloor damage, and potential short-circuits in the wiring. Water that escapes the tub often travels underneath the machine where it can’t be seen. This creates a hidden environment for mold to thrive. You’ll eventually face costly repairs for your floor or cabinetry that far exceed the cost of replacing a simple door gasket or a loose hose.
Does it matter if I use too much soap?
Yes, using too much soap causes excess suds that can push water past the door seal. You should only use the amount of detergent recommended by the manufacturer for your specific hardness of water. If you see foam leaking from the door, run a rinse cycle without soap to clear the system. Always follow the guidelines on the detergent box for the correct load size.
Final Thoughts
If you’ve checked these common trouble spots and the water keeps appearing, it’s best to call a professional technician for a deeper look. They’ll have the right tools to find hidden cracks or faulty pumps. Don’t wait too long, as fixing it quickly will save you from expensive floor repairs later.
Related guides
- Bosch Dishwasher Soap Dispenser Not Opening: Quick Fix Guide
- Coffee Maker Leaking from Bottom
- Whirlpool Dishwasher Fills But Does Not Wash: Fix It Fast