
A damaged door seal is the most frequent reason for a Freezer Building Up Frost because it lets warm, moist air enter the cold chamber. When this humid air hits the freezing interior surfaces, it immediately turns into ice. You can usually stop the buildup by checking the rubber gasket for gaps or debris. If the seal is loose or cracked, the unit works harder than it should, which leads to energy waste and uneven cooling.
Why is your freezer building up frost?
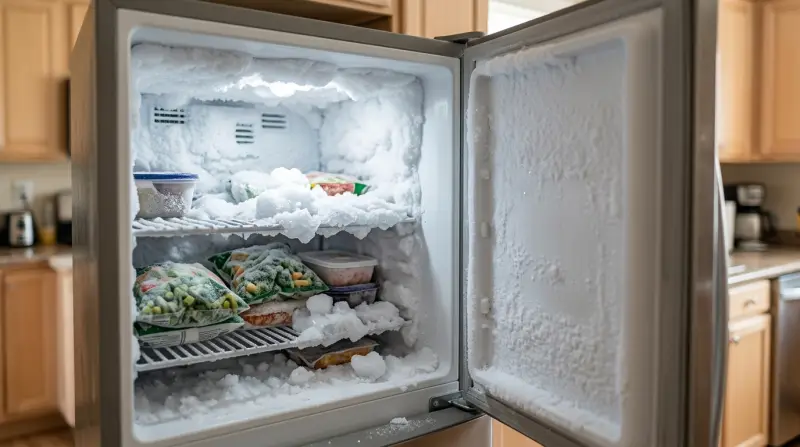
Ice accumulation occurs because moisture from the air finds a way into the cold environment of your freezer. When you open the door, warm air rushes in and replaces the cold air inside. This warm air holds more water vapor. Once the door closes, that vapor touches the freezing surfaces and undergoes desublimation, turning directly from a gas into solid frost.
A common cause is a faulty door gasket. If this rubber seal doesn’t sit flush against the frame, a constant stream of humid air enters the compartment. This creates a cycle where the compressor runs longer to maintain the temperature, which only speeds up the frost formation. You can test your seal by closing the door on a piece of paper; if you can pull the paper out with almost no resistance, the seal is likely failing.
Another cause is the placement of warm food inside the freezer. When you store hot leftovers or unfrozen items, the moisture evaporates from the food and settles as frost on the walls. Always cool items to room temperature before freezing them. Finally, a blocked defrost drain can trap water inside the unit. If the water can’t exit to the evaporation pan, it sits in the bottom of the freezer and freezes, leading to thick layers of ice that build up over time.
Inspect and clean the door seal
The door seal is the primary barrier between your frozen food and the humid room air. If the seal is dirty, the rubber can’t grip the frame, creating a gap for air leaks. This fix is for anyone who notices frost forming specifically near the door frame or on the inner door panel.
To clean the seal, use a soft cloth dampened with warm water and a small amount of mild dish soap. Wipe the entire perimeter of the gasket, removing crumbs, sticky spills, or dust that prevents a tight fit. Once clean, dry it thoroughly with a towel.
If the gasket is warped or torn, cleaning won’t help. You must replace it with a model-specific part to regain a proper seal. This is a simple DIY task for most people, but if you aren’t comfortable removing screws or tension clips, call a professional appliance technician. You’ll know this fix worked if the door feels like it has more “suction” when you pull it open and if the frost stops expanding after twenty-four hours. This varies by model — check the label on your door for the correct part number before ordering a replacement.
Adjust your food storage habits
Excessive frost often comes from how you pack the freezer. If you overfill the unit, you block the internal air vents. These vents must remain clear so the cold air can circulate properly. If the air can’t move, it creates cold spots and warm spots, which causes moisture to settle in the wrong places.
Don’t store open containers or uncovered food in the freezer. Moisture evaporates from these items and collects on the walls as frost. Use airtight, freezer-safe containers or vacuum-sealed bags to keep the moisture inside the food where it belongs. According to the Cold Food Storage Charts from FoodSafety.gov, proper packaging also helps maintain food quality by preventing freezer burn.
If you have a large chest freezer, try to keep it at least three-quarters full but never packed tight. If it’s too full, you prevent the air from flowing. If you notice frost forming in a specific corner, check if a package is blocking an air return vent. Move the items away from the vent and see if the frost begins to recede after a full day of operation.
Use the manual defrost function
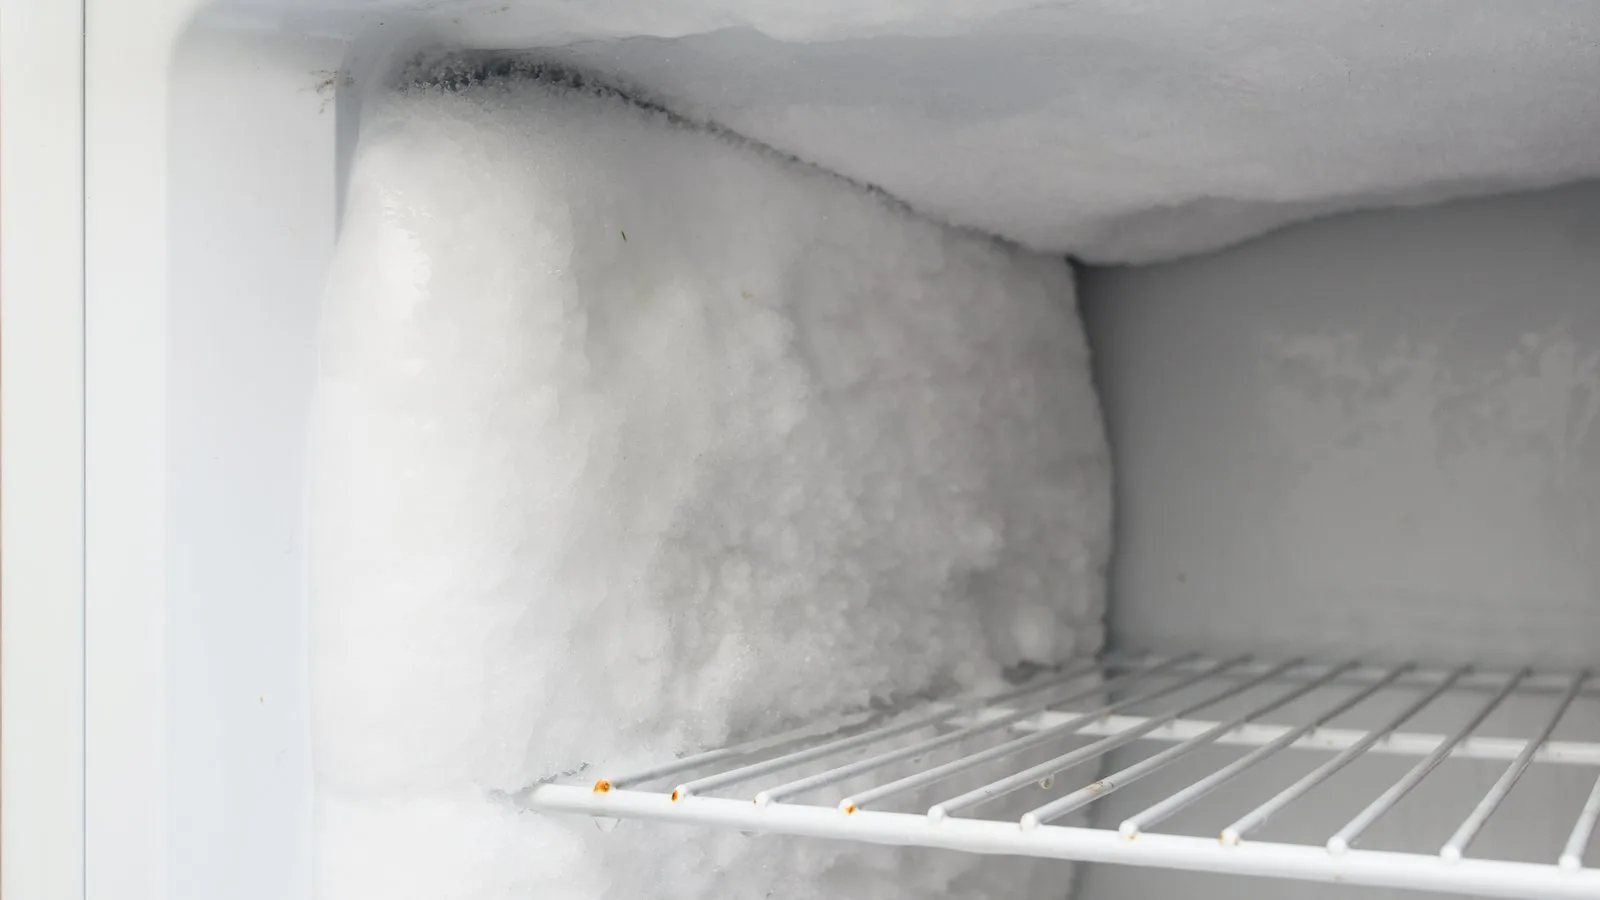
If your freezer has a thick, hard layer of ice, the automatic defrost system might be overwhelmed or failing. A manual defrost is a deep-cleaning process that clears away all built-up ice, giving the unit a fresh start. This is worth the effort if your freezer is losing efficiency or if the ice is so thick you can’t see the back wall.
To defrost, turn the unit off and remove all food. Place towels on the floor to catch the melting water. You can speed this up by placing a bowl of hot water inside the unit and closing the door for fifteen minutes. Never use a knife or sharp tool to chip away ice, as you risk puncturing the cooling coils or damaging the plastic liner. If you puncture the sealed system, it’s a costly repair that requires a certified technician.
After the ice melts, wipe the interior completely dry. Any leftover water will turn back into ice the moment you turn the power on. This method isn’t for everyone; if you have a large amount of frozen food, you must have a backup cooler or a second freezer to keep your items safe. If you find that the freezer continues to build thick ice within a week of a manual defrost, the automatic defrost timer or heater may be broken, which requires a professional technician to replace.
What not to do
Never use a hair dryer or heat gun to melt ice. The intense, concentrated heat can warp the plastic interior or compromise the rubber door seal, leading to permanent air leaks.
Avoid using metal tools like ice picks, screwdrivers, or knives to scrape frost. The evaporator coils are often embedded just millimeters behind the thin plastic liner. A single puncture releases refrigerant, which effectively kills the unit and costs more to repair than a new freezer.
Don’t leave the door propped open for hours to “air out” the interior. This invites massive amounts of humid air, which condenses instantly on the cold walls. You end up with a thicker layer of ice within days.
Never turn the temperature dial to the coldest setting to combat buildup. This forces the compressor to run continuously, which accelerates ice formation. If you see frost, the decision rule is simple: unplug the unit, remove the food, and let it thaw naturally.
How to stop it happening again
Consistency is the best way to prevent future frost buildup. Small changes in how you manage the door and the contents will keep the interior clear and help your appliance last longer.
| If you’re doing this | Do this instead | Why |
|---|---|---|
| Leaving the door open while searching | Grab items quickly and close the door | Limits the amount of warm, wet air entering |
| Storing warm leftovers | Cool food in the fridge first | Prevents steam from turning into ice |
| Covering vents with boxes | Leave two inches of space | Allows cold air to circulate correctly |
Most people fail by ignoring the “dollar bill test.” Place a bill halfway into the door seal and close it. If the bill slides out with zero resistance, your gasket has lost its tension. This gap forces the compressor to run constantly, creating rapid frost cycles that will eventually burn out the motor.
A sagging door is a common culprit that creates a hairline gap invisible to the naked eye. Tighten the hinge screws before calling a technician.
Frequently asked questions
Can I fix a freezer door seal myself?
Yes, you can usually replace a door seal yourself using basic hand tools. Most modern seals are held in by a friction-fit track or hidden screws that are easy to access. Check your owner’s manual to confirm the specific installation method for your freezer model.
Why does my freezer build up frost on the back wall?
Frost on the back wall usually indicates a failing defrost cycle or a clogged drain hole. If the drain is blocked by debris, water can’t escape and freezes again. Use a pipe cleaner or straw to gently clear the blockage so water can flow into the drain pan.
Is it safe to eat food with freezer burn?
Yes, food with freezer burn is safe to eat, though the texture and flavor may be poor. Freezer burn occurs when air reaches the food surface, causing dehydration and oxidation. You can trim away these dry, leathery patches before cooking to improve the final quality.
How long does it take for a freezer to defrost?
It usually takes two to six hours to defrost a freezer, depending on ice thickness and room temperature. You can reduce this time significantly by placing a bowl of hot water inside the unit. Never leave the freezer unattended while using heat sources to speed up the process.
What happens if I don’t remove the frost?
Ignoring frost buildup will cause your freezer to stop cooling properly and increase your energy bills. A thick layer of ice acts as an insulator, forcing the compressor to run constantly and shortening the motor’s lifespan. This can eventually prevent the door from closing, leading to leaks.
Final Thoughts
If the ice keeps returning after you’ve cleaned the gasket, there’s likely a deeper issue with the defrost heater or the control board. Don’t wait for the frost to harden into a solid block. It’s best to call a professional technician soon so they can fix it before your food spoils.
1 thought on “Freezer Building Up Frost”