
You can effectively straighten Pex pipe by applying gentle heat with a heat gun or by unrolling it in a warm environment to let the material relax. How to Straighten Pex pipe is best achieved by keeping the tubing at a temperature between 100°F and 120°F, which makes the plastic pliable without damaging its structural integrity. This method is ideal for DIY homeowners who need to remove kinks or create straight runs for plumbing installations without buying expensive rigid connectors.
Tools for How to Straighten Pex Pipe

-
Heat gun: A standard model with adjustable temperature settings is essential. Aim for a unit that reaches at least 600°F to ensure the material becomes pliable without scorching the outer layer.
-
Work gloves: Use heavy-duty, heat-resistant leather gloves. Thin fabric alternatives fail to block the radiant heat, often leading to painful burns when you apply manual pressure to shape the pipe.
-
Straightening jig or clamps: You need a rigid surface to hold the pipe in a fixed position. If you lack a professional jig, two pieces of straight 2×4 lumber clamped together will suffice to force the cooling Pex into a true line.
-
Measuring tape: Use a steel tape for precision. Always add two inches to your final measurement to account for the material lost during the trimming phase.
-
Pex cutter: Use a dedicated ratchet-style blade. A dull blade or a hacksaw will crush the pipe wall, creating uneven edges that prevent a watertight seal once you install fittings.
-
Pipe hangers or straps: These prevent sagging over time. Space your hangers every 32 inches for horizontal runs to provide adequate structural support.
If you’re working with Pex larger than one inch, use a specialized uncoiler tool. Without one, the pipe will retain its memory of the coil, causing it to fight your straightening efforts. Avoid using a hair dryer, as it lacks the BTU output to heat the core of the pipe uniformly. This uneven heating leads to weak spots that may burst under standard water pressure.
Step-by-step
- Unroll the tubing: Lay the Pex pipe out on a flat, clean surface. If the ambient temperature is below 50°F, move the pipe to a warmer room for at least four hours so the material becomes less brittle.
- Identify the kinks: Mark any areas where the pipe is bent or wavy using a marker. Don’t try to force these straight while the pipe is cold, as this can cause micro-cracks in the plastic.
- Apply heat: Set your heat gun to a low or medium setting. Move the gun back and forth along the marked section at a distance of about 6 inches. Keep the heat gun moving constantly to avoid melting or burning the Pex. * Careful: If the Pex turns white or changes texture, you have applied too much heat and damaged the pipe; it must be replaced.
- Straighten the pipe: Once the pipe feels flexible, gently pull it straight with your gloved hands. Hold it in the desired position for 60 seconds until it begins to firm up.
- Secure the pipe: Use clamps or a jig to hold the section straight while it cools to room temperature. This usually takes about 5 to 10 minutes depending on the room temperature.
- Check for roundness: Ensure the pipe hasn’t flattened during the heating process. If it looks oval, gently squeeze the sides to restore its original circular shape while it’s still slightly warm.
- Install the pipe: Fasten the pipe to your wall studs or joists using plastic pipe hangers. Space these hangers every 32 inches for horizontal runs to prevent the pipe from sagging or developing new waves over time. * Tip: Always leave a little extra length at the ends of your runs to allow for thermal expansion, as Pex will change length slightly as water temperature fluctuates.
Adjusting for site conditions
The time and effort required to straighten Pex depend heavily on the pipe diameter and the surrounding temperature. Always start by applying heat to a small test section; it’s safer to add more heat later than to overheat the pipe on your first attempt.
If the ambient temperature is below 50°F, the material becomes brittle and prone to kinking. In these conditions, you must increase your heating time by 50% to ensure the inner wall reaches a pliable state.
A common mistake is applying heat to only one side of the pipe. This creates uneven expansion, leading to permanent bows that are impossible to correct. If you see the pipe beginning to sag, move your heat source further away immediately.
How to tell you did it right
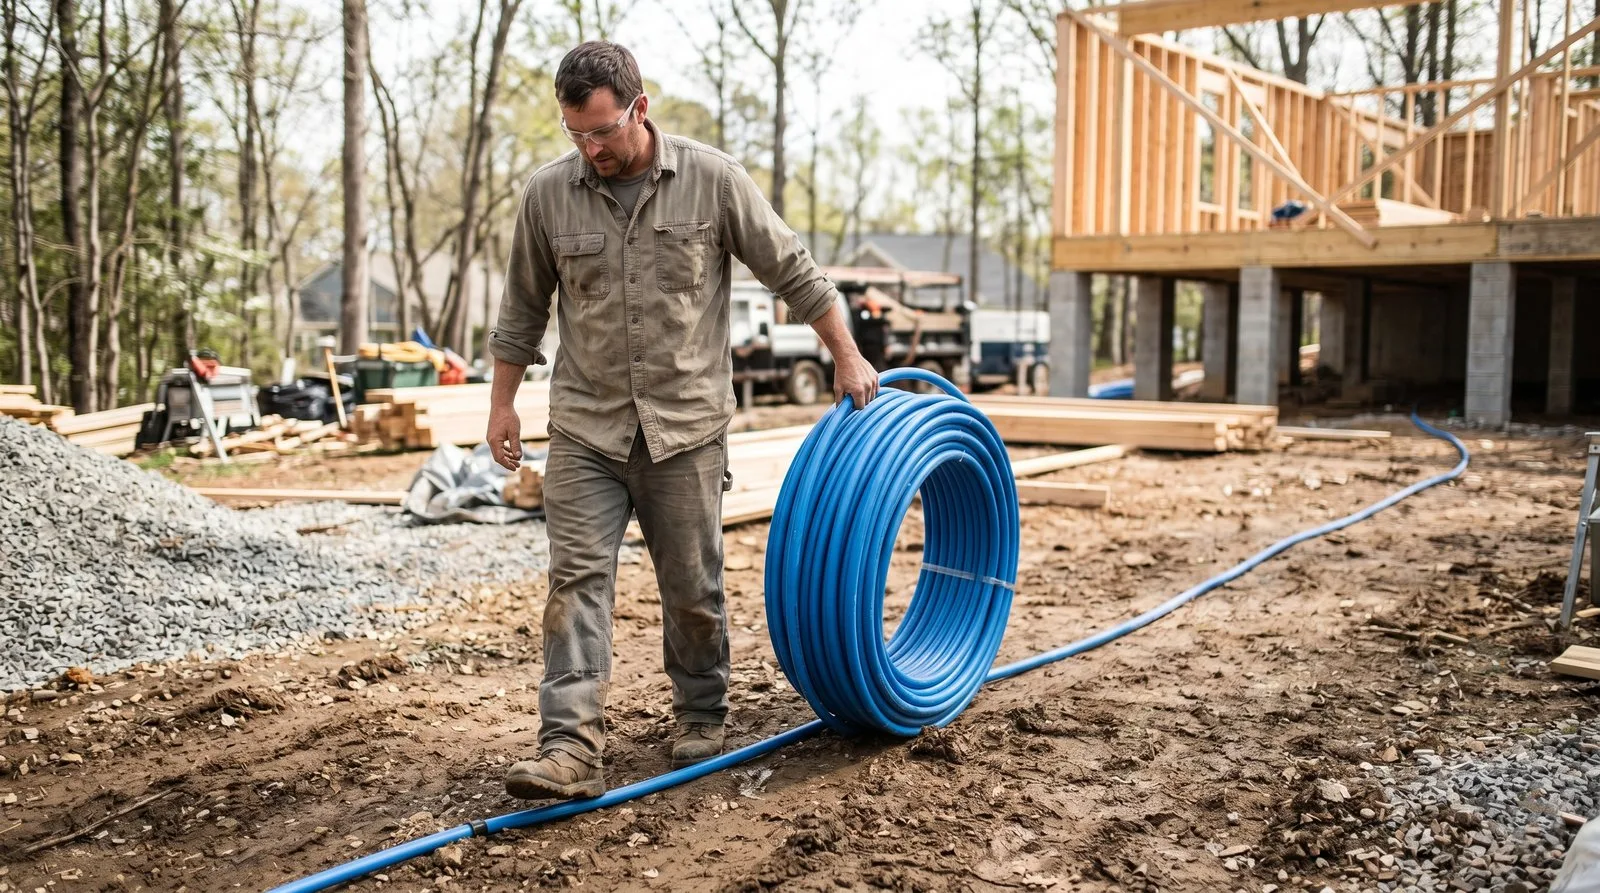
A successful result shows a pipe that sits flat against the surface without any visible waves or “memory” of the coil. The pipe should retain its original color and feel firm to the touch.
If you notice white stress marks or localized thinning of the wall, the pipe has been damaged by excessive heat or mechanical force. This usually happens when the heat gun is held too close to the surface for too long, causing the outer layer of the cross-linked polyethylene to degrade.
To prevent this, always keep the heat source in motion and test the flexibility frequently. A properly straightened pipe will remain straight once installed, provided you use enough support hangers.
If the pipe still wants to curl, it hasn’t been heated evenly throughout the entire wall thickness. In this case, repeat the process by applying heat more slowly to the entire circumference of the affected area, ensuring the core of the pipe reaches the same temperature as the exterior surface.
You can verify your progress by checking the pipe’s “spring-back.” If you bend the pipe slightly and it returns to its original position without resistance, the material is properly annealed. If it feels brittle or snaps back violently, you have under-heated the material, risking a future fracture under high-pressure water flow. Always aim for a consistent, matte finish across the entire section.
Essential standards and maintenance
Follow the installation standards published by the American Society for Testing and Materials (ASTM) regarding the minimum bend radius for Pex. This ensures the pipe doesn’t kink during routine service or future maintenance.
The standard rule is to maintain a radius of at least eight times the pipe’s outside diameter. If you force a tighter turn, you risk thinning the pipe wall, which leads to premature bursting under pressure.
After straightening, ensure the pipe is free of debris and that all connections are secure. If you’re working on a main supply line, verify that your local building code allows for the use of heat-straightened sections. Some jurisdictions require continuous, unheated runs for specific applications to maintain structural integrity.
If you lack the proper training or the equipment to safely support the pipe, contact a licensed plumber. This is vital if you’re working near electrical wiring or gas lines, where the use of a heat gun poses a significant fire risk.
Check your pipe regularly for signs of sagging, especially after the first change of seasons. Material settles into its new position as temperatures fluctuate. If you notice a sag greater than half an inch between supports, install an additional hanger to prevent stress on the fittings.
Alternative methods for straightening
Using warm water
Submerging the coil in a tub of warm water—not boiling—is a safer, more uniform way to heat the material. It prevents the risk of burning the plastic, though it’s messy and requires a large basin. This method works best for smaller coils that need to be straightened before installation.
Mechanical tensioning
You can pull the Pex between two fixed points and secure it tightly. Over a few days in a warm room, the material will naturally relax into a straight line. This requires no heat and is very low-risk, but it’s much slower than using a heat gun.
Pre-straightened sticks
If you want to avoid the work entirely, buy Pex in straight sticks rather than coils. This is more expensive and harder to transport, but it guarantees a perfectly straight result every time. It’s the preferred method for professional installers who need consistent runs without the risk of kinking.
Frequently asked questions

Can I use a hair dryer to straighten Pex?
No, a hair dryer doesn’t reach the temperature needed to make Pex pliable. You need a heat gun capable of reaching higher temperatures to effectively relax the cross-linked polyethylene. Using a tool that isn’t designed for this purpose will likely lead to frustration, as you’ll be unable to remove the coil memory from the pipe, and you may end up damaging the surface of the plastic.
Is it safe to heat Pex with a torch?
No, you should never use an open flame to heat Pex pipe. Open flames can easily melt the plastic, release toxic fumes, or start a fire in your home. A heat gun is the only recommended tool for this task because it provides controlled, indirect heat that doesn’t compromise the structural integrity of the pipe wall or the safety of your workspace.
How long does it take for Pex to cool?
It typically takes 5 to 10 minutes for Pex to cool and hold its new shape. You should keep the pipe secured in the straight position during this time to ensure it doesn’t return to its coiled form. If you move it too quickly while it’s still warm, the pipe may develop new waves or kinks that are harder to remove the second time.
What happens if I overheat the Pex?
Overheating the pipe causes the material to lose its strength and potentially develop leaks. You’ll notice the plastic turning white, becoming thin, or feeling soft like putty. If you see these signs, you must cut out the damaged section and replace it with a new piece of pipe, as the damaged area won’t be reliable under standard water pressure.
Can I straighten Pex that’s already installed?
Yes, you can straighten installed Pex, but it’s difficult because you can’t easily apply heat to all sides of the pipe. It’s much more effective to remove the pipe from its hangers, straighten it on the floor, and then reinstall it. If you try to heat it while it’s fixed in place, you risk damaging the surrounding wall or framing materials.
Final Thoughts
Once your tubing is nice and straight, you’ll find that routing it through your walls or joists is much easier. Don’t rush the installation, as giving the material a little time to cool completely will help it hold that perfect shape. You’re ready to finish your project with confidence and ease.
Related guides
- Is Pex Safe for Drinking Water? Expert Insights and Facts
- Toilet Leaking from Pipe: Quick Fixes Every Homeowner Needs
- Pipe Dope vs Teflon Tape: Which Is Best for Leak-Free Seals?