
When you notice that your Ortho Home Defense Sprayer isn’t working, the most common fix is to ensure the battery-powered wand is fully primed or to check that the pickup tube isn’t blocked. Most issues arise from an air lock in the hose or a dead battery, which prevents the motor from pulling the liquid through the system. If you have checked these simple parts and the unit remains silent or fails to spray, you should consult the Ortho product support page to verify if your specific model is eligible for a replacement.
Why this happens
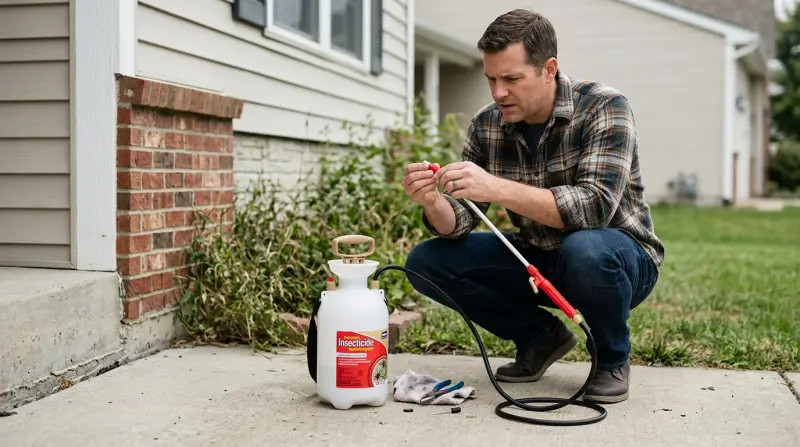
The primary reason for a sprayer failure is an air lock within the suction tube. When the wand sits unused for weeks, the liquid inside the hose can drain back into the bottle, leaving a gap of air that the small internal pump can’t push through. If you try to spray while this air gap exists, the motor runs, but no pressure builds up.
Another frequent cause is battery depletion or poor contact. These wands rely on small batteries to drive a pump. If the battery contacts are loose or the power level has dropped below the threshold required to turn the motor, the device won’t function. You can often tell this is the case if the motor sounds sluggish or makes a grinding noise instead of its usual steady hum.
Finally, physical blockages at the nozzle or within the intake filter cause the system to stall. If you have used the sprayer in dusty areas or if the liquid has crystallized inside the tip, the pressure will build up internally until the motor stops, or the liquid will simply drip instead of misting. This varies by model — check the label on your bottle to see if the nozzle is adjustable, as some require a specific turn to open the flow path completely.
Fixing an Ortho Home Defense Sprayer Not Working
This fix is for users who hear the motor running but see no liquid coming out of the tip. To prime the line, hold the wand at or below the level of the bottle. Gravity helps the liquid travel up the tube to the pump intake. While holding it low, keep the trigger depressed for thirty seconds. If the liquid begins to sputter, keep holding the trigger until the stream becomes consistent.
If you’re working with a new bottle, ensure you have removed the plastic seal from the top of the bottle opening. People often forget this, which creates a vacuum seal that prevents the tube from pulling any liquid. If the sprayer still doesn’t pull liquid after sixty seconds of holding the trigger, you may have a kink in the internal hose. Check the length of the tubing for any sharp bends that occurred during shipping. If you find a kink, gently straighten it by hand. This fix isn’t for users who hear no sound at all from the motor; if the motor is completely silent, the problem is electrical rather than mechanical. If you lack the patience to prime the unit or the motor remains silent after replacing the batteries, it’s time to contact the manufacturer rather than attempting to open the internal casing, which will void your warranty and may cause permanent damage.
Check the power supply
This fix is for units that make no noise when you press the trigger. First, locate the battery compartment on the handle or the base of the wand. Open the cover and remove the batteries. Look for any white or green corrosion on the metal contact points. If you see this buildup, the batteries have leaked, and the current can’t flow to the motor. You can clean these contacts with a dry cloth or a soft brush.
Once the contacts are clean, insert a fresh set of batteries. Ensure the positive and negative ends match the diagram inside the compartment exactly. If you put them in backward, the motor won’t spin. After inserting new batteries, close the cover firmly. If the motor still doesn’t start, check if the trigger lock is engaged. Many models have a small sliding switch near the trigger designed to prevent accidental spraying. If this switch is in the “lock” position, the electrical circuit remains open, and the motor won’t engage. If you have replaced the batteries and confirmed the trigger lock is off but the device remains dead, the internal switch or the motor itself has likely failed. Don’t attempt to pry open the handle to fix internal wiring, as these units are sealed to prevent chemical leaks, and opening them creates a risk of exposure to the concentrated formula.
Inspect the nozzle tip
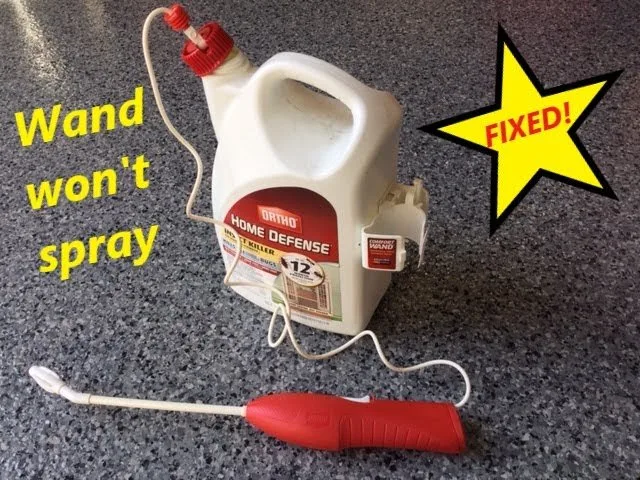
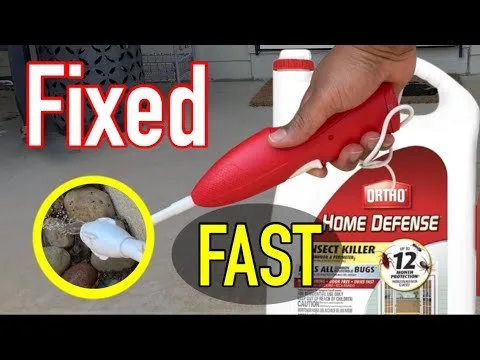
This fix is for users who experience weak pressure or an uneven spray pattern. Over time, the tiny holes in the nozzle can clog with dried chemical residue. To clean it, remove the nozzle tip by turning it counter-clockwise. Once removed, rinse the tip under warm, running water for one minute to clear any buildup. Use a soft toothpick to gently poke through the hole if you see solid debris, but be careful not to scratch the plastic, as this will ruin the spray pattern.
This fix is worth the effort if you notice the sprayer is “spitting” rather than misting. It isn’t worth the time if the unit is leaking from the handle or the hose connection, as those are signs of a structural failure that can’t be repaired with a simple cleaning. If you have cleaned the tip and the pressure is still low, the intake filter at the bottom of the pickup tube inside the bottle might be clogged. Pull the tube out of the bottle and inspect the mesh screen at the bottom. If it’s covered in debris, rinse it thoroughly. If you find that the plastic housing is cracked or the hose is brittle, don’t try to use glue or tape to fix it. Chemicals in the formula can dissolve household adhesives, leading to leaks that could stain your floors or irritate your skin. In these cases, it’s safer to replace the entire wand assembly.
What not to do
Don’t submerge the handle in water to clean it. The motor and battery compartment aren’t waterproof, and water ingress will ruin the electronics instantly. If you need to remove grime, wipe the exterior with a damp microfiber cloth instead.
Don’t use metal pins to clear the nozzle. Using a needle or wire often widens the orifice, which ruins the spray pattern and causes the liquid to drip instead of misting. If the nozzle clogs, soak it in warm, soapy water for ten minutes, then flush it with clean water.
Don’t try to bypass the trigger switch with jumper wires. This is a fire hazard and risks exposing you to the chemical spray unexpectedly. If the trigger fails, the internal contact is likely oxidized; replace the switch assembly entirely.
Don’t store the sprayer with the battery installed for months at a time. Batteries leak over time, and the resulting acid will corrode the contacts, making the unit impossible to turn on later. Remove the battery if you plan to store the unit for more than thirty days.
How to stop it happening again
If you want to keep your sprayer running for its full expected lifespan, you must perform a quick maintenance flush after every use.
| If you’re doing this | Do this instead | Why |
|---|---|---|
| Leaving chemical in the wand | Flush with plain water | Prevents crystal buildup |
| Storing with batteries inside | Remove the batteries | Stops corrosion on terminals |
| Storing in direct sunlight | Store in a cool, dark space | Prevents plastic from cracking |
| Forcing the trigger when stuck | Prime the tube first | Avoids burning out the motor |
Many users skip the flush when they plan to spray again within 24 hours. This is a mistake. Chemical residue dries rapidly inside the narrow nozzle, creating a blockage that requires a full parts replacement.
If you notice a weak stream, check the intake filter before buying a new pump. A clogged filter often mimics motor failure. If the filter is clean but the motor hums without output, your pump has lost its prime. This simple step saves the cost of an entire unit.
Frequently asked questions
Can I fix a leaking sprayer wand?
No, you shouldn’t attempt to fix a leaking wand because the internal seals are factory-pressed. If the plastic housing or hose develops a leak, the device’s structural integrity has failed. Stop using the sprayer immediately and contact the manufacturer for a replacement.
Why does my sprayer make a noise but not spray?
Your sprayer is likely suffering from an air lock in the suction tube. This occurs when liquid drains back into the bottle, creating an air gap the pump can’t clear. Hold the wand lower than the bottle and press the trigger for one minute to force the air out.
How long do these batteries usually last?
Storing the unit in cold areas can drain battery power significantly faster. Always use fresh, name-brand alkaline batteries to ensure the motor has enough torque to pump the liquid effectively.
Is it safe to open the sprayer handle?
No, it isn’t safe to open the sprayer handle because the internal components aren’t designed for user repair. Opening the housing voids your warranty and may expose you to chemical contents. If the electronics fail, the unit has reached the end of its life and should be replaced.
What happens if I use the wrong batteries?
Using the wrong batteries can cause the motor to run too slowly or fail to start entirely. Batteries with incorrect voltage prevent the pump from generating enough pressure to move liquid through the nozzle. Always check the battery compartment for specific voltage and size requirements to avoid damaging internal circuitry.
Final Thoughts
If your wand still won’t cooperate, don’t worry about wasting the remaining solution. You can easily pour the liquid into a standard hand-pump garden sprayer you’ve got in the garage. It’s a reliable backup that’ll keep your home protected while you wait for a replacement part to arrive in the mail.
Related guides