
The most common reason for Powerbeats Pro One Side Not Working is a poor connection between the earbud and the charging pins in the case. In most cases, this happens because sweat, earwax, or dust blocks the metal contacts, preventing the device from charging or syncing properly. You can confirm this by checking if the LED light on the case flashes when you place the silent earbud inside. If the light doesn’t react, the case can’t detect the bud.
| Cause | How common | How to confirm it | Fix it yourself? |
|---|---|---|---|
| Dirty charging contacts | Very common | Check for visible debris | Yes |
| Misaligned earbud fit | Common | Press firmly into case | Yes |
| Battery fully depleted | Common | Charge for thirty minutes | Yes |
| Firmware sync error | Occasional | Check Bluetooth settings | Yes |
| Bluetooth pairing glitch | Occasional | Forget and reconnect device | Yes |
| Hardware failure | Rare | Contact Apple support | No |
Dirty charging contacts
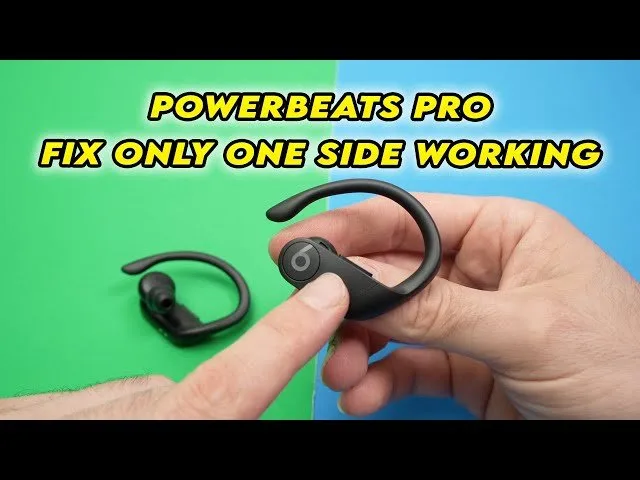
Blocked metal contacts are the primary reason one earbud stops responding because the case can’t provide the power needed to wake it up. If the internal pins are covered in a thin layer of skin oils or wax, the electrical circuit remains open. You can confirm this by inspecting the gold-colored rings on the earbud and the small spring-loaded pins inside the charging case. If you see any dark spots or buildup, the connection is failing.
Many users mistakenly assume the earbud is dead when the pin is simply stuck in a recessed position. Use a toothpick to gently push on the spring-loaded pin. If it doesn’t bounce back immediately, the mechanism is jammed, and no amount of cleaning will restore the charge. In this case, you must seek a hardware repair rather than attempting to force a connection.
To clean these, use a dry, soft-bristled brush or a clean microfiber cloth. Gently wipe the contacts on both the earbud and the inside of the case. Avoid using liquids, as moisture can damage the internal electronics. If the buildup is stubborn, use a tiny amount of isopropyl alcohol on a cotton swab, but ensure the area is completely dry before placing the earbud back in.
This process typically takes five minutes. If you have been using the device during heavy exercise, you should perform this cleaning weekly to prevent salt buildup from corroding the metal. If the earbud still doesn’t charge after a thorough cleaning and checking the spring pins, the issue likely lies with the internal battery or the case’s charging mechanism itself.
Powerbeats Pro One Side Not Working: Battery and Power Issues
A fully drained battery often causes one side to stop working, especially if that earbud was used longer than the other. When a battery hits zero percent, it may take several minutes of sitting in the case before it has enough power to show up on your phone. You can tell if this is the cause by leaving both earbuds in the case with the lid open for at least thirty minutes. If the LED light on the case doesn’t turn amber or green to show it’s charging, the problem is likely power delivery.
If X is a blinking red light, do a factory reset by holding the system button for fifteen seconds; if Y is a solid white light, simply toggle your phone’s Bluetooth off and back on. A mistake people often make is assuming the earbuds are charging just because they’re inside the case. If the case itself is out of power, it can’t charge the buds. Always ensure the case is plugged into a power source when testing. If the case doesn’t charge, the issue isn’t the earbud but the case or the cable. This is a common trade-off: you save time by skipping the full charge, but you risk a false diagnosis of a broken device.
Firmware and pairing errors
Sometimes the software controlling the earbuds loses the link between the left and right sides. This usually happens after a software update or if the connection was interrupted during a pairing sequence.
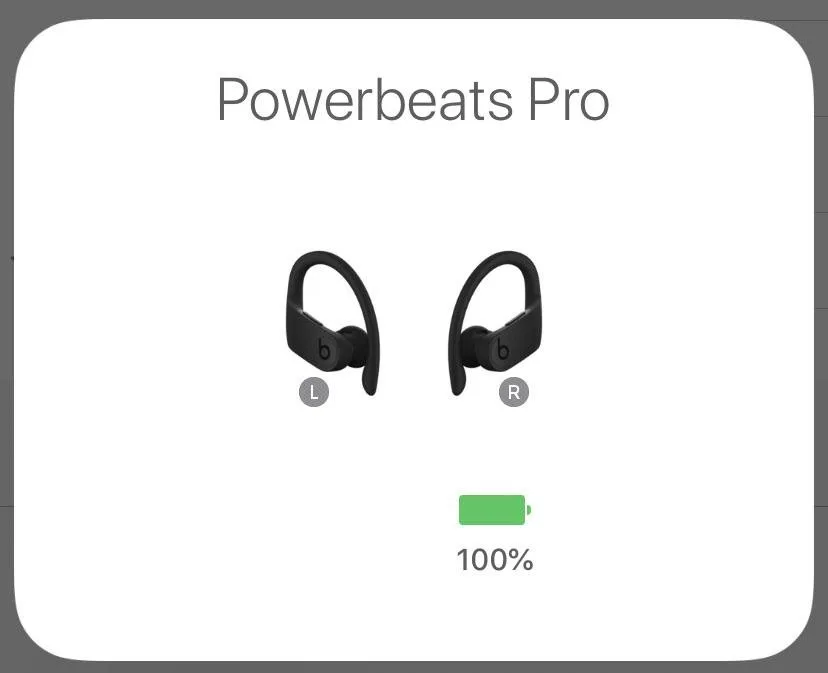
You can distinguish this from a hardware issue if both earbuds appear in your phone’s Bluetooth menu but only one transmits sound. If the device shows “Connected” but remains silent, it’s a communication error rather than a physical break.
To fix this, go to your phone’s Bluetooth settings and select “Forget This Device.” Place both earbuds in the case, leave the lid open, and hold the system button until the LED flashes white. This resets the pairing logic.
If only one side responds to the reset command, the firmware on that specific earbud may be corrupted. If the LED on one earbud stays dark while the other flashes, the internal battery or logic board has likely failed to initialize.
This is where you must be careful: if the reset doesn’t fix the issue, don’t attempt to force the earbud open or use metal tools to pry at the seams. Doing so will void your warranty and likely destroy the internal components.
The decision rule is simple: if the reset fails to trigger a light sequence on both sides, stop. This isn’t for users who expect an instant software fix. Sometimes, the internal hardware simply reaches its limit and requires professional service. Attempting a DIY repair on a sealed unit typically costs you the entire replacement value of the set.
The less likely causes
Liquid damage often shorts internal circuits. Look for a faint ozone smell or sticky residue near the speaker mesh. If you see discoloration on the contacts, wipe them with 90% isopropyl alcohol.
Internal hardware failure follows a hard drop. This typically severs a ribbon cable or dislodges the speaker driver. If you hear a faint rattle when shaking the bud, the internal assembly is likely compromised.
A faulty charging case may fail to power one specific slot. Confirm this by placing a known working earbud into the suspect side. If the LED fails to pulse, the internal charging pin is likely stuck or retracted.
Software bugs within your phone’s operating system can also trigger audio routing errors. Rule this out by pairing the buds with a different device. If they function perfectly elsewhere, reset your phone’s network settings. Users often skip this, wasting hours on hardware repairs when a simple cache clear would have restored the connection.
What a fix usually involves
A fix for these devices typically involves either a deep cleaning or a full factory reset. Cleaning requires only a soft cloth and a bit of patience, which costs nothing but your time.
If the issue is a software glitch, the reset process takes about ten minutes and requires no extra tools. You can distinguish a glitch from hardware failure by checking if the device responds to a forced restart. If the indicator lights remain dark or the device refuses to sync after three attempts, the internal circuitry has likely failed.
When hardware fails, the fix is much more involved. You’ll likely need to contact the manufacturer for a replacement unit. This is often a significant portion of the cost of a new pair, as these devices are designed to be sealed and are generally not repaired by third-party shops.
If you’re under warranty, check the manufacturer’s website to see if your specific issue qualifies for a free replacement. If you’re out of warranty, get a formal quote from an authorized service provider before deciding to pay for a repair.
The biggest mistake is attempting to pry open the casing yourself. This voids any remaining coverage and usually severs the internal ribbon cables, making a professional repair impossible. Never pay for “repairs” from unverified sources, as these often lead to further damage.
Frequently asked questions
Can I fix a dead Powerbeats Pro earbud myself?
Yes, you can fix many power issues by cleaning the contacts or performing a factory reset. If the earbud remains unresponsive after these steps, the hardware may have failed. You shouldn’t try to open the plastic housing yourself, as this will permanently break the seal and destroy the internal components beyond any hope of professional repair.
How long should I charge them before assuming they’re broken?
About thirty minutes of charging is usually enough to see a status light change. If the case is completely empty, it may take longer to wake up the internal battery of the earbud. Always use a known working wall adapter and cable to ensure the case itself is getting power during this time.
Is it safe to use alcohol to clean the pins?
Yes, it’s safe if you use a very small amount of high-percentage isopropyl alcohol on a cotton swab. Keep the liquid away from the speaker mesh and the microphone holes. Ensure the contacts are completely dry before you close the case or put the earbuds back in, as trapped moisture can cause corrosion over time.
What happens if I drop one earbud?
The internal components can break or disconnect, which often results in one side failing to produce sound or connect to the case. If the exterior shows no damage but the sound is gone, the internal speaker driver or the wireless antenna may have snapped. You should contact the manufacturer to discuss replacement options, as this type of damage is rarely covered by standard warranties.
Does it matter if I use a third-party charger?
No, it doesn’t matter as long as the charger provides the correct voltage and the cable is in good condition. Use a standard USB-A or USB-C cable that you know works with other devices. If the case doesn’t show a light when connected to your usual charger, try a different cable and wall block before deciding the case is faulty.
Why does the light stay red when I open the case?
About 20 minutes of charging is usually required to turn the light from red to white after a reset. If the light stays red indefinitely, the battery inside the case or the earbud may no longer be able to hold a charge. Check the official support pages for your model to see what specific LED patterns indicate for your device.
Final Thoughts
If these cleaning efforts don’t bring your earbud back to life, it’s likely a hardware issue that you can’t fix at home. Don’t worry, though; you should reach out to Apple Support to explore your repair options. They’ll help you determine if your device is still covered under their warranty.