
When the Genie Silentmax 1000 not working properly, the most likely cause is a simple obstruction or a misaligned safety sensor. You should start by checking the area under the door for debris and ensuring the infrared sensors located at the bottom of the door tracks are clean and facing each other. If the sensors are blocked, misaligned, or dirty, the opener will refuse to close the door as a safety precaution. This is a standard feature designed to prevent the door from coming down on people or objects.
Why your Genie Silentmax isn’t working
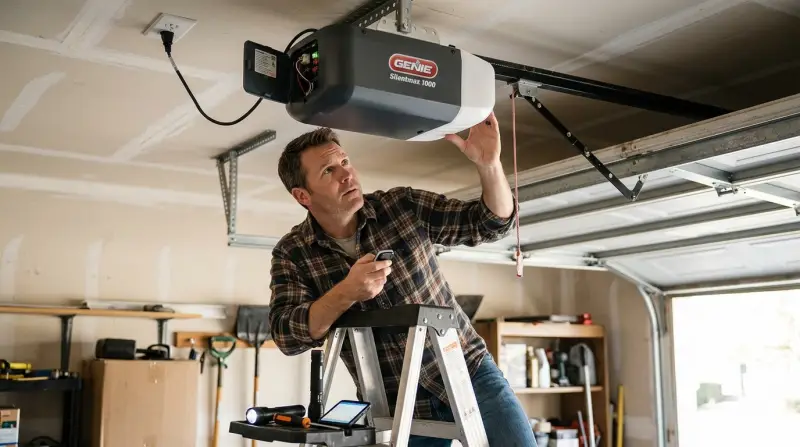
Garage door openers rely on a delicate balance of physical components and electronic signals to function. The most frequent reason for a system failure involves the safety reversal sensors. These two small eyes sit at the base of the door frame. If the beam of light between them is broken by dirt, a stray object, or a misalignment caused by a bump to the track, the opener will detect an error. It won’t move the door because it thinks the path is unsafe.
Another common issue is an imbalance in the door itself. Over time, the springs that help lift the heavy door can lose tension. If the opener senses too much resistance when trying to lift the door, it will stop for protection. You can test this by pulling the emergency release cord and manually lifting the door; it should move smoothly and stay in place when you let go. If it feels extremely heavy or falls rapidly, the springs need professional adjustment.
Electrical issues also play a role. Power surges can occasionally trip the logic board or cause the unit to lose its connection to the remote controls. If the wall console lights are blinking, the unit is usually trying to tell you which specific error it has encountered. You can find the meaning of these blinking sequences in the Genie garage door opener manual for your specific model version.
Check the safety sensors
This fix is for users whose opener flashes lights but refuses to close the door. First, locate the two sensors at the bottom of the door frame. Both sensors should show a steady green light when properly aligned and powered. If a light is off or flickering, the sensors aren’t communicating. Use a dry, soft cloth to wipe the lenses clean. If they’re still not lit, check the wires leading from the sensors to the motor unit for any loose connections or frayed areas.
If the lights are on but the door still won’t close, gently nudge each sensor bracket to ensure they’re pointing directly at each other. They must be perfectly aligned to maintain the invisible beam. If you have to move them, tighten the wing nuts on the brackets so they don’t shift again. Once aligned, try the wall button again. If the door closes, you have resolved the issue.
This process is safe for any user to perform. However, if you find that the wires are cut or the housing of the sensor is cracked, you shouldn’t attempt to splice the wires yourself. Electrical faults in these systems can cause short circuits. In such cases, contact a certified garage door technician to replace the sensor set.
Reset the travel limits
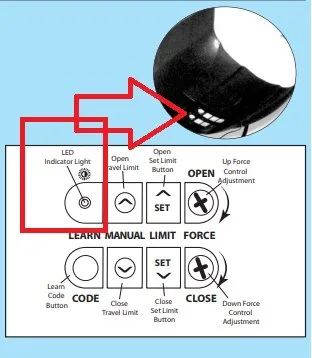
This fix is for doors that stop halfway or reverse before reaching the floor. The “travel limits” tell the motor exactly how far to move the door before it should stop. If these settings drift due to temperature changes or building settling, the opener will think it has hit an obstruction. To reset this, look for the programming buttons on the motor unit, usually labeled “Set” or “Limit.”
Consult your manual to enter the setup mode. You’ll typically press the “Set” button until the indicator light flashes, then use the up and down arrows to move the door to the fully open position. Press “Set” to confirm. Repeat this for the fully closed position. The opener will then store these new positions in its memory.
This is a precise task. If you set the closed position too low, the door may crush objects or damage the floor; if set too high, it will leave a gap that compromises your home security. This varies by model — check the label on your motor unit for the specific sequence, as the button layout changes between revisions. If you’re unable to get the door to respond to the remote after two attempts, don’t force the motor. Repeatedly running the motor against a physical stop can overheat the internal gears.
Perform a power cycle
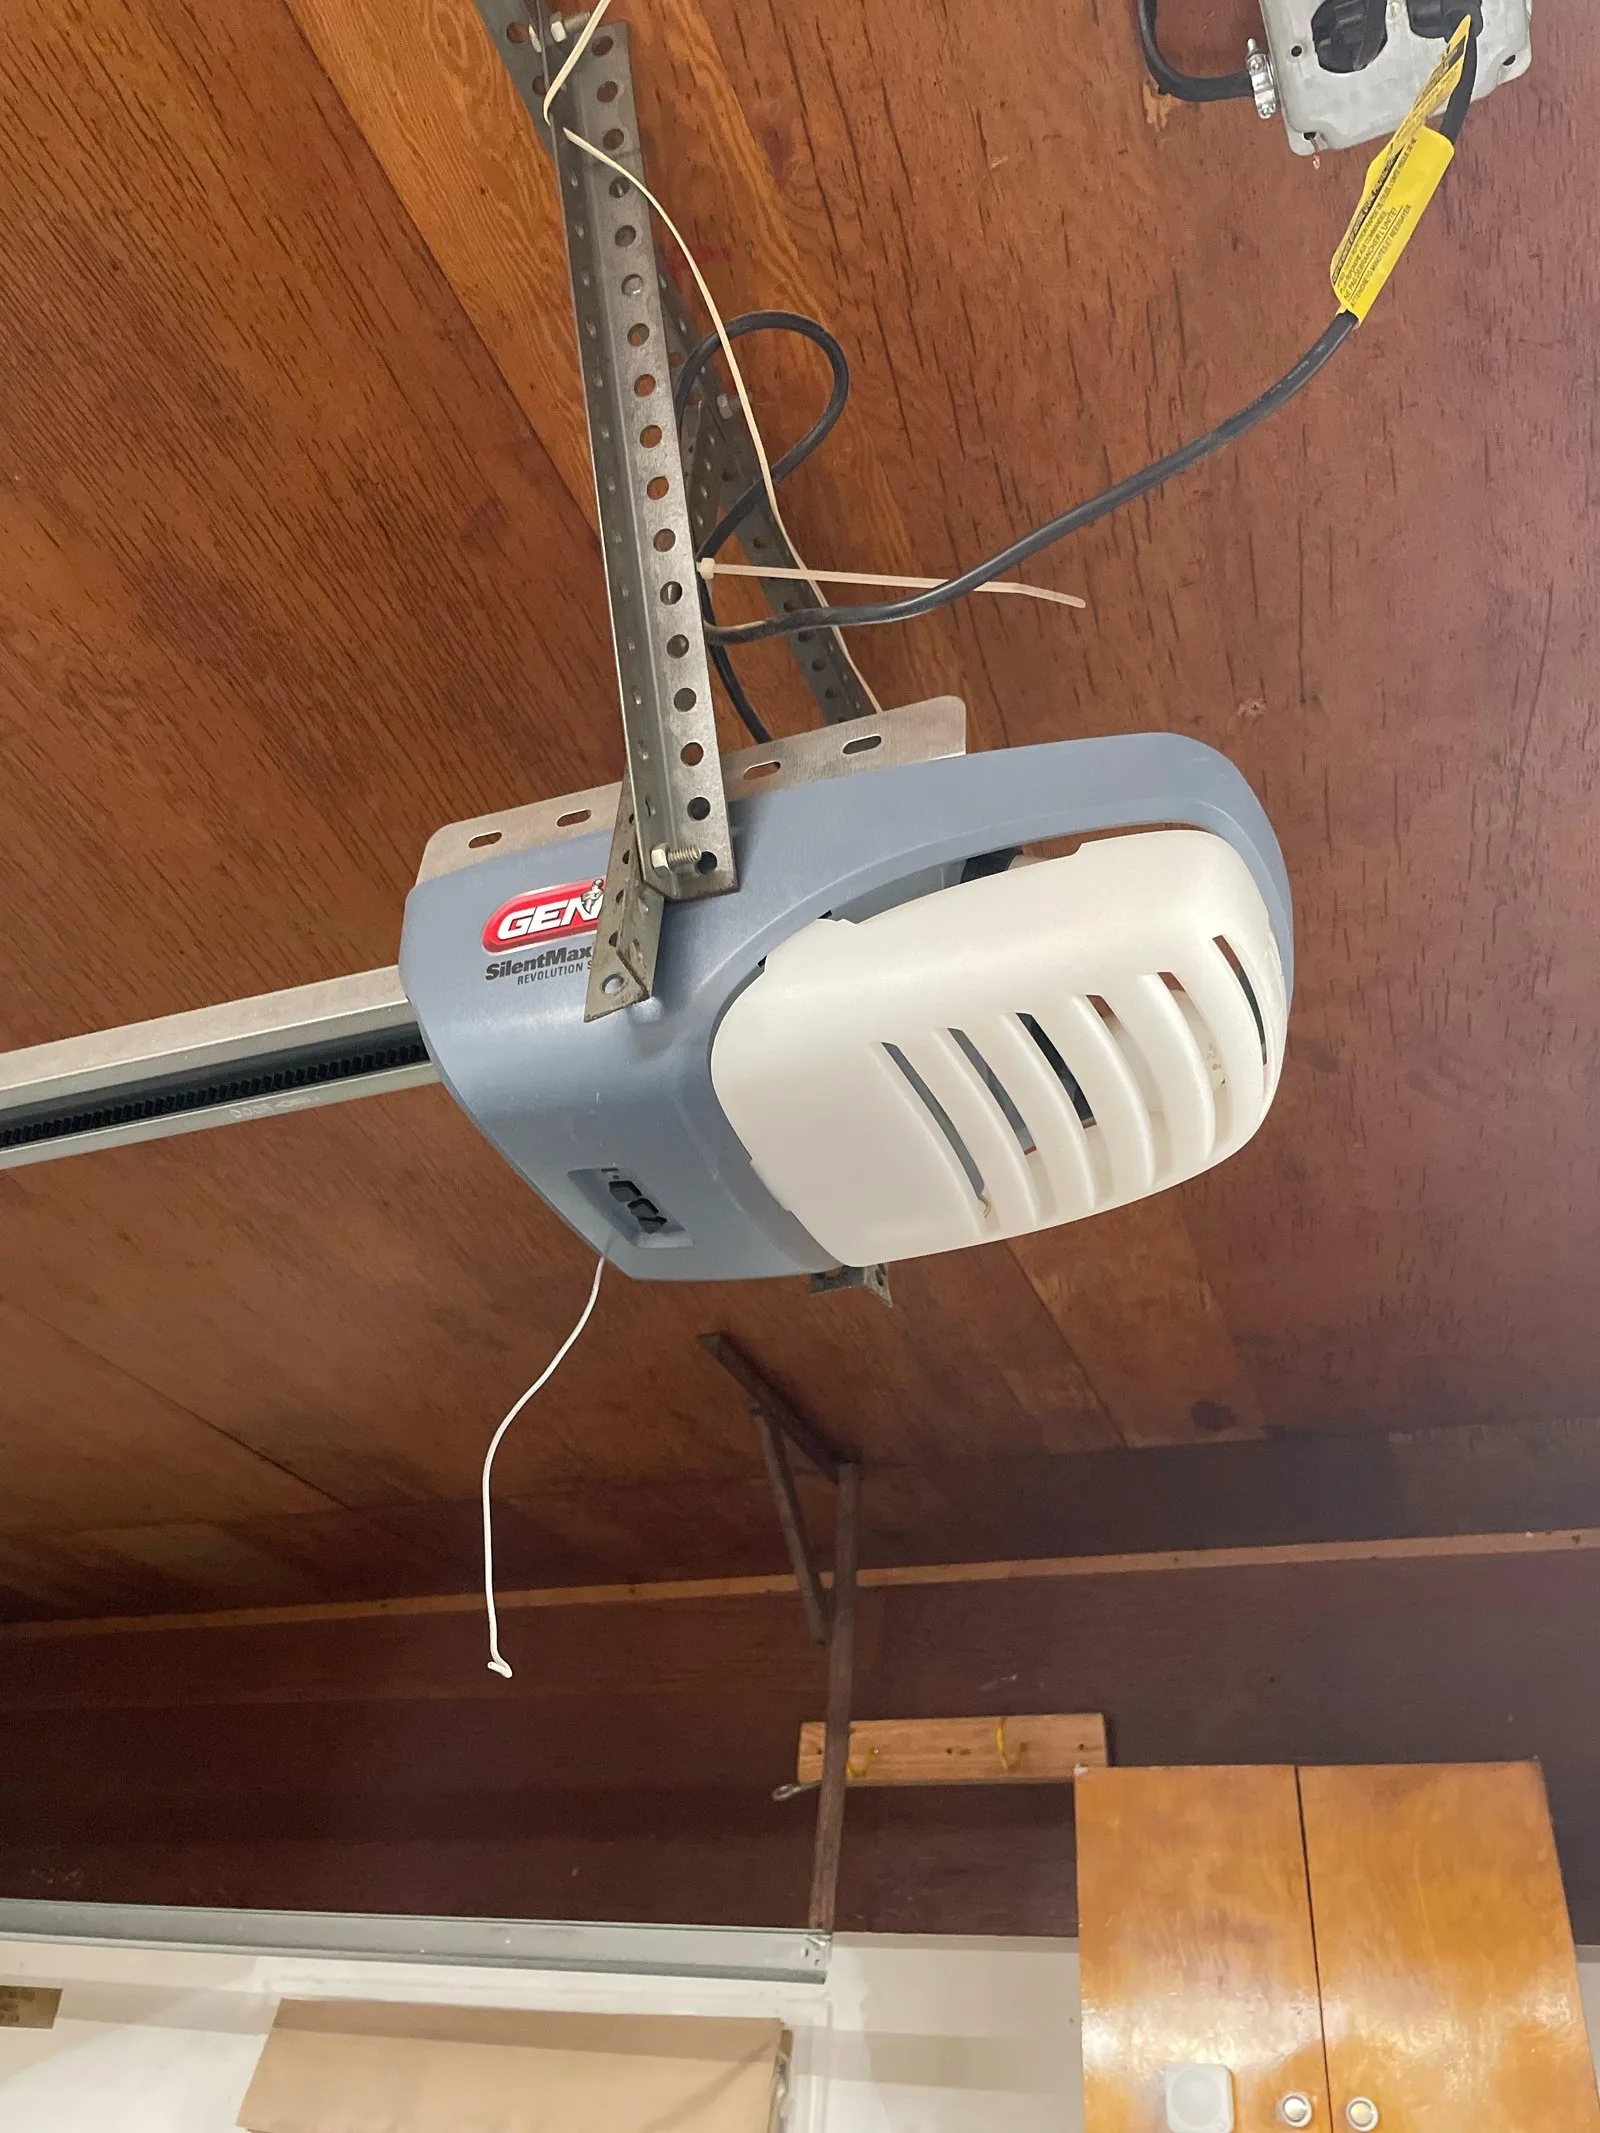
This fix is for openers that seem “frozen” or unresponsive to remote signals. Sometimes the internal software of the motor unit experiences a minor glitch, similar to a computer that needs a restart. Unplug the power cord from the ceiling outlet. Wait for at least sixty seconds to allow the internal capacitors to discharge completely. Plug the unit back in and wait for the indicator lights to stabilize.
After the power returns, test the door using the wall-mounted console first. If the wall console works but the remotes do not, you have successfully cleared the software glitch, but the remotes have lost their pairing. You must put the motor into “Learn” mode by pressing the button labeled “Learn” or “Program” on the motor housing, then pressing the button on your remote.
A common mistake is unplugging the unit and immediately plugging it back in. This fails because the capacitors hold enough charge to keep the memory active, meaning the glitch persists.
This is a quick fix, but it isn’t for someone who can’t safely reach the ceiling outlet. If you need a ladder, ensure it’s placed on level ground. Don’t stand on chairs or boxes to reach the motor. If the unit is mounted in a high or awkward spot, use a stable, professional-grade ladder and have someone spot you. If you feel unsteady, stop immediately and call a professional to perform the reset for you. Never attempt this while standing on a rolling chair or a stack of storage bins, as the sudden shift in weight can cause a fall.
What not to do
Don’t spray lubricant into the motor unit housing. This coats internal electronics, causing permanent damage to the circuit board that often requires a full motor replacement.
Avoid adjusting the torsion springs located above the door. These components remain under hundreds of pounds of tension even when the door is closed. Attempting to loosen them without specialized winding bars can cause them to snap, leading to life-altering injuries.
Never disable the safety sensors by taping them together or misaligning them. These sensors are your primary defense against entrapment. If your door fails to close, check for physical obstructions first; if the sensors remain unresponsive, the issue is likely a frayed wire rather than the sensor alignment itself.
Don’t force the door closed by holding the wall button down. This bypasses the safety-reverse feature and strips the plastic drive gears inside the motor. If the door refuses to shut, manually disengage the trolley and check if the door tracks are bent or obstructed.
How to stop it happening again
Regular maintenance keeps the system running smoothly.
| If you’re doing this | Do this instead | Why |
|---|---|---|
| Ignoring squeaky hinges | Apply silicone-based lubricant | Reduces friction and motor strain |
| Letting dirt build up | Wipe sensor lenses monthly | Prevents false safety stops |
| Yanking the door open | Use the handle properly | Protects the balance of the springs |
| Waiting for a failure | Test the door balance yearly | Catches spring issues early |
Most owners mistake a quiet door for a healthy one. You must manually disconnect the opener and lift the door halfway. If it drifts downward, your springs are losing tension.
If the door falls quickly, call a professional immediately. A spring under improper tension can snap, potentially causing thousands of dollars in damage to the door panels or track.
The decision rule is simple: if the door stays put, you’re safe for another year. If it moves, adjust the spring tension before the next cycle.
Frequently asked questions
Can I fix my Genie garage door opener myself?
You can perform basic maintenance like cleaning sensors, resetting travel limits, and power cycling the unit. These tasks are outlined in the manufacturer’s documentation. Don’t attempt to repair internal motor electronics, circuit boards, or high-tension springs yourself.
Why is my garage door opener blinking?
Blinking lights are diagnostic codes indicating specific errors, such as sensor obstructions or limit issues. Count the flashes and compare them to the error code table in your model’s manual. You can find digital versions of these manuals on the official Genie website.
How long does a garage door opener last?
A standard residential garage door opener typically lasts between ten and fifteen years with proper maintenance. This lifespan assumes the door is well-balanced and not forced to work against excessive friction. If your door is difficult to lift by hand, the opener will wear out faster.
Is it safe to use the garage door if the sensors are broken?
No, it isn’t safe to operate the door if the safety sensors are broken or disconnected. These sensors are mandatory features designed to stop the door from closing on people or objects. Keep the door closed until you have repaired or replaced the faulty sensor components.
What happens if the power goes out?
If the power goes out, you can open the door manually by pulling the red emergency release cord. This disengages the motor, allowing you to slide the door up by hand. Ensure the door is fully closed before pulling the cord to prevent it from slamming down.
Final Thoughts
If these quick checks don’t get things moving, don’t hesitate to reach out to a professional technician. Sometimes a worn-out belt or a faulty circuit board needs an expert’s touch to get back in shape. It’s better to be safe than sorry when dealing with heavy equipment, so let a pro help you out.