
A Culligan water dispenser not working usually happens because of a tripped circuit breaker, a kinked supply line, or a depleted water bottle. If your unit has power but no water flows, check the bottle first; empty containers are the most common cause of a lack of flow. If the unit is silent and lights are off, check your home’s electrical panel before doing anything else. These simple checks resolve most issues without needing tools or professional help.
Why your Culligan Water Dispenser Not Working
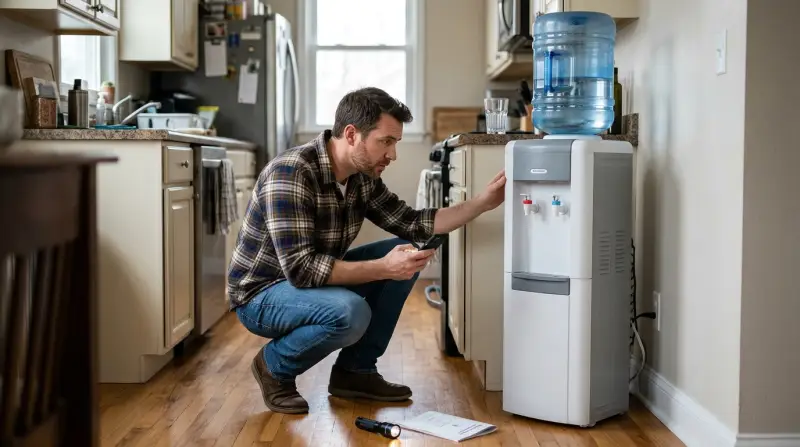
Most performance issues stem from how the unit connects to the water source or the electrical grid. If you use a bottled water dispenser, the most frequent cause is a vacuum lock or a misplaced bottle that prevents the probe from piercing the cap correctly. When the probe can’t reach the water, the pump runs dry, which creates a loud noise but moves no liquid.
If you have a point-of-use model connected to your home’s plumbing, the issue is often a blockage in the line or a closed feed valve. Mineral buildup inside the internal tubing can restrict flow over time, especially in areas with high water hardness. According to the NSF International water quality standards, regular filter changes are necessary to prevent sediment from damaging internal components and causing flow restrictions.
Electrical issues are equally common. Many dispensers feature a safety switch that cuts power if the unit detects a leak or an internal overheat. If the water isn’t cold or hot, the thermostat may be set incorrectly, or the cooling compressor might be struggling due to poor airflow. Ensure the unit has at least four inches of space behind it. If the unit is plugged into a GFCI outlet, the outlet might have tripped due to a minor moisture surge. If you find the plug is warm or the cord shows damage, stop using the unit immediately and call a certified technician.
Check the bottle and intake
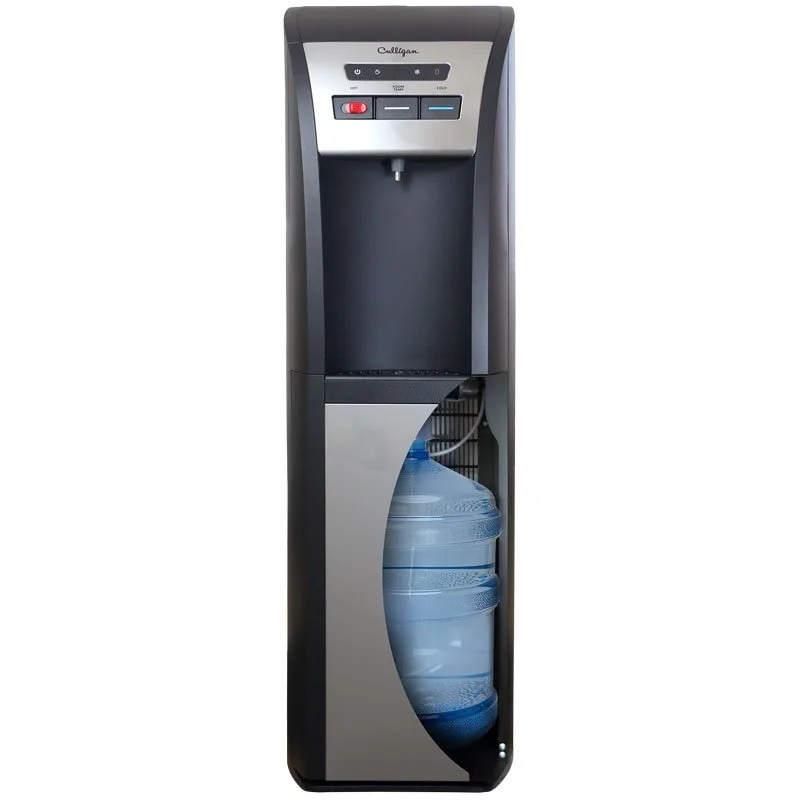
If your unit uses a top or bottom-loaded bottle, start by checking the physical connection. For bottom-load models, the intake hose must be submerged, and the cap must be properly seated. If the hose has a bend, the pump can’t pull water, leading to a “working” sound that produces nothing. Straighten the hose and ensure it reaches the bottom of the jug.
For top-load units, remove the bottle and inspect the intake probe. If the probe is clogged with debris or plastic bits from a bottle cap, use a clean cloth to wipe it gently. Don’t use sharp tools to clear the hole, as this can scratch the plastic and create a permanent leak. Once the probe is clear, replace the bottle firmly. You should see bubbles rising into the bottle almost immediately.
If bubbles don’t appear, the seal at the neck is likely loose. A common mistake is failing to remove the secondary foil seal on the bottle neck, which prevents the probe from creating a vacuum. If you see water pooling around the base of the probe, the O-ring inside the unit has likely perished. This seal is a five-dollar part, but replacing it requires opening the chassis, which voids most warranties.
This fix is for users with standard bottled units; if you have a complex plumbed-in system, don’t attempt to bypass the internal valves yourself. If you still see no water flow after reseating the bottle, the internal pump may have failed. At this point, the repair requires specialized parts, and you should contact Culligan support to verify your warranty status.
Inspect the electrical supply
Power issues are often simpler than they appear. If the dispenser is completely dead, confirm the outlet is functioning by plugging a small lamp or phone charger into the same socket. If the lamp doesn’t turn on, the problem is your home’s circuit, not the dispenser. Check your breaker box for any tripped switches.
If the outlet works, inspect the power cord for signs of fraying or heat damage. Ensure the cord is pushed fully into the back of the unit. Many modern dispensers have a secondary reset button located on the back panel or near the base. If your model has one, press it firmly to reset the thermal safety sensor. If you notice a burning smell or see sparks, turn off the power at the circuit breaker before touching the unit. Don’t try to repair internal wiring or fuses yourself, as this creates a significant fire risk and voids your warranty. This varies by model — check the label on the back of your unit for the specific voltage and reset instructions. If the unit remains unresponsive after a power cycle, the internal control board may be faulty. This is a job for a qualified appliance repair technician, as the high-voltage components inside the housing are dangerous to handle without proper training.
Adjust the temperature settings
When the water flows but the temperature is wrong, the issue is usually the thermostat or the power-save mode. Many dispensers have a switch on the back labeled “Hot” and “Cold.” Ensure both are in the “On” position. If they’re already on, look for an adjustable dial.
Turn the dial toward the “Cold” or “Hot” setting slowly. If the water is lukewarm, the unit may be in a power-saving mode that limits cooling during specific hours. Check your user manual to disable this feature. If the unit has been moved recently, let it sit upright for at least two hours before plugging it back in. This allows the refrigerant to settle, which is vital for the cooling compressor to function correctly.
A common mistake is plugging the unit in immediately after transport. This can cause the compressor to seize, leading to a permanent failure that costs as much as a new machine. If the unit is noisy while running, ensure it’s on a level surface. A tilted unit puts strain on the pump, which can cause it to stop working entirely.
If you have adjusted the settings and waited the required time but the water temperature doesn’t change, check the indicator lights. A blinking light often signals a sensor error rather than a mechanical failure. If the lights are solid but the water remains room temperature, the heating element or cooling system has reached the end of its life. Since these systems are sealed units, they aren’t user-serviceable. Professional repair is the only safe path for internal thermal failures.
What not to do
Don’t use a screwdriver to force open the internal housing to “see what is wrong.” This permanently voids your warranty and risks a severe electrical shock. If the unit fails, contact the manufacturer; they can track the failure via the serial number.
Don’t pour vinegar or harsh chemicals into the water reservoir to “clean it out.” These substances degrade the internal rubber seals, which leads to slow, internal leaks that eventually ruin the pump. Use only the manufacturer-approved descaling solution.
Don’t leave the unit plugged in if you see water pooling near the power cord. This creates an immediate risk of short-circuiting and fire. If you see moisture at the base, pull the plug from the wall immediately.
Don’t try to bypass the safety float switch with tape or magnets. This removes the only mechanism preventing an overflow. If your unit is shutting off prematurely, the issue is likely a clogged filter, not a faulty switch.
How to stop it happening again
Consistent maintenance prevents most performance drops. If you’re doing this, do this instead:
| If you’re doing this | Do this instead | Why |
|---|---|---|
| Leaving the unit near a wall | Move it 4 inches away | Allows proper airflow for the compressor |
| Using force to seat bottles | Check for debris in the probe | Prevents damage to the intake seal |
| Ignoring low water flow | Clean the probe and hoses | Prevents the pump from burning out |
| Using the unit on carpet | Place it on a hard surface | Prevents overheating and instability |
Most users fail to realize that the intake seal is the most fragile component. If you feel resistance when inserting a bottle, stop immediately. Forcing it will gouge the rubber ring, causing permanent leaks that require a full pump replacement.
If your unit makes a high-pitched whine, check the intake probe first. This sound usually signals that the pump is struggling against a blockage. Always verify that your power source is grounded, as electrical surges are the leading cause of sensor failure in these models. If the unit cycles on and off every few seconds, move it to a different circuit to rule out voltage instability.
Frequently asked questions
Why is my water dispenser making a loud grinding noise?
The noise usually means the pump is running dry because the water bottle is empty or the intake hose is blocked. Check the bottle level and ensure the hose isn’t kinked. If the bottle is full and the hose is clear, the internal pump may be failing and you should contact the manufacturer.
How long should I wait after moving a water dispenser?
Wait at least two hours before plugging it in after moving it to a new location. This waiting period allows the compressor oil to drain back into the compressor housing after being tilted or shaken during transport. Plugging it in too early can cause the compressor to ingest liquid refrigerant or operate without sufficient lubrication, potentially damaging the internal components. Always keep the unit as upright as possible during any move to minimize this risk.
Is it safe to use a power strip for my water dispenser?
No, you should plug the dispenser directly into a wall outlet to prevent power fluctuations. Water dispensers, especially those with heating elements, draw significant power that can overload a standard power strip. This overload can lead to overheating, tripped breakers, or even fire. If your outlet is too far away, use an appliance-rated extension cord, but a direct wall connection is always the safest option for heavy-duty appliances.
What happens if I don’t change the water filter?
If you don’t change the filter, sediment and minerals will eventually clog the internal lines and reduce water flow. Over time, these particles can also damage the internal pump and cause the water to taste metallic or stagnant. Check your manufacturer’s manual for the specific replacement schedule, as most filters require a change regularly. Using an expired filter can also lead to bacterial growth inside the housing.
Why is the water not coming out of the spigot?
The water flow usually stops because the bottle is empty or the air vent is blocked. Ensure the bottle is seated correctly so that air can enter and replace the water being dispensed. If the bottle has water, check that the spigot lever isn’t stuck or obstructed by mineral deposits. If you have a plumbed-in model, ensure the water supply line valve behind the unit is fully open and not kinked.
Final Thoughts
If these basic checks don’t get your unit running again, it’s time to reach out to a professional. Don’t hesitate to contact Culligan’s customer support team for further guidance or to schedule a repair. They’ll help you figure out if there’s a deeper mechanical issue that needs an expert’s touch.
Related guides
- Primo Water Dispenser Pump Not Working? Easy Fixes to Try
- Whirlpool Refrigerator Water from Dispenser Not Cold? Fix It Fast
- How to Reset GE Refrigerator Water Filter: Easy Step-by-Step Guide