
A Hisense Tv Flashing Red Light usually means the power supply board is failing to send the correct voltage to the mainboard. You can safely keep the TV unplugged while you troubleshoot, but don’t attempt to open the rear panel if you aren’t experienced with high-voltage electronics. To confirm the issue, count the exact number of blinks in the sequence, as this code often points to the specific component that has failed. If the TV fails to turn on after a power cycle, the issue is hardware-related rather than a simple software glitch.
Understanding Your Hisense TV Flashing Red Light
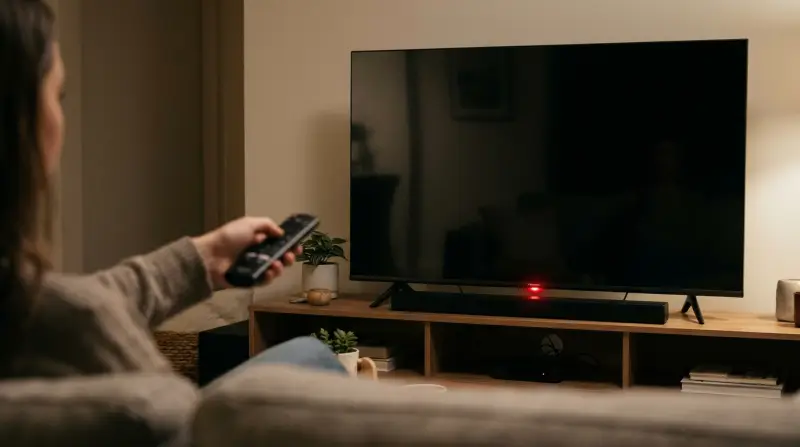
The blinking pattern on your screen acts as a diagnostic code to help you narrow down the fault inside your unit. Treat these signals as a prioritized checklist rather than mere suggestions.
Most users mistake a firmware error for a hardware failure. If you see constant rapid flashing, don’t open the chassis yet. A factory reset via the physical side buttons often clears the memory buffer without requiring tools.
However, if the pattern shifts from slow to rapid, the unit is likely entering a thermal shutdown cycle. In this case, stop power immediately to prevent permanent capacitor damage. If the light remains steady after a reset, the issue is physical. Always verify the LVDS cable pins for oxidation before replacing expensive internal components.
Power cycle and connection issues
The most frequent cause of this signal is a temporary power surge or a loose connection that has triggered the TV’s internal safety shutdown. When the power supply detects an irregular voltage, it enters a protection mode to prevent further damage to the motherboard.
To perform a hard reset, unplug the power cord from the wall outlet and leave it disconnected for at least 60 seconds. While the TV is unplugged, press and hold the physical power button on the TV chassis for 30 seconds to drain any remaining electricity from the capacitors.
Many users fail to bypass their surge protector during this test. If your power strip is faulty, it will continue to throttle the voltage even after a reset. Always plug the TV directly into a wall outlet to rule out the strip as the culprit.
If the red light stops blinking and the TV powers on, the issue was likely a minor voltage irregularity. If the light continues to flash, you must check the power cable for any visible damage or fraying. If you see damage to the cord, don’t plug the unit back in, as this poses a fire risk.
Check your power source before seeking a repair technician. If the TV still doesn’t turn on after this reset, the internal power board has likely reached the end of its life.
Use this decision rule: If the light blinks in a rhythmic, repeating pattern, the board is likely failing. If the light is solid or off entirely, the issue is often a loose internal ribbon cable. In the latter case, a technician can often fix the connection without replacing the entire power board, saving you the cost of a full hardware swap.
Firmware and system software errors
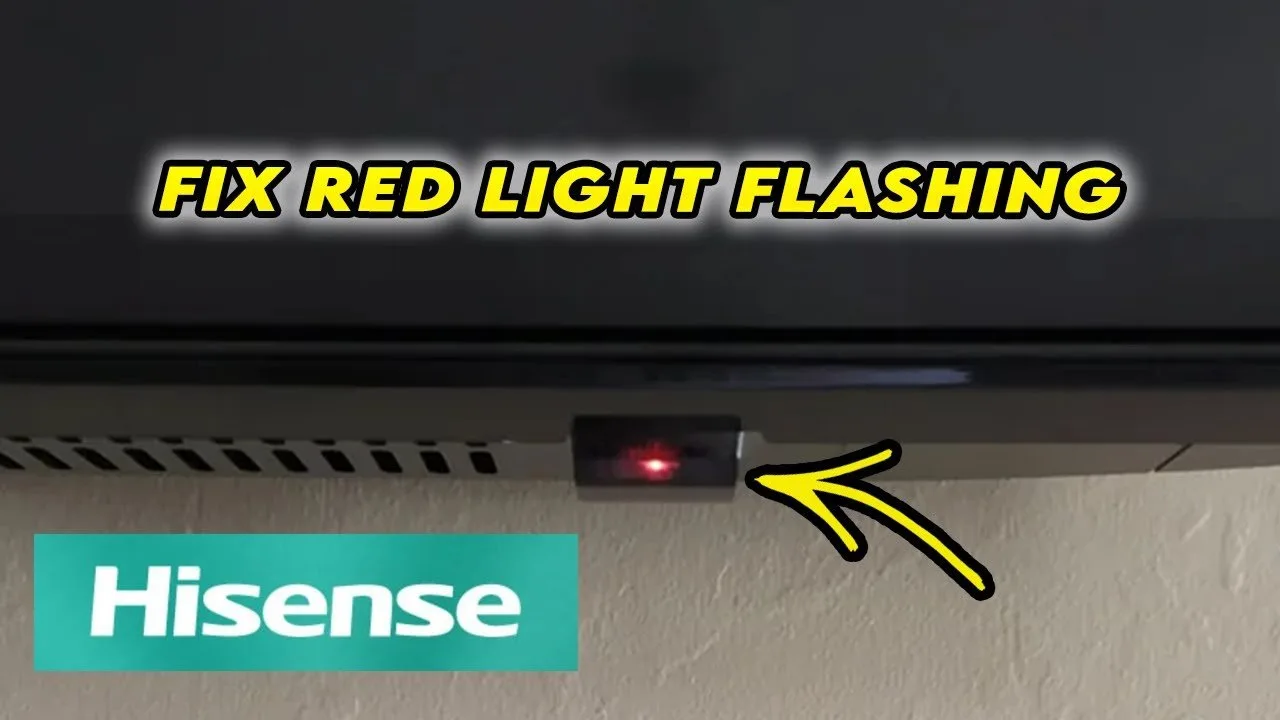
A flashing red light sometimes indicates that the internal software has encountered a critical error during the boot process. This occurs if system files become corrupted during a failed update or if the memory cache is overloaded.
To address this, attempt to force a firmware update using a USB drive formatted in FAT32. You must download the specific firmware file for your exact model number from the official manufacturer website onto a computer. Ensure the file is placed in the root directory of the drive, not inside a folder, or the system will ignore it.
Insert the USB drive into the port labeled “Service” or “USB” on the back of the television while it’s unplugged. Plug the TV into the power outlet while holding the power button on the unit until the update screen appears. If the TV doesn’t react, the mainboard can’t read the USB, confirming that the hardware is too damaged to process software commands.
Distinguishing between board failures is vital. If the TV shows a logo before the light returns, you’re dealing with a software or mainboard communication failure. If the screen remains completely black, the problem is rooted in the power board’s inability to deliver electricity to the panel.
A common mistake is using a drive larger than 32GB or one formatted in NTFS or exFAT. These formats are incompatible with the TV’s bootloader, causing the update to fail silently. If the update process stalls at 0% for more than ten minutes, disconnect the power immediately. A stuck update can permanently brick the EEPROM chip, turning a repairable software glitch into a total hardware loss.
Backlight and hardware overheating
Overheating is a common cause of sudden shutdowns in units used for more than 8 hours daily in poorly ventilated cabinets. When internal sensors detect temperatures exceeding the manufacturer’s safety limit, the system cuts power to the backlight to protect the panel. You can tell this is the cause if the TV works for a short time after being cold, but shuts down and starts flashing after it has been running for a while.
To fix this, ensure there’s at least 4 inches of clearance between the TV and any wall or furniture to allow heat to escape. Use a can of compressed air to blow out dust from the ventilation slats on the back of the case. Many users mistakenly place units in recessed media consoles, which traps heat and forces the backlight to dim prematurely.
If the unit still shuts down after 15 minutes of use in an open area, the internal cooling fan or thermal paste may have failed. This is different from power supply failures because the TV won’t show a flashing light immediately upon being plugged in; it only happens once the components reach their thermal limit.
If you notice a faint smell of ozone or see any discoloration around the vents, stop using the TV immediately. These signs indicate that an internal component is burning out and requires immediate professional inspection to prevent a potential electrical fire in your home. If the chassis feels hot to the touch near the power board, you should disconnect the unit from the wall outlet until the internal temperature stabilizes.
When to stop and get help
If you hear a buzzing or clicking sound coming from inside the unit, stop immediately. This indicates a failing capacitor that could cause a secondary short circuit if left powered.
If you smell burning plastic, unplug the TV from the wall and don’t attempt to turn it on again. The smell suggests that insulation has already melted, creating a high risk of electrical fire.
If the power cable shows exposed wires or heat damage, don’t touch the cord. Contact an authorized repair center to replace the entire cable assembly.
If you have removed the rear panel and see swollen or leaking capacitors, don’t touch them. These components can hold a dangerous charge even after being unplugged.
Repairing internal power boards requires specialized training to avoid fatal electrical shock or voiding your manufacturer warranty. If you aren’t a qualified technician, reach out to an authorized service provider. The cost of a professional repair is significantly lower than the price of a replacement unit or the medical bills resulting from a high-voltage discharge.
Frequently asked questions
Can I fix a flashing red light by myself?
Yes, you can fix simple power or software issues by performing a hard reset or updating the firmware via USB. If these steps don’t work, the problem is likely a hardware failure on the power board or mainboard. You shouldn’t attempt to solder or replace internal circuit boards unless you have professional electronic repair experience and the correct safety equipment to handle high-voltage components.
How long should I wait for a hard reset?
About 60 seconds is the standard wait time to ensure all capacitors are fully discharged. While waiting, it’s helpful to press the power button on the TV itself to clear any stored electricity. If you plug the TV back in too quickly, the system may remain in its error state and continue flashing the red light as if no reset occurred.
Is it safe to keep the TV plugged in?
No, it’s safer to keep the TV unplugged while it’s showing a persistent error code. Leaving a faulty unit plugged into the wall can lead to further damage to the internal circuitry if a short circuit is present. Only keep the TV connected to power once you’re ready to perform a specific troubleshooting step or if you have confirmed the unit is functioning normally.
What happens if the light never stops flashing?
If the light flashes indefinitely, the TV has entered a permanent protection mode because it can’t complete its startup diagnostic. This usually indicates a dead power supply board or a faulty backlight inverter. You should check the official support site for your specific model to see if there’s a known recall or a specific service bulletin regarding your TV’s serial number range.
Does it matter which USB port I use?
Yes, the firmware update must usually be performed using the specific port designated for service. Check the labeling on the back of your TV or the manual to identify the correct port, as other USB ports may not have the necessary data connection to the system chip. If your TV doesn’t have a port labeled “Service,” consult the documentation on the official website to verify the correct update procedure.
Why does the light blink in a specific pattern?
The light blinks in a pattern to communicate the exact nature of the hardware failure to a technician. Each number of blinks corresponds to a specific test that the TV failed during its power-on self-test. You can record this sequence and provide it to a support representative to help them identify exactly which part needs to be replaced in your television.
Final Thoughts
If these basic checks don’t bring your picture back, it’s time to contact a professional technician or reach out to the manufacturer’s support team. They’ll help you determine if a repair is worth the cost or if it’s finally time to start shopping for a reliable new screen.
Related guides
- 4 Inch Vs 6 Inch Recessed Lighting
- Apple TV Flashing Light: Quick Fixes and Troubleshooting Tips
- Lg Dishwasher Flashing Lights: Quick Troubleshooting Guide