
A La Crosse Rain Gauge Not Working correctly is usually caused by a blocked tipping bucket or weak batteries that prevent the signal from reaching your base station. Most users find that clearing debris or replacing the power cells restores communication immediately. If your display shows dashes or a permanent zero, start by checking the physical path of the rain collector before moving to battery replacement. This avoids unnecessary resets and ensures you don’t lose your historical weather data.
Why your La Crosse rain gauge not working
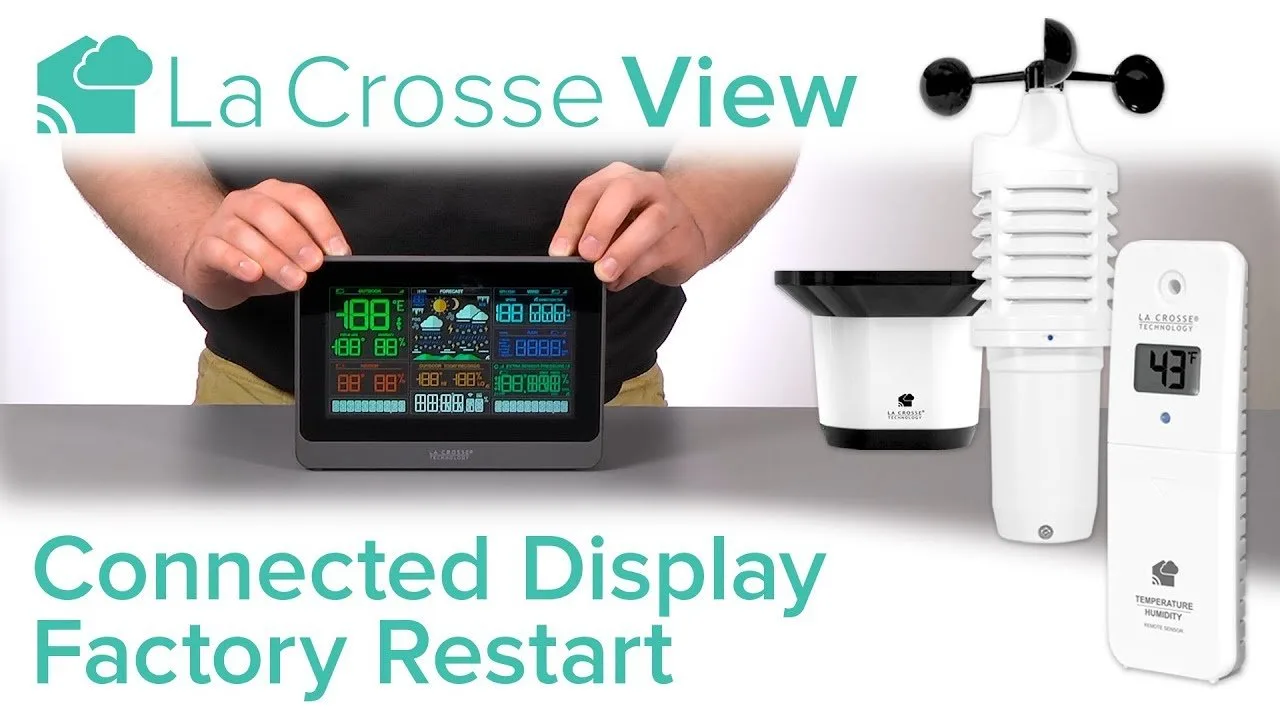
The primary reason for a failure is physical debris inside the collector. Leaves, twigs, or bird droppings often fall into the funnel and prevent the internal “tipping bucket” from moving. This bucket is the mechanical switch that counts every millimeter of rain. If it’s stuck, the sensor can’t register a tip, even during heavy storms.
A second common cause is low battery voltage. Wireless sensors require a steady, consistent charge to broadcast their signal through walls and windows to your indoor display. When the voltage drops, the sensor may still light up but will lose the power needed to send the radio frequency signal. This often happens after extreme temperature swings, as cold weather can significantly decrease the output of standard alkaline batteries.
Finally, signal interference can disrupt the connection. The sensor communicates with the base station on a specific radio frequency. If you have recently added new electronic devices, such as wireless routers, baby monitors, or large metal structures near the signal path, the data packets may be dropped before they reach the display. This varies by model — check the label on your specific sensor to confirm the range limitations and the frequency band it uses for transmission.
Clear debris from the funnel
This fix is for users who see no change in rainfall totals even when it’s visibly raining. You must first ensure the sensor is safely accessible on its mounting pole or surface. Use a soft brush to gently remove any organic material from the top screen and the internal bucket mechanism. If the bucket doesn’t rock back and forth smoothly when you tilt the unit, there’s likely an obstruction.
If you find that the bucket is stuck, don’t force it with tools. Simply use a damp cloth to wipe away dust and debris. Once the bucket moves freely, perform a manual test by pouring a measured amount of water through the funnel. If the display updates after you pour this water, the sensor is functional. If the display remains at zero, the internal reed switch may have failed. This is a common point of wear in older units. If the unit remains unresponsive after cleaning, it’s often more cost-effective to replace the sensor than to attempt a repair on the delicate internal electronics.
Reset the connection manually
Use this method if the display shows dashes instead of numbers. This indicates that the base station and the outdoor sensor have lost their digital “handshake.” You must reset the entire system to force them to reconnect on a fresh channel. Start by bringing the outdoor sensor indoors, placing it right next to the base station. Remove the batteries from both the sensor and the indoor display.
Wait a few minutes to ensure the devices have fully powered down. After the wait, insert fresh, high-quality alkaline batteries into the outdoor sensor first. Once the sensor light flashes, insert the batteries into the indoor display. Keep them together for another five minutes to ensure they establish a solid link. If the display shows the correct reading, you can then move the sensor back outside.
This fix isn’t for users who have a physical blockage in the bucket. If the units sync perfectly indoors but stop working once moved outside, you’re dealing with a range or interference issue. If you choose to use lithium batteries for better cold-weather performance, ensure your model supports them, as some older versions have internal circuits that are incompatible with the higher voltage of lithium cells.
Replace the sensor batteries
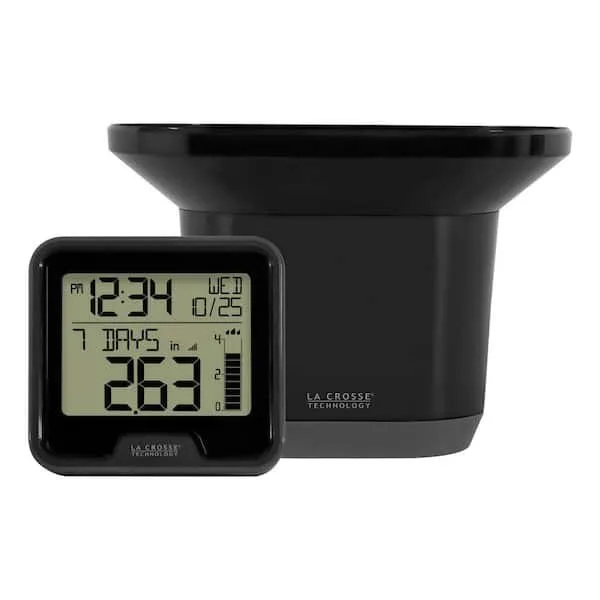
Battery health is the most overlooked factor in gauge performance. Even if a battery shows some power, it might not provide the “burst” of energy needed to transmit data. This fix is for anyone who hasn’t changed their batteries in more than six months. Use only name-brand alkaline batteries, as budget brands often fail to maintain the required voltage under outdoor thermal stress.
When you replace the batteries, inspect the battery compartment for corrosion. If you see a white or blue powder on the terminals, the device is likely permanently damaged. You can sometimes clean light corrosion with a cotton swab and a small amount of white vinegar, but this is a temporary measure. If the metal contacts are pitted or missing, the sensor will never maintain a reliable connection.
Who this is NOT for: If your sensor is mounted higher than ten feet or in a location that requires a ladder, don’t attempt this alone. Always have someone hold the ladder steady while you work. If you suspect an internal electrical short, don’t try to solder or modify the board. Such repairs are dangerous and will immediately void your warranty. If the unit is still under warranty, contact the manufacturer instead of opening the housing, as doing so will prevent you from receiving a free replacement.
What not to do
- Don’t spray water directly into the sensor with a high-pressure hose, as this can force debris deeper into the pivot points and damage the delicate internal switch.
- Don’t use rechargeable batteries unless the manual specifically allows them, as they have a different voltage curve that often causes the display to show incorrect or missing data.
- Don’t place the sensor on the ground, as this makes it impossible to prevent dirt and grass from blocking the intake, leading to constant false readings.
- Don’t leave old batteries in the unit for more than a year, as leakage is the most frequent cause of total device failure in outdoor weather equipment.
How to stop it happening again
Regular maintenance ensures your system stays accurate through every season.
| If you’re doing this | Do this instead | Why |
|---|---|---|
| Mounting in a low, bushy area | Mount on a clear, open pole | Reduces debris intake and wind block |
| Ignoring the display dashes | Perform a full system power cycle | Re-syncs the radio frequency link |
| Using cheap generic batteries | Use name-brand alkaline cells | Ensures stable voltage for transmission |
Frequently asked questions
Can I fix a rain gauge that shows no data?
You can fix connection issues by performing a full power cycle of the base station and sensor. Removing power for ten minutes forces the devices to re-establish their radio link. If they still fail to connect, the internal transmitter may have reached the end of its life.
Why does my gauge show zero during a heavy storm?
Zero readings during rain usually occur because the tipping bucket is jammed by debris. The bucket must move freely to register each tip, so you should inspect the funnel and rocking mechanism. Be careful to clear blockages without pushing debris further into the pivot points.
How long should the batteries last in the sensor?
Batteries typically last between six and twelve months, depending on temperature and signal distance. Cold weather drains power significantly faster than mild conditions. If you live in an area with freezing winters, check if your specific model allows for lithium batteries to improve performance.
Is it safe to open the sensor housing?
It isn’t recommended to open the sensor housing for internal repairs. The internal components are sensitive, and opening the case will void your warranty. If the sensor fails after cleaning the funnel and replacing batteries, contact the manufacturer or purchase a replacement unit.
What happens if I move the sensor too far away?
Moving the sensor beyond its maximum range causes the display to show dashes or intermittent readings. Walls, trees, and metal objects significantly reduce the effective signal distance. If the signal remains unstable, move the sensor closer until the display shows a constant reading.
Why are my rain totals different from my neighbors?
Rainfall totals vary over short distances due to wind patterns and local terrain. Even a perfectly functioning gauge may record different amounts than one just blocks away. Ensure your gauge is mounted on a level surface away from structures to ensure accurate collection.
Final Thoughts
If these simple fixes don’t get your device back on track, don’t worry. You can reach out to the manufacturer’s support team for further guidance or warranty assistance. They’re usually happy to help you troubleshoot, so you’ll be back to tracking your local rainfall accurately in no time at all.