
The most common reason for a Whirlpool Wrqa59cnkz light not working is a loose or burnt-out LED module inside the refrigerator compartment. You can often restore the light by checking the physical connection of the lighting harness or ensuring the door switch isn’t stuck, as these are the primary points of failure for this specific model.
Why Your Whirlpool WRQA59CNKZ Light Not Working
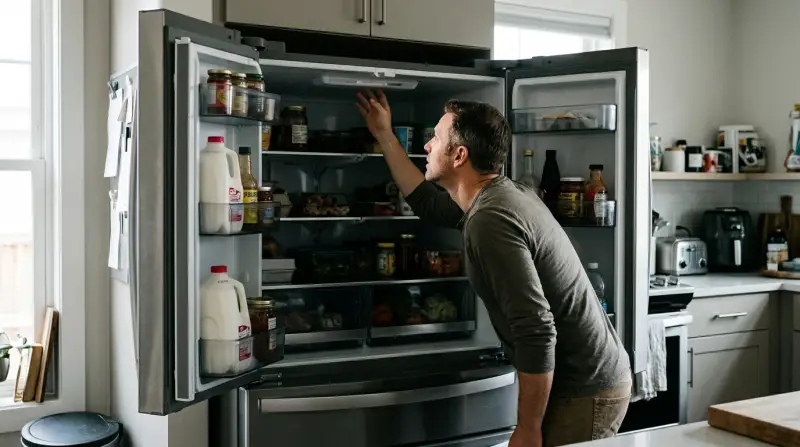
Lighting issues in modern refrigerators usually stem from three distinct areas: the power supply to the light, the switch that detects the door position, or the LED component itself. Because this model uses LED arrays rather than traditional incandescent bulbs, the light doesn’t simply “burn out” like a filament. Instead, the electronic driver or the LED circuit board may fail due to moisture buildup or a surge in the home’s power grid.
Another frequent cause is the door switch. If the refrigerator doesn’t realize the door is open, it will keep the lights off to save energy. Dust or debris can build up around the switch mechanism, preventing it from clicking into the “open” position. It’s also possible that the wiring harness connecting the door to the main control board has become loose or pinched. This happens if the door has been slammed or if the hinge area has shifted over time.
Finally, you must consider the control board. If the main board stops sending voltage to the light circuit, no amount of fiddling with the bulb will help. This is a complex failure, but it’s rare compared to simple connection issues. You can verify the official Whirlpool product support documentation to see if there are specific reset procedures for your control panel, as these vary by model—check the label or your manual for the exact sequence.
Check the door switch first
This fix is for anyone whose refrigerator interior remains dark even when they know the unit is powered on.
A common mistake is assuming the switch is dead when it’s merely jammed by a buildup of kitchen grease. This simple oversight costs homeowners hundreds in unnecessary service calls.
If the switch seems to move freely but the light stays off, try pressing it manually several times to see if it triggers the light.
If it clicks but the bulb stays dark, you’re likely dealing with a blown bulb or a faulty socket, not the switch itself. This diagnostic step requires no tools. If you’re uncomfortable moving parts or if the housing appears damaged, stop here. A professional appliance technician should handle any electrical switch replacement to ensure the safety of your warranty and your home’s electrical system.
Inspect the LED housing connections
This fix is for users who have confirmed the door switch is working but still have no light. LED modules in this model often use a “plug-and-play” harness. Over time, the vibration from the compressor can cause these plastic connectors to vibrate loose.
Look at the light housing inside the fridge. If you see a small plastic cover, you may be able to gently pry it off with your fingers. Check if the wire leading into the LED board is fully seated. If it looks loose, push it in until you feel a soft click. This is a common mistake people make; they assume the LED is dead when it’s just disconnected. This varies by model—check the label on the light cover for specific removal instructions. If the connection is tight and the light is still off, the LED module itself has likely reached the end of its life. This fix isn’t for those who aren’t confident working near electrical components. If you see any signs of melting or charred plastic, don’t touch the wiring. Call a certified service professional immediately, as this indicates a potential fire hazard or a short circuit in the wiring harness.
Reset the main control board

If the previous steps didn’t work, the issue might be a “glitch” in the refrigerator’s software. A hard reset can sometimes clear errors that prevent the light circuit from activating.
To perform a reset, unplug the refrigerator from the wall outlet or turn off the circuit breaker for at least five minutes. This allows the capacitors on the control board to discharge fully. After the time has passed, restore the power. If the lights flicker on, the issue was likely a temporary software lock.
This is worth the effort if you have ruled out physical damage, but it isn’t a permanent solution if the control board is failing due to internal hardware damage. If the board is truly failing, you’ll likely see the lights fail again within 24 to 48 hours.
If the light remains off after a reset, you have done all you can safely do as a user. A technician will need to test the voltage coming from the board to the light to see if the board needs replacement.
Don’t attempt to bypass the board or wire the lights directly to a power source. This mistake will void your warranty and create a severe shock risk. If you hear a clicking sound coming from the control board area during the reset process, that’s a common sign of a failing relay. In this case, stop troubleshooting and schedule a professional repair, as the board is physically compromised.
What not to do
Don’t use a metal screwdriver to pry open light covers. Metal tools can cause a short circuit or damage the plastic casing, which is expensive to replace. Use a plastic spudger or a flat-head nylon pry tool instead. These cost very little and prevent the unsightly gouges that ruin the finish of your housing.
Don’t attempt to solder or repair the LED circuit board yourself. These boards are sensitive to heat and static; DIY soldering usually results in a permanent failure of the entire lighting system. If you see a flickering light, check the connection pins first. If the pins are clean and the light remains dark, the internal driver has likely failed and requires a full module replacement.
Don’t ignore a burning smell near the light housing. If you smell ozone or smoke, unplug the unit immediately and call a professional, as this is a sign of an active electrical fire risk.
Don’t replace the light with a generic bulb. This model is designed for specific LED modules; using a different voltage or type won’t fit the socket and could cause the control board to trigger a permanent error code.
How to stop it happening again
Proper maintenance keeps the internal components of your refrigerator running longer. If you’re doing this, you’ll likely prevent future lighting failures by keeping the door seals clean and the hinges aligned.
| If you’re doing this | Do this instead | Why |
|---|---|---|
| Slamming the door shut | Close it gently until it clicks | Protects the door switch and harness |
| Overloading the shelves | Keep items away from the light | Prevents pinching the light wires |
| Cleaning with wet cloths | Use a dry, microfiber cloth | Prevents water from entering circuits |
| Ignoring door alarms | Close the door properly | Prevents the light from overheating |
This heat eventually melts the plastic housing or triggers a thermal fuse.
Check your alignment by placing a dollar bill between the seal and the frame. If you can pull the bill out without any resistance, the seal is compromised. Replace the gasket immediately to stop the light from staying on indefinitely.
Frequently asked questions

Can I replace the LED light myself?
Yes, you can replace the module if it’s a simple plug-and-play part, but you must ensure you have the exact part number for your specific unit. If the light is integrated into a sealed panel, the manufacturer usually requires a technician to perform the swap to keep the warranty valid. Always check your owner’s manual for the specific part number before ordering any components online.
Why is the light flickering instead of staying off?
Flickering usually indicates a failing LED driver or a loose connection that’s struggling to maintain a steady current. If the light flickers, it’s often a sign that the component is near the end of its life. You should monitor it closely; if it becomes erratic, it’s better to replace the module before it shorts out completely and damages the control board.
How long do these LED lights usually last?
LED lights in refrigerators are designed to last for many years, often matching the lifespan of the appliance. However, this varies by model—check the label for expected service life. Factors like frequent door openings, high humidity in the kitchen, and power surges can significantly shorten the life of the electronic components, causing them to fail well before the refrigerator itself wears out.
Is it safe to use the fridge without the light?
Yes, it’s safe to use the refrigerator even if the internal light isn’t working. The light is purely for visibility and doesn’t affect the cooling performance or the safety of your food. You can use the unit as normal until you have the time or the parts to fix the lighting, provided there’s no smell of burning or exposed wires.
What happens if I ignore a broken light?
Nothing happens to the cooling system, but you lose the ability to see inside your fridge easily. The main risk of ignoring the problem is that you might miss a loose wire that could eventually cause a small short circuit. If the light simply stopped working and there are no other symptoms, it’s purely a convenience issue.
Why would the light stay on when the door is closed?
If the light stays on, the door switch is likely stuck in the “open” position or the control board has a stuck relay. You should check the door switch immediately, as a light left on constantly can generate enough heat to affect the temperature inside the fridge. If the switch isn’t stuck, the control board will need a professional inspection to prevent the unit from running inefficiently.
Final Thoughts
If the interior remains dark after you’ve checked these connections, it’s best to contact a professional technician for a deeper inspection. Don’t hesitate to reach out for help if you’re unsure, as it’s better to be safe than to risk damaging the internal wiring while trying to fix it yourself.