
A Hamilton Beach Flexbrew Single Serve Not Working condition usually happens because of a mineral buildup blocking the water flow or a tripped safety sensor. If your machine fails to brew, check the water reservoir connection and the needle assembly first, as these are the most common points of failure for this specific appliance. If the power light doesn’t come on, ensure the outlet is functional and the plug is pushed firmly into the socket. This varies by model — check the label on the bottom of your unit for the specific power requirements.
Reasons your Hamilton Beach Flexbrew stopped working
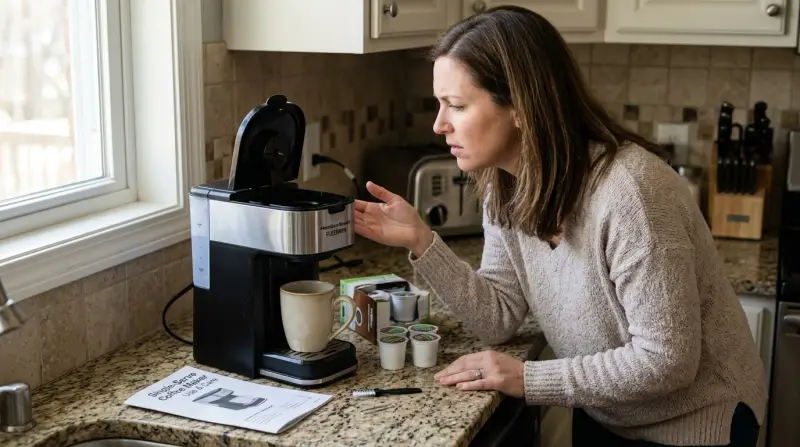
Most brewing issues stem from the internal tubing becoming restricted by calcium or magnesium deposits found in tap water. Over time, these minerals form scale that prevents the internal pump from moving water through the heating element. You might notice the machine sounds louder than usual or the brewing time takes much longer than the standard two minutes.
Another common cause is a misaligned water reservoir. The machine contains a small valve at the bottom of the tank that must open when you seat it into the base. If the tank isn’t perfectly flat or if the seal is dirty, the pump will struggle to draw water, leading to a “dry” cycle where the unit runs but nothing comes out.
Finally, the needle that punctures the coffee pod often gets clogged with grounds. When this happens, the pressure builds up inside the pod holder, causing the machine to stop or leak. If you have tried these basic checks and the unit still fails to heat or pump, it’s time to look at the official Hamilton Beach support troubleshooting guide to see if your specific model has a known defect or a specialized reset procedure. Avoid trying to open the casing yourself, as this voids your warranty and exposes you to high-voltage internal components.
Safety: Inside a mains-powered machine, the parts behind the outer cover can hold a dangerous electrical charge even after it has been unplugged — that’s why they sit behind a cover. Opening the housing, or testing or replacing anything behind it, is a job for a qualified technician, never a home repair.
Clear the needle and pod holder
If your machine runs but coffee doesn’t flow, the exit needle is likely blocked by debris. This fix is for users who notice the pump working but seeing little to no liquid in the mug. First, unplug the unit to ensure it’s safe to touch. Use a small, thin tool like a paperclip to gently clear any coffee grounds from the needle located inside the pod holder.
If you use reusable filters, ensure they aren’t packed too tightly with coffee, as this prevents water from passing through. Aim for a loose, level scoop rather than tamping the grounds down. If the needle looks clean but the flow remains slow, check that the pod holder itself is seated properly. When you close the lid, you should feel a small amount of resistance. If it feels loose, the seal isn’t engaging.
This fix isn’t for machines that refuse to turn on, as that’s an electrical issue. If the power light is off, check your outlet or breaker instead. If you’re unable to clear the obstruction, don’t force the lid shut, as you might break the locking plastic tabs.
If you continue to see no flow after cleaning, the internal pump may have failed. This requires professional servicing or a replacement unit. If you hear a high-pitched whine but no liquid emerges, the pump is likely struggling against a dry line or a total blockage. In this specific case, stop immediately to prevent burning out the motor.
Reset the water reservoir connection
The machine won’t brew if the water reservoir doesn’t create a vacuum seal with the intake valve. This fix is for those who hear the pump running but the machine remains silent or vibrates excessively. Remove the reservoir entirely and inspect the small rubber gasket at the bottom. If it’s dry or cracked, it can’t form a seal. Wipe the area with a damp cloth to remove any dust or dried coffee spills.
Fill the reservoir to the “max” line with fresh water and press it firmly back onto the base. You should hear a faint “click” or feel the valve snap into place. If you see bubbles rising from the bottom of the tank, the seal is working. If the water level doesn’t drop, the intake valve is likely stuck.
In this case, gently depress the valve with your finger to ensure it moves freely. If it remains stuck, don’t use sharp tools to pry it, as a puncture will ruin the tank permanently. Many users mistake a simple airlock for a broken pump, leading them to pay for unnecessary repairs. If the machine makes a grinding noise, stop immediately to prevent internal overheating.
If you can’t get the valve to engage, you may need a replacement reservoir part from the manufacturer. Always check the seating surface on the machine base for mineral buildup. If white scale is visible, soak a cloth in white vinegar and scrub the intake port before trying to reseat the reservoir again.
Perform a manual descaling cycle
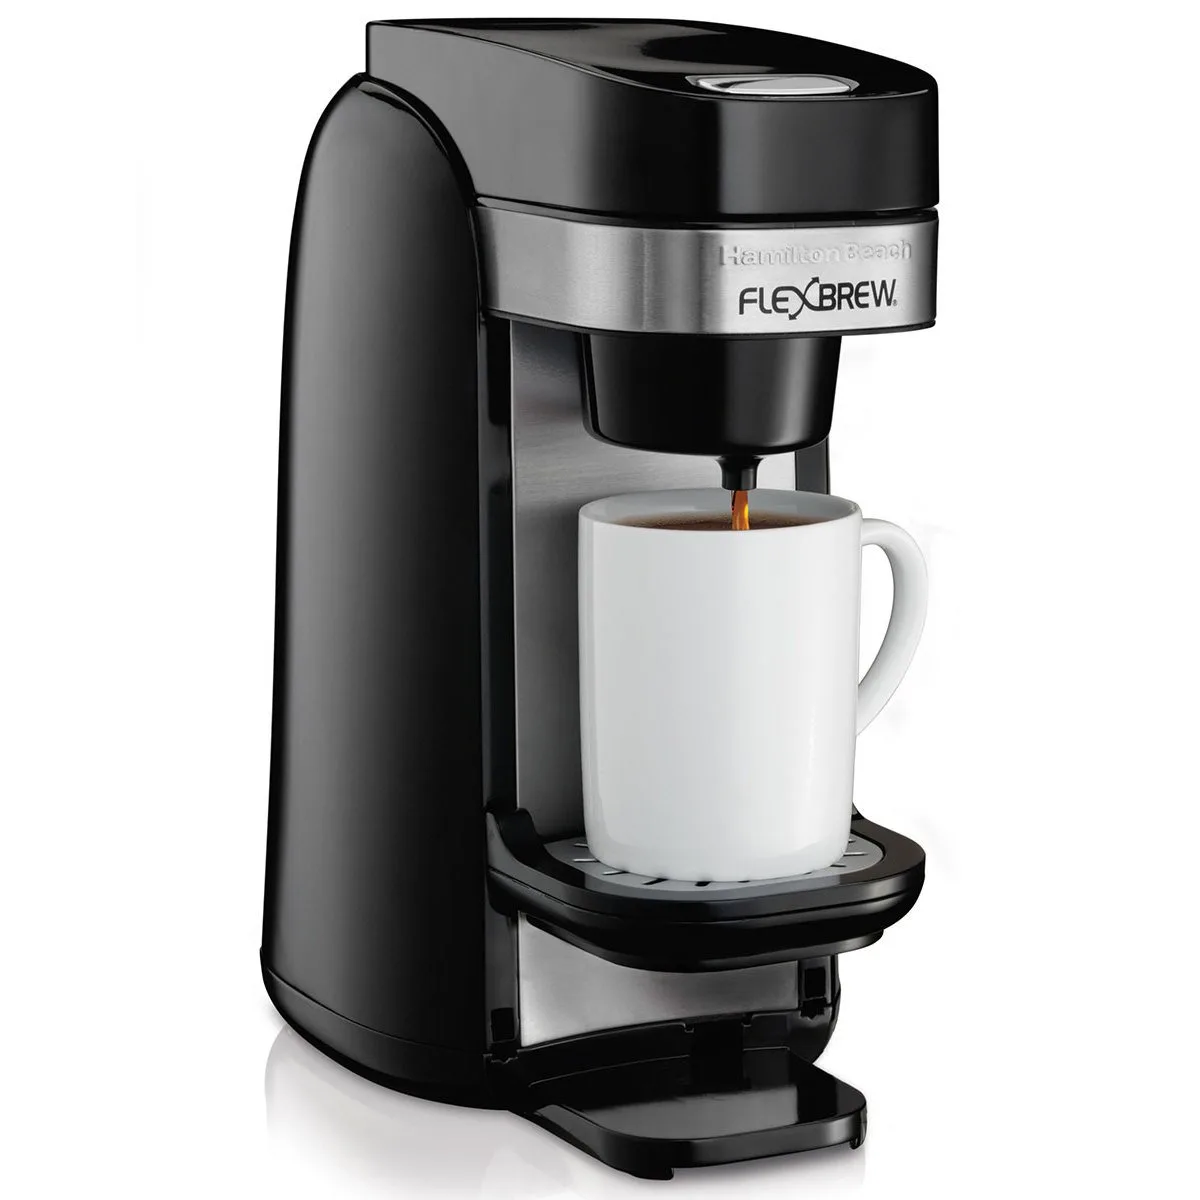
Mineral buildup is the most common reason for a machine that fails to heat properly or shuts off mid-cycle. This process is necessary if you live in an area with “hard” water. To descale, fill the reservoir with a mixture of one part white vinegar and one part water. Run the brew cycle without a coffee pod until the reservoir is half empty, then turn the machine off and let it sit for 30 minutes. This allows the acidic solution to break down the hardened minerals inside the heating pipes.
After the wait, turn the machine back on and finish the cycle. Once the tank is empty, run at least two full cycles with plain, fresh water to remove any vinegar taste. This is worth the effort if your coffee tastes bitter or if the machine is taking longer than three minutes to brew a single cup. If you haven’t descaled your machine in over six months, you may need to repeat this process twice. If the machine still fails to heat after two full descaling cycles, the internal thermal fuse has likely blown, which is a non-serviceable component that requires a professional repair or product replacement.
What not to do
Don’t use harsh chemical cleaners like bleach or ammonia. These agents degrade internal plastic seals and leave toxic residues that contaminate future cycles. If you smell a chemical odor after cleaning, discard the unit immediately.
Never submerge the base of the machine in water. The internal electronics aren’t sealed against full immersion, and doing so creates an immediate shock hazard. Wipe the exterior with a damp cloth instead.
Don’t attempt to bypass the lid sensor with magnets or tape. This safety feature prevents operation while the lid is open. Bypassing it risks high-pressure hot water spraying directly onto you.
Avoid using a paperclip to force open internal valves if they seem stuck. You’ll likely tear the delicate rubber gaskets, causing permanent leaks that require a full pump replacement. If a valve is stuck, soak the area in warm vinegar for ten minutes to dissolve mineral buildup. If that fails, the component has reached the end of its functional life.
How to stop it happening again
Consistent maintenance prevents the majority of brewing failures. Use filtered water to reduce the minerals that enter the machine, which significantly extends the life of the pump and heating element.
| If you’re doing this | Do this instead | Why |
|---|---|---|
| Using hard tap water | Use filtered or bottled water | Prevents mineral scale buildup |
| Leaving pods in the machine | Remove pods after every brew | Prevents needle clogging |
| Never cleaning the reservoir | Rinse the tank weekly | Prevents mold and valve clogs |
| Brewing back-to-back cups | Wait 60 seconds between brews | Allows the heater to recover |
Most users mistake a slow drip for a failing pump. Use a paperclip to clear the debris before calling support.
If you live in an area with hard water, you must descale regularly. Neglecting this causes internal calcification that ruins sensors.
Frequently asked questions
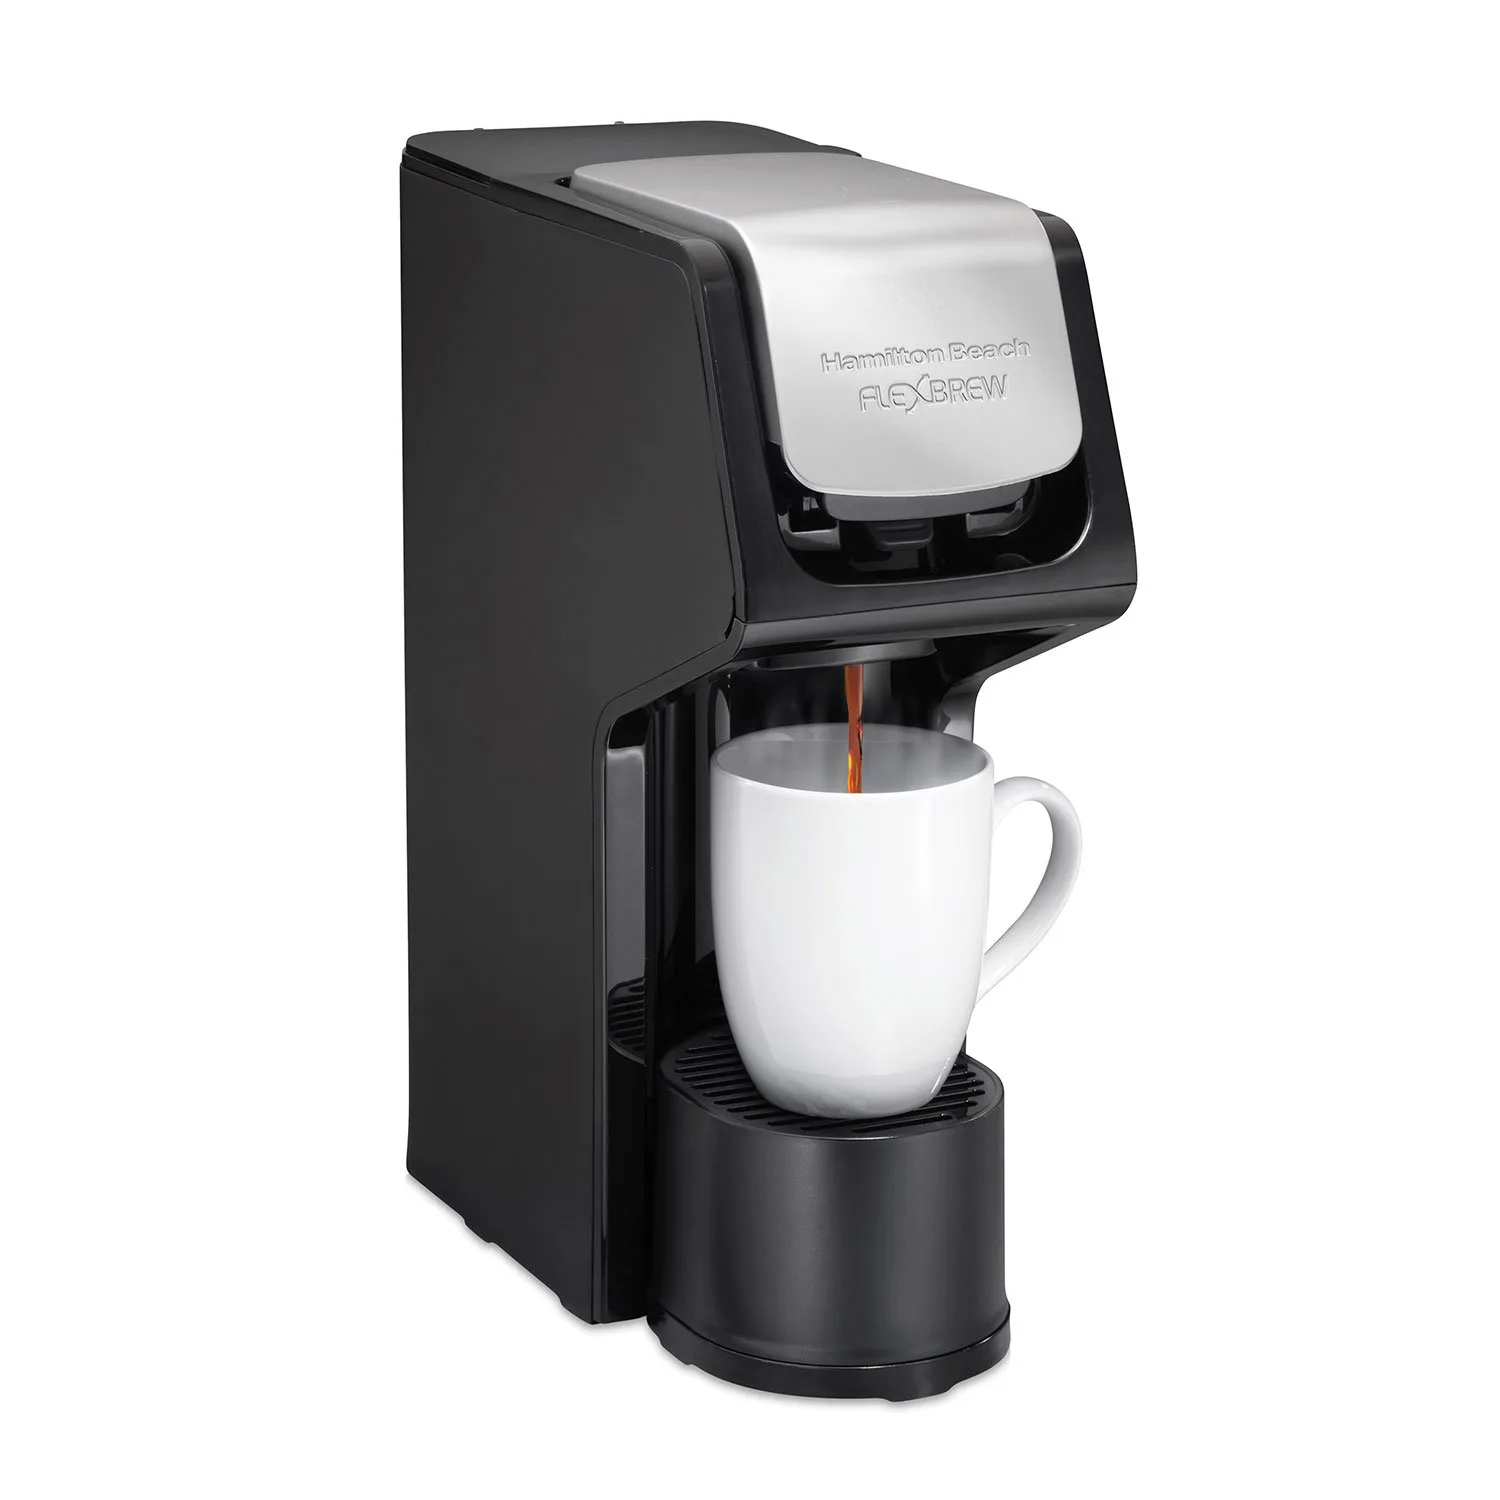
Why is my machine making a loud noise but no coffee?
Your machine is likely struggling with a blockage or a failed intake seal. The pump creates a loud vibrating sound because it’s trying to pull water through a restricted path. If the water level doesn’t drop during brewing, the intake valve has likely failed.
How long does a descaling cycle take?
A full descaling cycle takes about 45 minutes from start to finish. This process includes the initial brewing, a 30-minute soak, and necessary rinse cycles to remove the vinegar. Skipping this step is the most common reason for a machine to stop heating or pumping water correctly.
Is it safe to use vinegar to clean the machine?
Yes, white vinegar is the standard, manufacturer-approved method for removing mineral scale from single-serve brewers. It’s safe for internal components when diluted with an equal amount of water. You must perform multiple rinse cycles with plain water afterward to ensure no acidic residue remains.
What happens if I use the wrong pod size?
Using an incompatible pod can cause the lid to close improperly or the needle to miss the pod. This often results in water leaking out of the sides of the lid rather than flowing through the coffee grounds. Always check the packaging to ensure the pods are designed for your machine.
Can I repair the pump myself?
No, the internal pump and heating components aren’t designed for user repair. These parts are housed inside a sealed casing and require specialized tools to access safely. Opening the housing risks voiding your warranty and exposing you to dangerous high-voltage electrical parts.
Final Thoughts
If your coffee maker still won’t cooperate after these checks, don’t worry. It’s a good idea to contact the manufacturer’s customer support line for further guidance or warranty options. They’ll help you determine if a repair is possible, so you can get back to enjoying your favorite morning brew soon.