
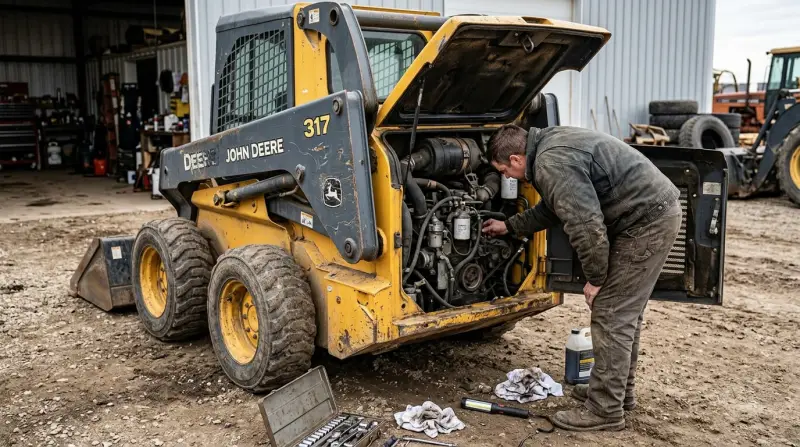
Common hydraulic leaks and electrical sensor failures are the most frequent John Deere 317 Skid Steer problems. These issues typically stem from aged seals or debris buildup. You can confirm faults by checking for fluid puddles or reading dash error codes. Always consult the official John Deere operator manual for your specific serial number to ensure you interpret warning lights and fluid requirements correctly.
Common John Deere skid steer issues
| Cause | How common | How to confirm it | Fix it yourself? |
|---|---|---|---|
| Hydraulic hose leaks | Very common | Visible fluid pools | Yes with care |
| Sensor signal errors | Common | Dash error codes | Yes |
| Fuel line clogs | Frequent | Engine stalls often | Yes |
| Battery drain | Moderate | Slow crank speed | Yes |
| Drive motor wear | Occasional | Loss of power | No |
| Cooling fan failure | Occasional | Engine overheating | No |
Hydraulic leaks usually appear as oily patches on the garage floor. If the fluid is amber, check the lines immediately. Ignoring these pools leads to total pump failure, which costs triple the price of a simple hose replacement.
Sensor errors often trigger a “Check Engine” light. Use a John Deere-compatible diagnostic tool or the machine’s built-in display to read the specific code before buying parts. If the code mentions a “circuit high” error, the wiring is likely frayed rather than the sensor being faulty.
Fuel clogs cause stuttering at high speeds. If your engine stalls only when the tank is below a quarter, the fuel pump filter is likely the culprit.
Battery issues are distinct from mechanical failure. If the engine clicks but doesn’t turn over, check the terminal connections for white corrosion. A simple wire brush cleaning often resolves the issue. If the motor whines under load, however, professional internal repair is mandatory.
Hydraulic seal and hose degradation
Hydraulic fluid leaks usually appear around the fittings or at the base of the lift cylinders after years of heavy use. These leaks occur because high pressure eventually compromises the integrity of rubber O-rings and hose jackets. If you ignore a small drip, you risk total system failure, which can lead to expensive pump damage if the fluid level drops too low.
To confirm a leak, park the machine on clean, dry concrete and leave it for one hour. Inspect the ground for drops of oil. If you find a puddle, trace the wet line upward toward the source using a flashlight. Don’t use your hands to check for leaks while the machine is running, as high-pressure fluid can penetrate the skin.
If the leak is at a fitting, try tightening the nut with a wrench. If the leak persists, you must replace the O-ring or the entire hose. This process involves depressurizing the hydraulic system first. If you aren’t comfortable working with pressurized lines, contact a dealer. Replacing a single hose can take one hour of labor, while a full seal kit replacement might take a full day.
Electrical sensor and wiring faults
Sensor errors often manifest as erratic gauge readings or the machine entering “limp mode” without a mechanical cause. These issues happen because dust and vibration loosen the electrical connectors or break the thin wires leading to the engine control unit.
You can identify this cause by checking the digital display for specific error codes when the machine refuses to start or loses power. Compare these codes against the list in your manual. If a code points to a specific sensor, such as the throttle position sensor or the hydraulic pressure sensor, inspect the wiring harness leading to that part. Look for rubbed insulation, frayed wires, or pins covered in dirt.
Cleaning the connection with an electrical contact cleaner and securing the harness with zip ties often resolves the issue. If the wire is broken inside the protective sleeve, you’ll need to perform a continuity test using a multimeter. If the sensor itself is faulty, you must replace the unit. This varies by model — check the label on the sensor for the exact part number before buying a replacement. Always disconnect the battery before working on electrical components to avoid shorting the system.
Engine fuel system blockages
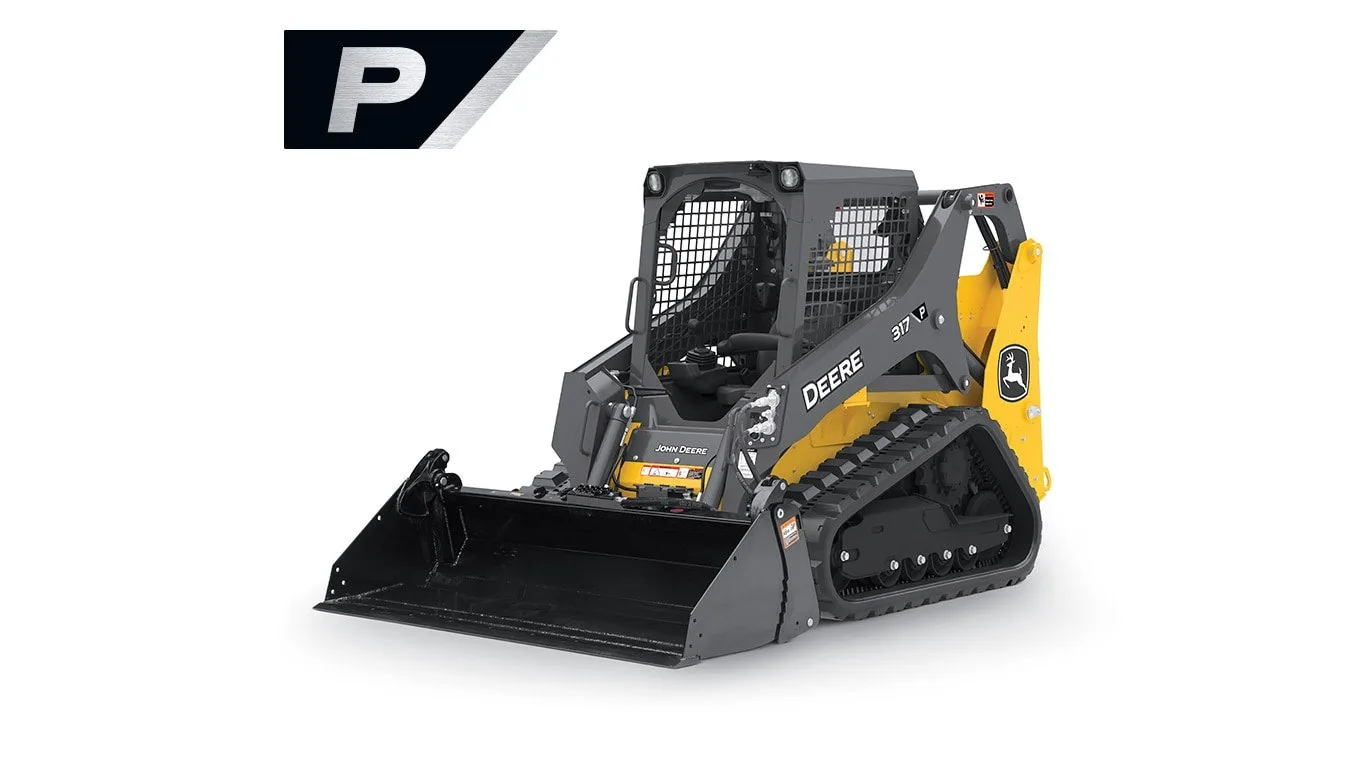
Fuel delivery issues typically show up as a loss of power under load or an engine that dies shortly after starting. These problems arise when debris or water from contaminated fuel tanks clogs the primary fuel filter or the sediment bowl. Unlike hydraulic or electrical issues, this is almost always caused by poor fuel quality or long periods of storage without a stabilizer.
To check your fuel system, locate the primary fuel filter and the sediment bowl on the side of the engine. If you see dark sediment or water droplets at the bottom of the bowl, the fuel system is contaminated. Drain the bowl into a pan to remove the water. If the engine continues to stutter, replace the fuel filter element.
This process requires a new filter and a clean workspace to prevent further debris from entering the lines. After installing the new filter, you may need to prime the fuel system to remove air pockets. Most models have a hand primer pump near the filter housing for this purpose. If you don’t prime the system, the engine won’t start. If you find the tank itself is full of sludge, you must drain and clean the entire tank, which is a much larger job that usually requires professional assistance.
The less likely causes
-
Battery terminal corrosion: A buildup of white powder on the battery posts prevents the starter from drawing enough current to turn the engine over. If you see this crust, use a wire brush and a mixture of baking soda and water to neutralize the acid before scrubbing the terminals clean.
-
Drive motor seal failure: Oil leaking from the final drive hubs is a sign that the internal seals are worn. This usually requires a certified technician to rebuild the unit. Ignoring these drips often leads to catastrophic gear failure, which costs three times more than a simple seal replacement.
-
Radiator debris buildup: If the engine overheats during operation, check the radiator fins for packed dirt or grass that blocks airflow. Use low-pressure compressed air to blow debris out from the back of the radiator toward the front. Never use a high-pressure power washer, as it will bend the delicate cooling fins and permanently restrict airflow.
-
Hydraulic pump cavitation: A high-pitched whining noise from the pump often indicates air in the system. This can cause permanent damage if the fluid level isn’t topped off immediately. If the noise persists after refilling, check the suction hose connections for loose clamps that allow air to bypass the seal.
What a fix usually involves
Repairing a skid steer requires a basic set of wrenches, a multimeter, and a clean workspace. The cost of a fix depends entirely on whether you can perform the labor yourself. Simple maintenance, like replacing a fuel filter or cleaning a sensor, requires only the price of the part. These parts are generally inexpensive and widely available. In contrast, if the hydraulic pump or a drive motor fails, you’re looking at a major repair. These parts are heavy and expensive, often costing a large portion of the machine’s total value.
Before buying any parts, check the machine’s serial number plate. Parts vary by model year, and buying the wrong one will waste your time. If you decide to use a professional shop, always ask for a quote that includes both the part cost and the labor hours. You can find official part diagrams on the manufacturer’s website to identify exactly what you need before calling a dealer.
Frequently asked questions
How do I know if my hydraulic pump is failing?
A failing hydraulic pump typically produces a loud, high-pitched whining noise that changes in volume as you operate the lift arms. If you notice a significant drop in power when using attachments or if the hydraulic oil becomes excessively hot, the pump may be losing efficiency. Always check your fluid level and filter condition first, as a clogged filter can mimic pump failure symptoms.
Is it safe to operate with a minor hydraulic leak?
No, it isn’t safe to operate with a hydraulic leak because pressurized fluid can cause severe injury or fire. Even a small pinhole leak can spray high-pressure oil that penetrates skin or ignites on hot engine surfaces. You should stop using the machine immediately and repair the damaged hose or seal before resuming any work to prevent both personal injury and further equipment damage.
How often should I change the hydraulic fluid?
You should change the hydraulic fluid according to the intervals listed in your specific operator manual, which usually ranges between 500 and 1,000 hours of operation. This depends on the environment, as dusty or extremely hot conditions may require more frequent changes to prevent fluid breakdown. Always check the fluid clarity and smell; if it looks milky or smells burnt, change it regardless of the hours.
Can I use universal hydraulic fluid in my machine?
You should only use the specific hydraulic fluid grade recommended by the manufacturer in your operator manual. Using a generic or incorrect fluid can ruin seals and damage internal pump components over time. If you can’t find the exact brand, ensure the fluid you purchase meets the specific viscosity and additive requirements stated in the technical data section of your machine’s documentation.
Why does my skid steer pull to one side?
A machine that pulls to one side usually has uneven tire pressure, worn track drive motors, or a misaligned steering linkage. Check the tire pressure on both sides first, as this is the easiest fix. If the tires are equal, the issue might be internal to the hydraulic drive motor, which often requires a professional technician to diagnose and calibrate the flow balance correctly.
What happens if I ignore engine error codes?
Ignoring engine error codes can lead to a complete engine shutdown or permanent mechanical damage to the fuel injectors and sensors. Modern engines use these codes to protect internal parts when a parameter goes out of range, such as low oil pressure or high coolant temperatures. If you see a code, stop the machine and consult the manual to understand the severity before continuing.
Final Thoughts
Keeping your equipment in top shape doesn’t have to be overwhelming if you stay proactive. Regularly inspecting hoses and wiring will help you catch small issues before they turn into expensive repairs. You’ll find that a little bit of preventive maintenance goes a long way toward keeping your machine running smoothly.
Related guides
- John Deere Loader Joystick Problems: Quick Troubleshooting Guide
- John Deere D105 Transmission Problems: Causes and Quick Fixes
- John Deere Fuel Shut Off Solenoid Problems: Quick Fix Guide