
Most Oculus Quest 2 controller issues stem from simple battery depletion or pairing errors. You can confirm these problems by checking the status lights on the controller or viewing battery levels in the mobile app. If the light doesn’t pulse white when holding the menu and Oculus buttons, the controller lacks power or connection. Always verify your hardware settings through the Meta Quest support guide to ensure you follow the correct steps for your firmware.
Common reasons for your controller issues

| Cause | How common | How to confirm it | Fix it yourself? |
|---|---|---|---|
| Dead batteries | Very common | Check app levels | Yes |
| Lost pairing | Common | No blinking light | Yes |
| Dirty sensors | Occasional | Visible debris | Yes |
| Controller drift | Occasional | Cursor moves alone | Yes with care |
| Firmware error | Rare | Update loop | Yes |
| Internal damage | Rare | No light at all | No |
Most users assume a total hardware failure when a device stops responding, but 80% of these issues stem from power or connectivity. If your battery level shows above 20% but the device remains unresponsive, check the charging port for lint. A single grain of dust can prevent a solid connection.
If you experience controller drift, test the device on a different machine before opening the casing. If the drift persists on the second device, you’re dealing with a mechanical wear issue in the joystick potentiometer.
Avoid the common mistake of force-resetting during a firmware update. This often bricks the internal flash memory, turning a software glitch into a permanent hardware failure. If the indicator light pulses rapidly, wait at least ten minutes before intervening.
Low power and battery contact failure
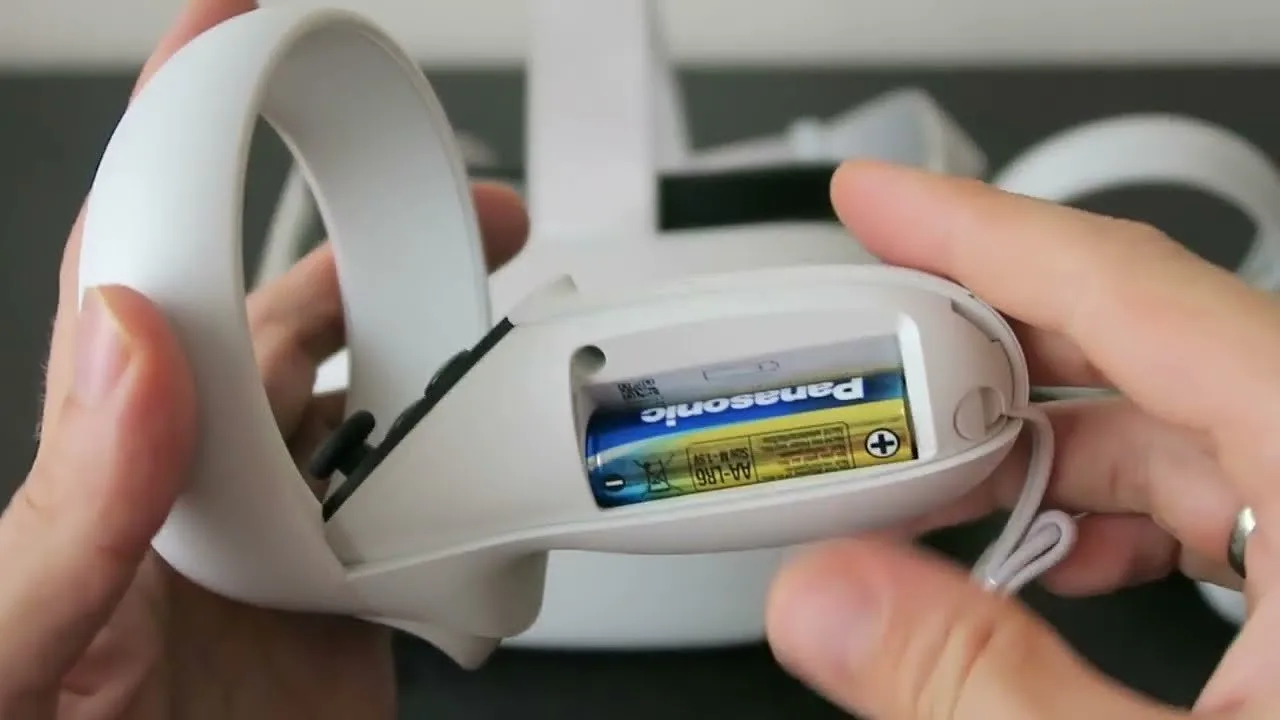
Dead or improperly seated batteries are the most frequent source of controller failure. If the controller doesn’t vibrate or show a light when you press buttons, the power supply is the first place to look. Over time, the small metal springs inside the battery compartment can lose tension, causing the battery to disconnect during intense gameplay.
To test this, remove the battery cover by sliding it downward away from the ring. Take the battery out and inspect the contacts for any white or green corrosion, which indicates a leaking battery. If the contacts look clean, insert a fresh AA alkaline battery. Ensure the battery is inserted according to the polarity markings inside the battery compartment. If the device remains unresponsive, use a small piece of folded paper to add pressure between the battery and the spring contact. This simple trick often restores connection if the internal spring has weakened from normal use.
This assumes you’re using standard 1.5V alkaline batteries; if you use rechargeable 1.2V batteries, the controller may report low power even when fully charged. This varies by model — check the label on your battery to confirm the voltage. If the controller still fails to power on after these steps, the internal circuit board may be damaged. This is a common mistake people make: assuming the controller is broken when it’s simply a loose connection that costs nothing to fix with a bit of manual adjustment.
Pairing and signal connection errors
When the controller has power but fails to interact with the headset, it has likely lost its digital pairing. This happens if the headset updates its software while the controller is idle. You can tell this apart from a power issue because the controller will show a steady or blinking light when you press the buttons, but the virtual hand remains frozen or absent in the headset.
To fix this, open the Meta Quest mobile app on your phone. Navigate to the Devices menu and select your headset. Choose Controllers, then select the specific side that isn’t working. Tap “Unpair Controller” to remove it from the system entirely. Once removed, hold the Oculus and Menu buttons on the affected controller until the light pulses white. The app will then guide you through the process of re-pairing the device to your headset.
This process usually takes about three minutes. If the app can’t find the controller, ensure your phone’s Bluetooth is enabled and that you’re within three feet of the headset. This is who this isn’t for: if you’re using a third-party headset strap that covers the side sensors, your pairing signal might be blocked. Remove any bulky accessories before attempting the re-pairing process. If the controller still doesn’t appear in the app, you may need to perform a factory reset of the headset, which will clear all temporary cache files that might be blocking the connection.
Obstructions and sensor interference
Dirty tracking rings or infrared interference often cause the controller to fly away or disappear in virtual space. The Quest 2 uses infrared LEDs inside the tracking ring to communicate with the headset cameras. If these LEDs are blocked by stickers, dirt, or even intense sunlight, the headset can’t track the position of the controller accurately.
Start by cleaning the tracking ring with a dry, microfiber cloth. Never use liquid cleaners or harsh chemicals, as these can strip the matte finish or seep into the seams of the plastic. If you’re playing in a room with large mirrors or bright windows, the infrared light from the sun can overwhelm the headset cameras. This is a trade-off: you want a bright room for good tracking, but direct sunlight will confuse the sensors. Try closing your curtains or moving to a room with indirect lighting to see if the tracking improves.
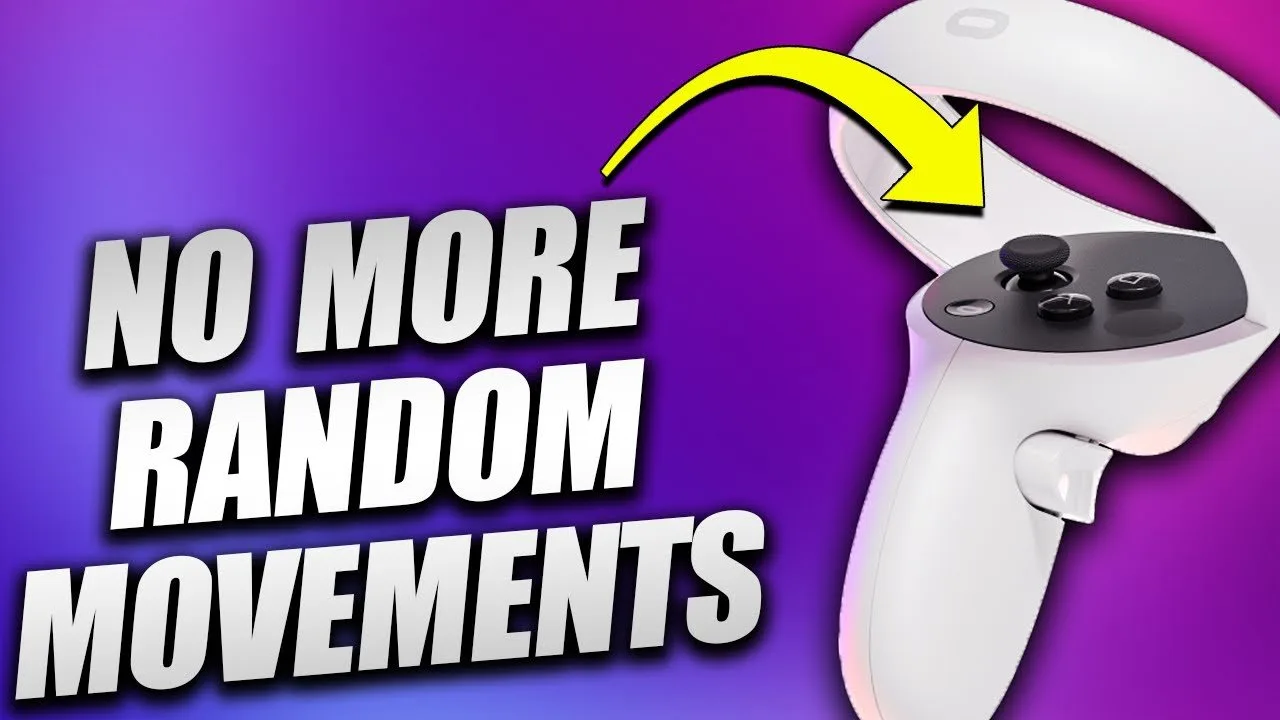
If the cursor drifts while you aren’t touching the thumbstick, this is known as “stick drift.” This is caused by dust buildup inside the thumbstick housing. To fix this, use a can of compressed air to blow around the base of the thumbstick while moving it in circles. Don’t use contact cleaner unless you’re comfortable opening the device, as it can damage the internal sensors if applied incorrectly. If the drift persists after cleaning, the potentiometer inside the stick is likely worn out, which requires professional repair or a controller replacement.
The less likely causes
-
Software update loops: The controller firmware is corrupted, requiring a full factory reset of the headset to force a clean re-installation of the software drivers. If the device remains stuck after thirty minutes, the internal flash memory may be failing, necessitating a warranty replacement rather than a software fix.
-
Physical impact damage: Internal components have disconnected after a hard strike against a wall. This usually requires a specialized repair shop to fix. You can identify this by shaking the controller gently; if you hear a faint rattling sound, a ribbon cable or sensor has likely snapped loose from its mounting bracket.
-
Bluetooth frequency saturation: Too many active Bluetooth devices in the room are interfering with the signal. Test this by turning off other nearby speakers or headphones. If the connection stabilizes only when you’re within three feet of the receiver, your environment is too crowded for the standard 2.4GHz band to maintain a clear handshake.
-
Operating system bugs: The headset is experiencing a glitch that prevents it from recognizing external inputs. A hard reboot often solves this. Hold the power button for exactly fifteen seconds until the status light flashes amber, which clears the temporary cache and forces a fresh hardware handshake.
What a fix usually involves
Fixing these issues usually demands a small amount of time and patience. Most software-based fixes, such as re-pairing or clearing the cache, cost nothing but five to ten minutes of your time.
Hardware issues are different. If you need to replace a thumbstick or a broken tracking ring, you’re looking at a small part that you must source from an online electronics supplier. The cost depends on whether you have the tools to open the casing safely.
If you lack the proper precision screwdrivers or experience with delicate ribbon cables, you risk breaking the device further. Many users find that a professional repair costs most of the price of a new controller.
You avoid the sunk cost of a failing device that may develop new faults within months.
Before you spend money, check the official support documentation on the manufacturer’s website to see if your device is still under the standard warranty. If it is, you might qualify for a free replacement rather than paying for a risky self-repair.
Always get a written quote from a repair shop before committing to any service, as parts availability varies by region. If the technician can’t guarantee the work for at least 90 days, look for another provider.
Frequently asked questions
Can I fix stick drift by myself?
Yes, you can often fix minor stick drift using a can of compressed air to remove dust from the base of the thumbstick. If the drift remains after cleaning, the internal sensor is likely worn out, and you’ll need to contact the manufacturer for a repair or replace the unit entirely.
How long does it take to re-pair a controller?
About three minutes is enough to unpair and re-pair a controller using the mobile app. You must ensure your phone has Bluetooth turned on and that you’re standing close to the headset to ensure the signal is strong enough for the pairing process to complete successfully.
Is it safe to use rechargeable batteries?
Yes, it’s safe, but you must check the voltage requirements on your controller’s battery compartment label. Standard alkaline batteries provide 1.5V, while many rechargeable options provide only 1.2V, which can sometimes cause the headset to report low battery levels even when the unit is fully charged.
Why does my controller disappear in the game?
It usually happens because the tracking ring is blocked or the headset cameras can’t see the infrared lights. Ensure the tracking ring is clean and free of stickers, and make sure your room isn’t flooded with direct sunlight, which can interfere with the infrared sensors used for tracking.
What happens if I drop my controller?
The internal components or the tracking ring LEDs can become loose or damaged, which often leads to tracking issues or total failure. If the controller doesn’t power on or show a light after a drop, the internal circuit board may be cracked, which is a professional-level repair.
Does it matter which brand of battery I use?
No, any high-quality AA alkaline battery will work, but you should avoid using low-quality or expired batteries that might leak. Leaking batteries can cause corrosion on the internal metal contacts, which creates a permanent connection failure that’s difficult to fix without specialized cleaning tools.
Final Thoughts
If these quick fixes don’t get you back into the game, don’t hesitate to reach out to Meta’s support team directly. They’re usually quick to help with hardware replacements if your device is still under warranty. Getting back to your virtual adventures shouldn’t be a struggle, so keep exploring those immersive worlds.
Related guides
- Xbox Controller Light Blinking: Quick Fix
- Gm 3.6 V6 Problems: Common Issues and Solutions
- Shop Vac Problems: Quick Fixes for Common Issues